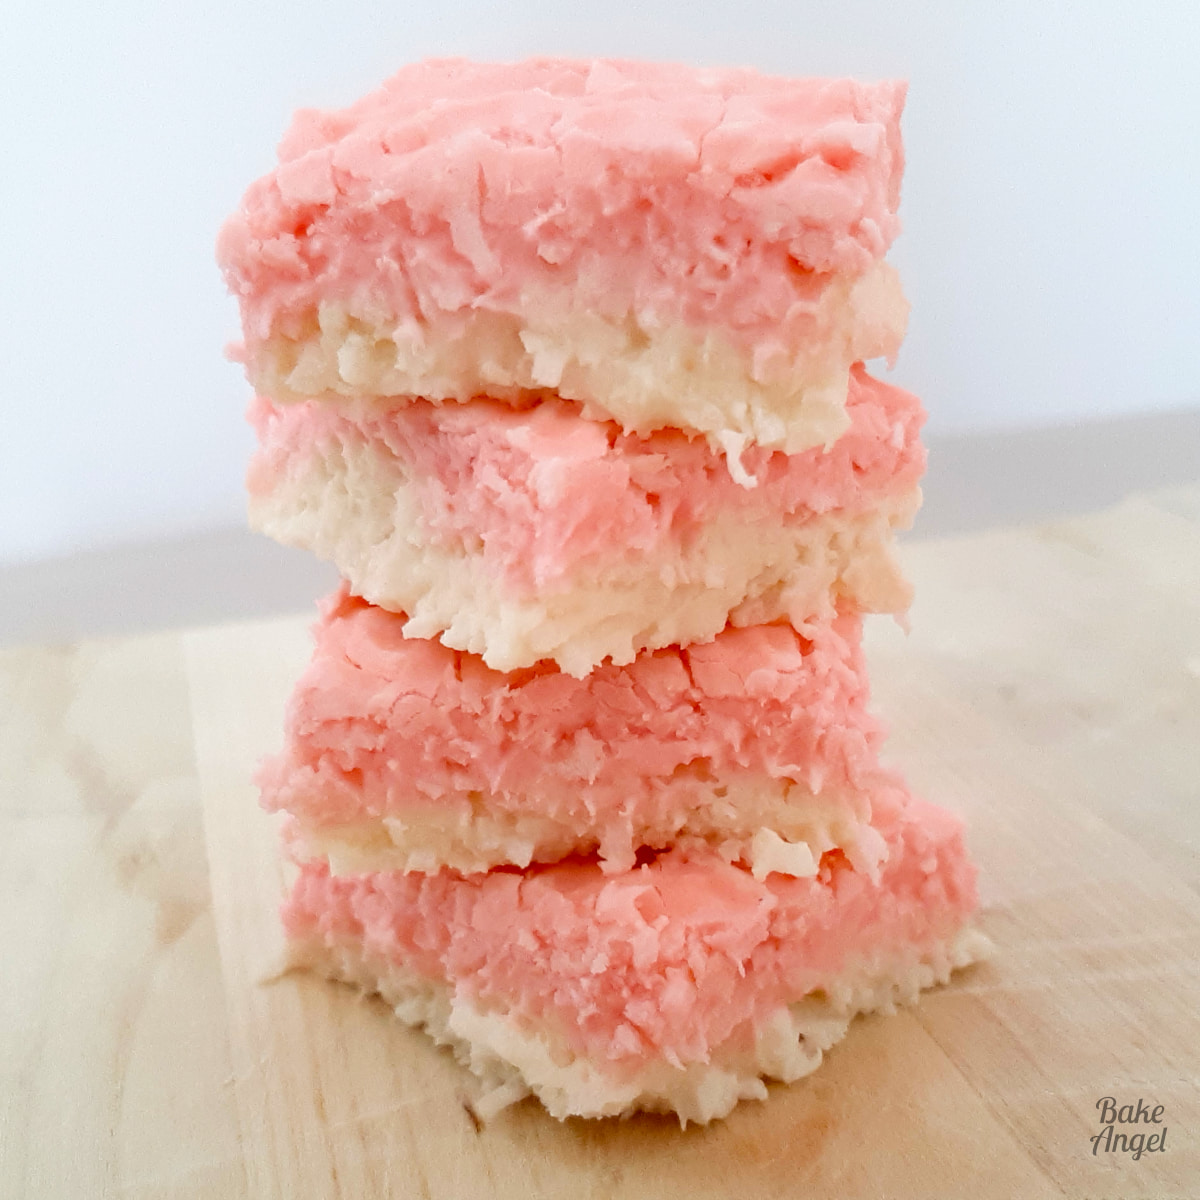
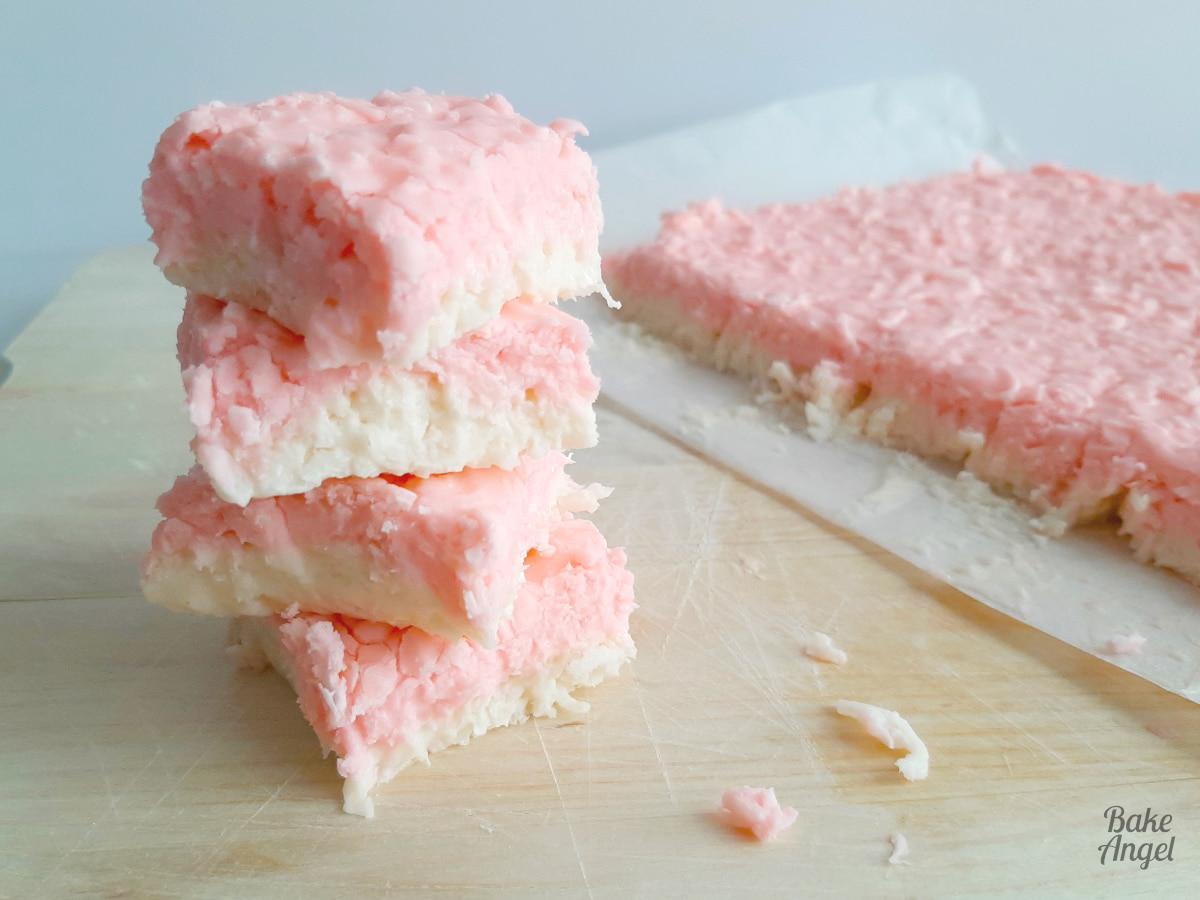
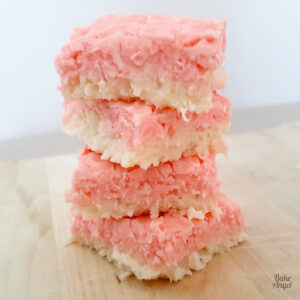
Pink and white bite-sized squares of classic British coconut ice, made with just four simple ingredients. This easy no-bake coconut ice recipe is traditionally found in seaside sweet shops across the UK and has been lovingly adapted here using modern vegan pantry staples. It’s dairy-free, gluten-free, and vegan, with a soft, fudgy centre and a lightly firm outer edge. The hardest part of this recipe? Waiting for it to set before you dig in.
A Little British Nostalgia
Both my husband and I grew up in the UK, and coconut ice is one of those nostalgic treats that instantly transports us back to wandering seaside towns, popping into small bakeries and sweet shops, and coming home with paper-wrapped sweets for later. When I recently made this for his birthday, it was an immediate hit – not just with us, but with our kids too.
As a British baker with nearly two decades of professional baking experience, I’ve tested many versions of coconut ice over the years. This version stays true to the traditional flavour and texture while being reliable, allergy-aware, and easy to recreate at home.
Why You Should Make This Recipe
If you love low-effort, high-reward treats, this coconut ice deserves a spot in your recipe box.
- Only 4 ingredients and 10 minutes of prep
- Completely no-bake — no oven required
- Naturally dairy-free, gluten-free, and vegan
- Easy enough for kids to help with
- Perfect for warm or humid weather when baking feels like too much
It’s sweet, satisfying, and ideal for picnics, road trips, dessert tables, or gifting.
Why This Recipe Works
This coconut ice recipe is simple yet carefully balanced.
- The ratio of icing sugar to coconut condensed milk ensures the mixture sets without becoming crumbly
- Coconut condensed milk firms up at room temperature, eliminating the need for refrigeration
- Mixing and layering each colour separately prevents bleeding and keeps the layers clean
This method has been tested multiple times using different brands of coconut condensed milk to ensure consistent results.
Ingredients and Substitutions
This recipe relies on pantry staples and precise ratios, so it’s best made as written.
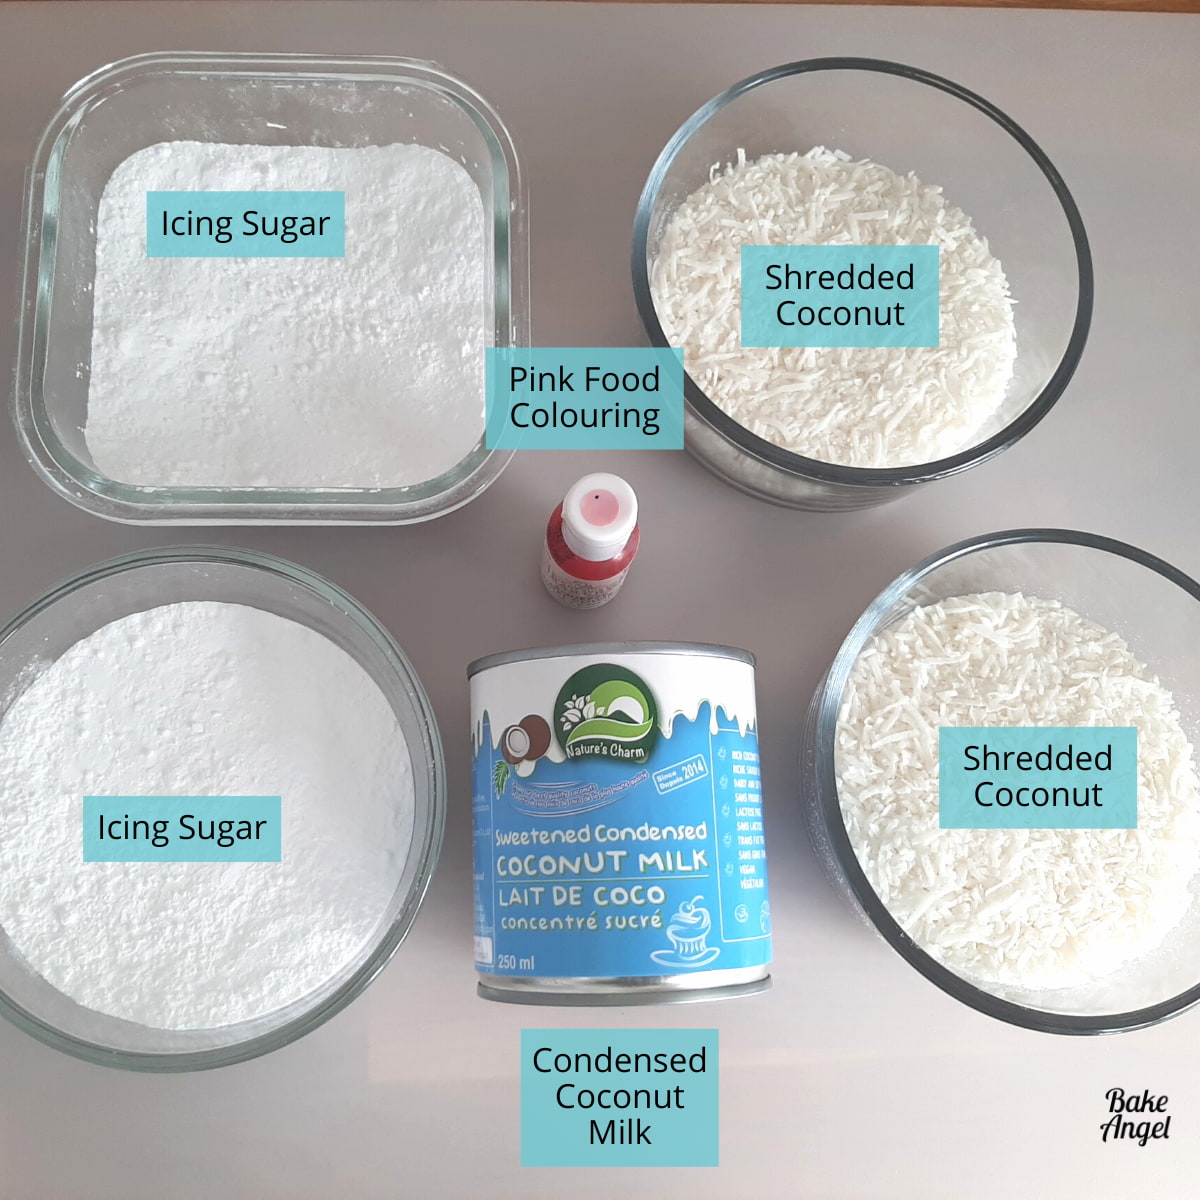
Icing Sugar: Sifting is highly recommended to prevent lumps and ensure a smooth, even texture.
Shredded Coconut: Shredded coconut provides the classic texture. If you prefer a smoother finish, briefly pulse it in a food processor. Flaked coconut is not recommended.
Condensed Milk: Use sweetened condensed coconut milk, not evaporated coconut milk or coconut cream. For this recipe, I use a 250 ml can. If you can only find a larger can, you can scale the recipe:
- Match the icing sugar (in grams) to the can size (in ml)
- Multiply the can size by 0.8 to calculate the coconut amount
For example:
400 ml condensed coconut milk = 400 g icing sugar + 320 g shredded coconut
Food Colouring: A few drops of pink gel food colouring creates the traditional pastel look. You can swap colours to suit different occasions.
How to Make Coconut Ice
Before you begin, measure out all ingredients and divide the icing sugar and coconut into two equal portions. Each layer is mixed separately to keep the colours clean and evenly set.
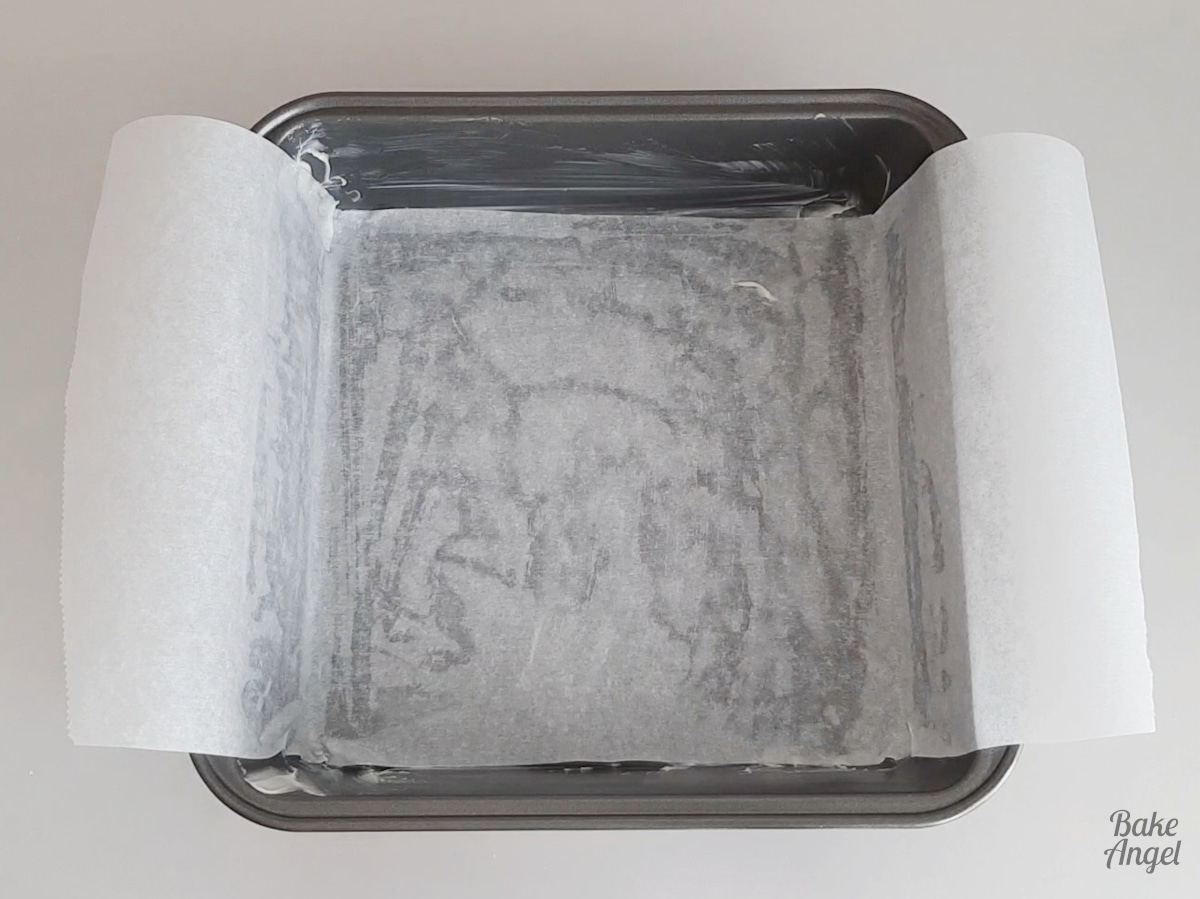
Prepare the Pan
Grease an 8 x 8 inch baking pan and line with parchment paper, allowing overhang on all sides. This makes removal much easier once set.
Make the White Layer
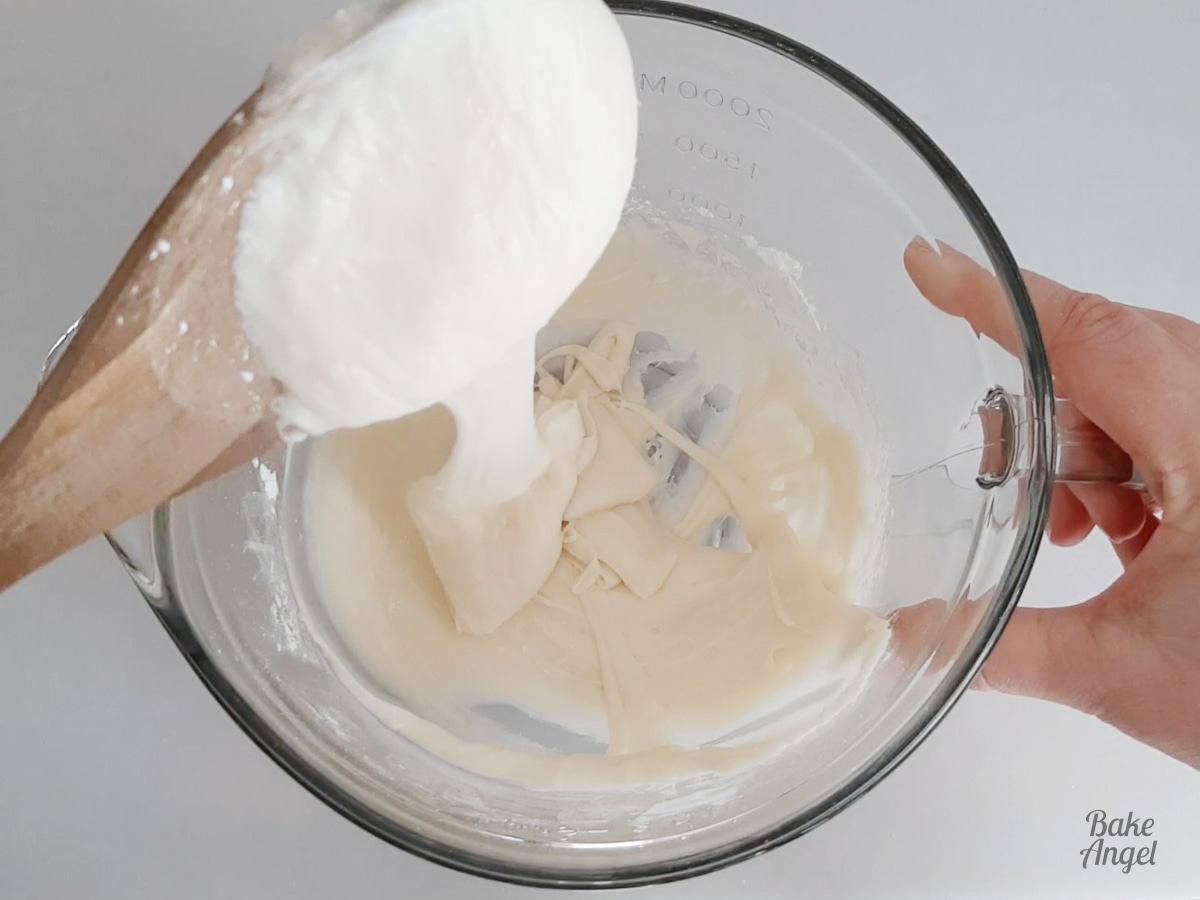
Add 125 g icing sugar and 125 ml condensed coconut milk to a mixing bowl.
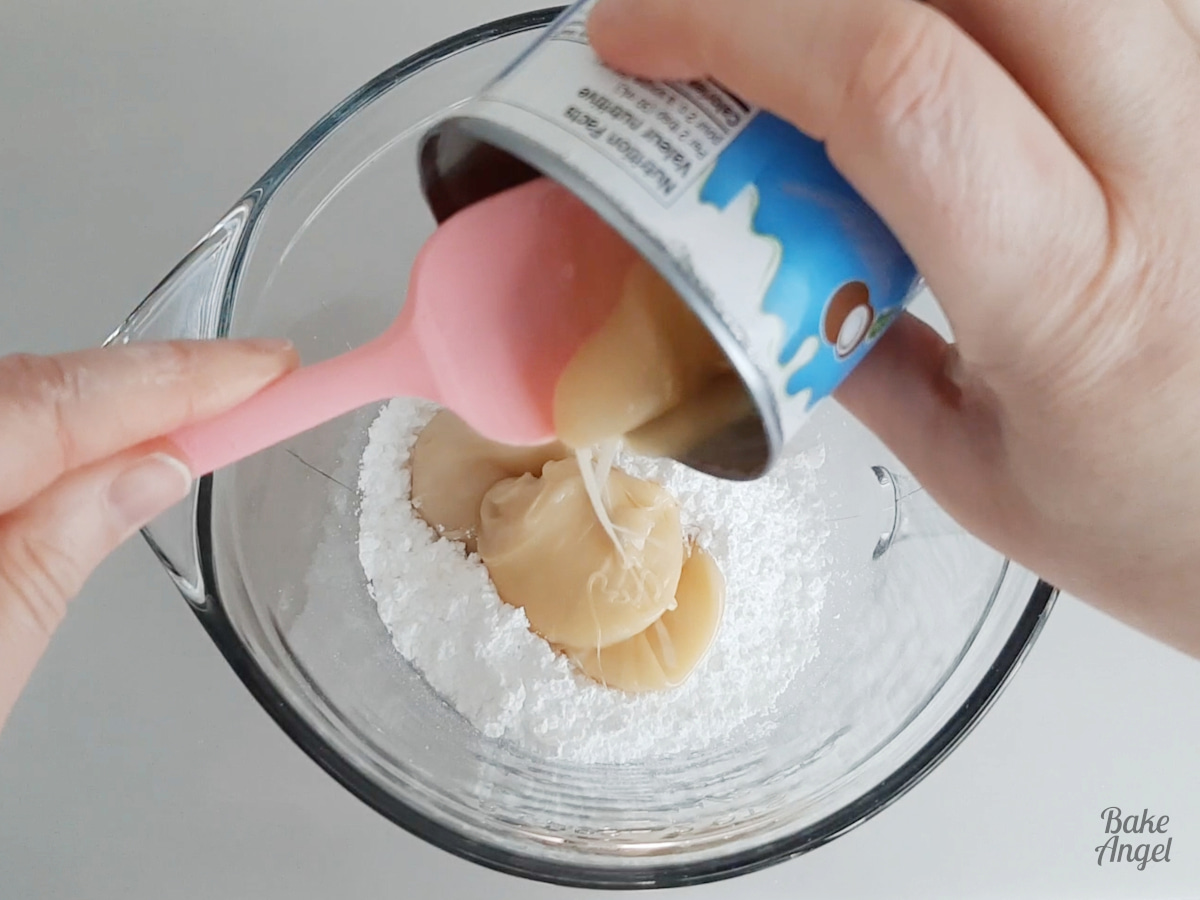
Stir until smooth. It will be a slightly runny consistency.
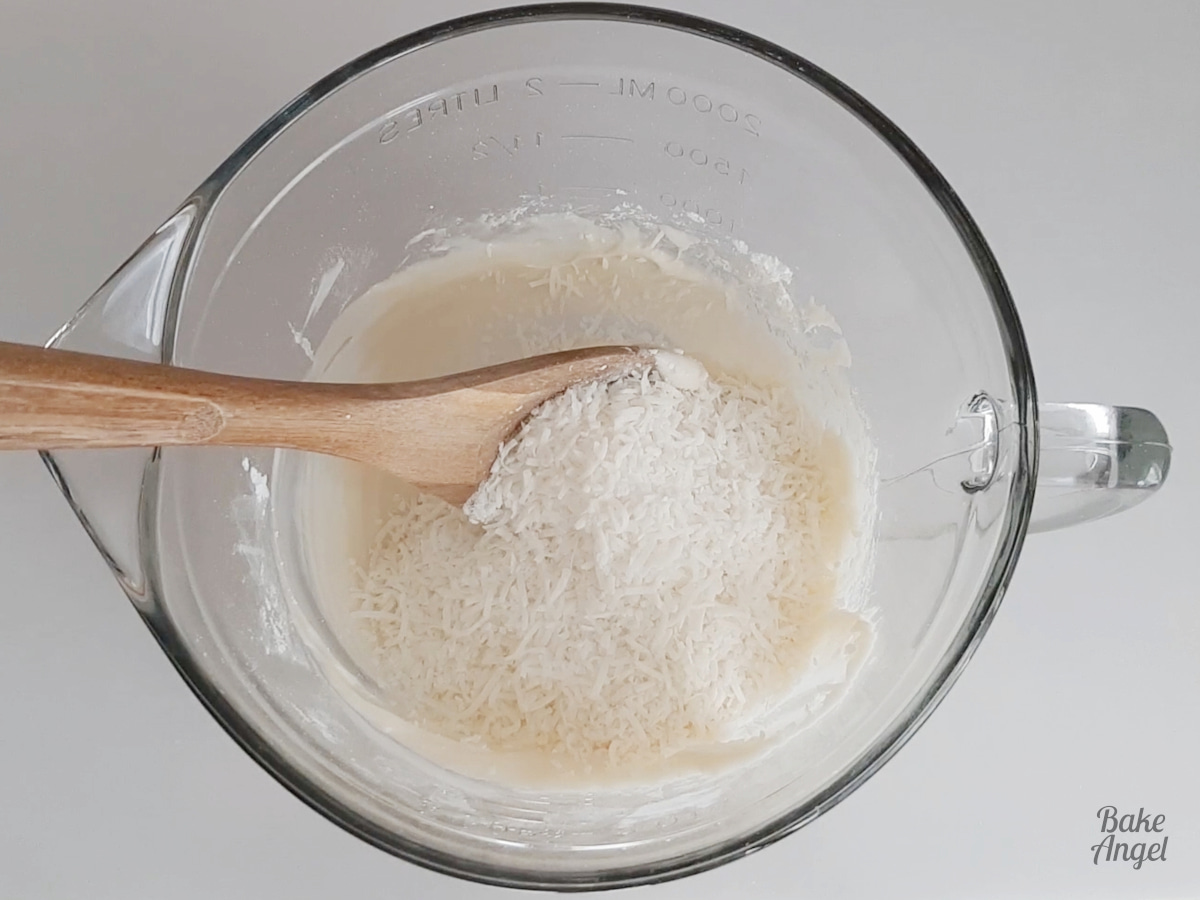
Add 100 g shredded coconut and mix until fully combined.
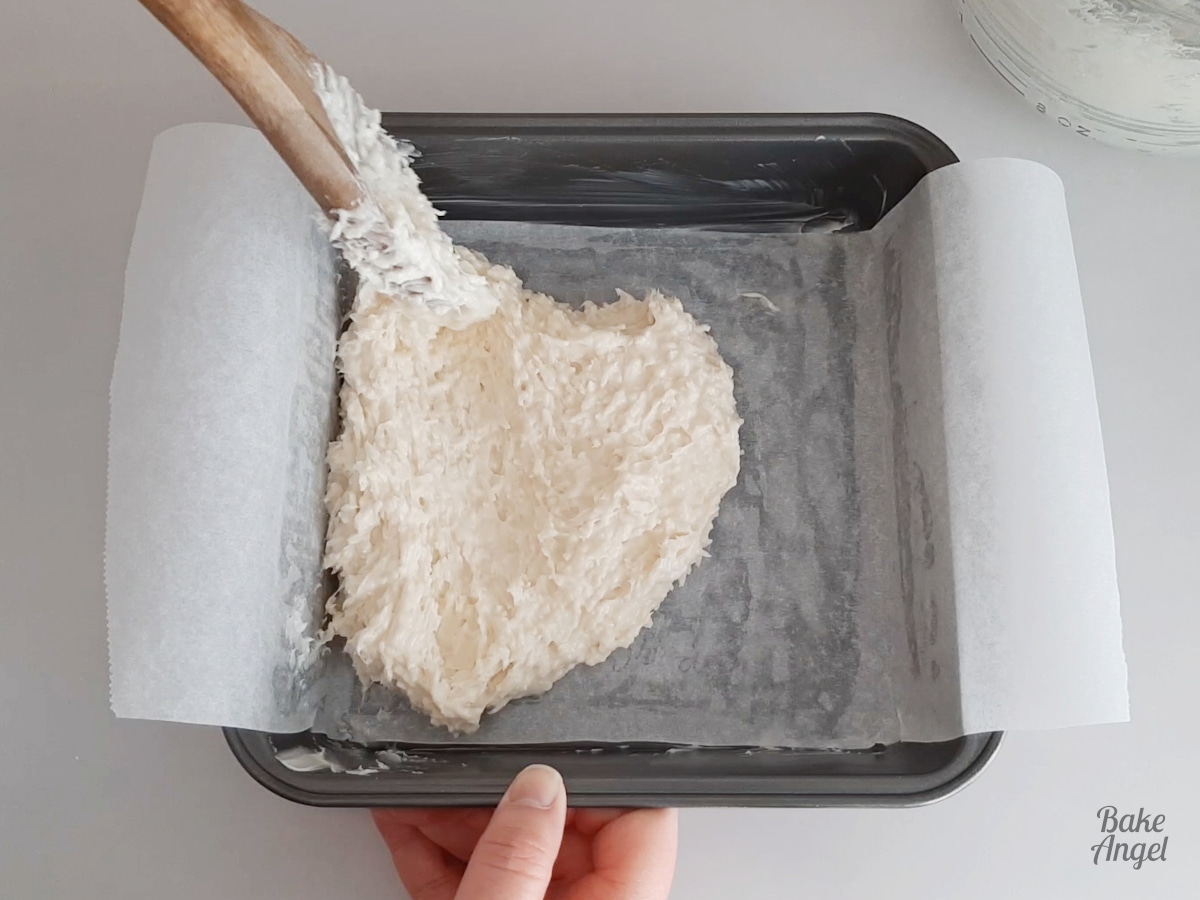
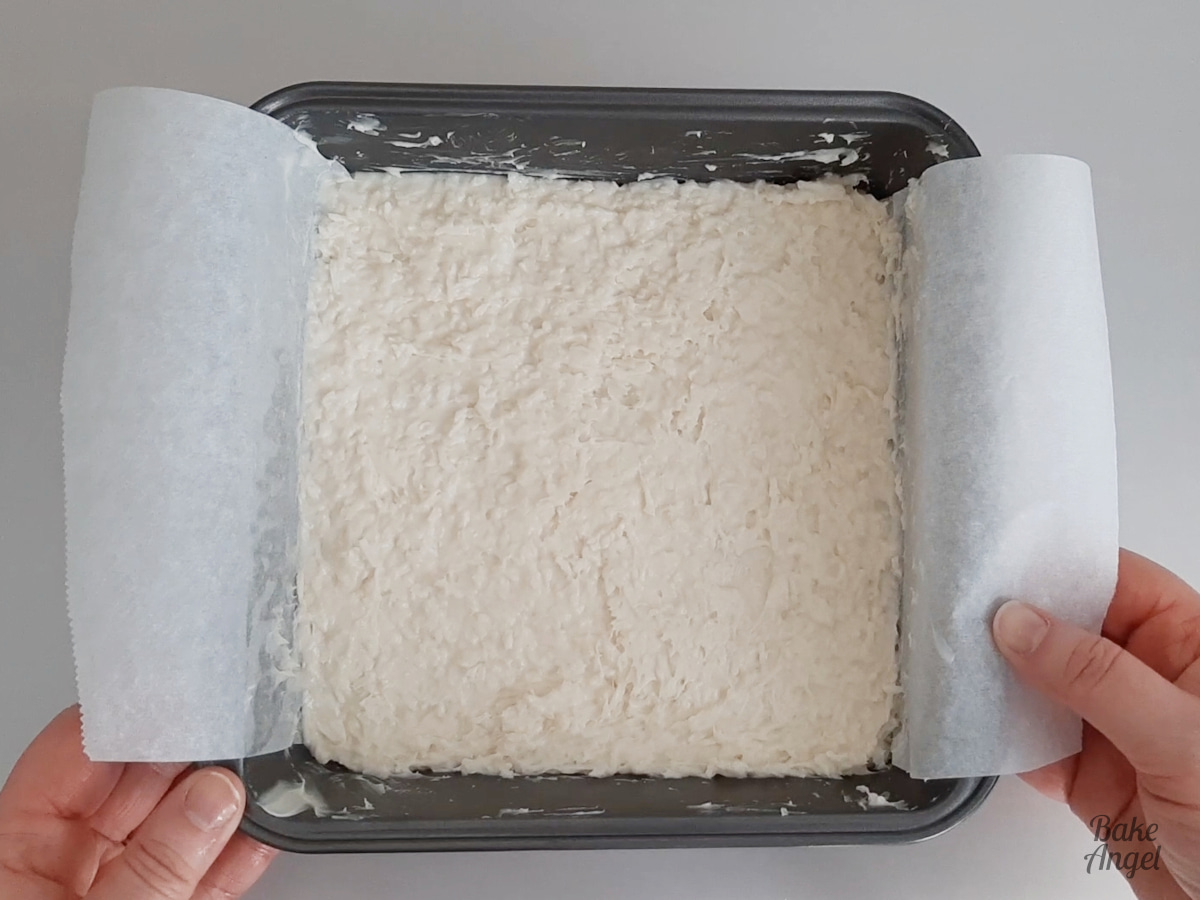
Spread evenly into the prepared pan and smooth the surface.
Make the Pink Layer
Add the remaining 125 g icing sugar and 125 ml condensed coconut milk to the same bowl (no need to clean it).
Add a couple of drops of pink gel food colouring and stir until evenly coloured.
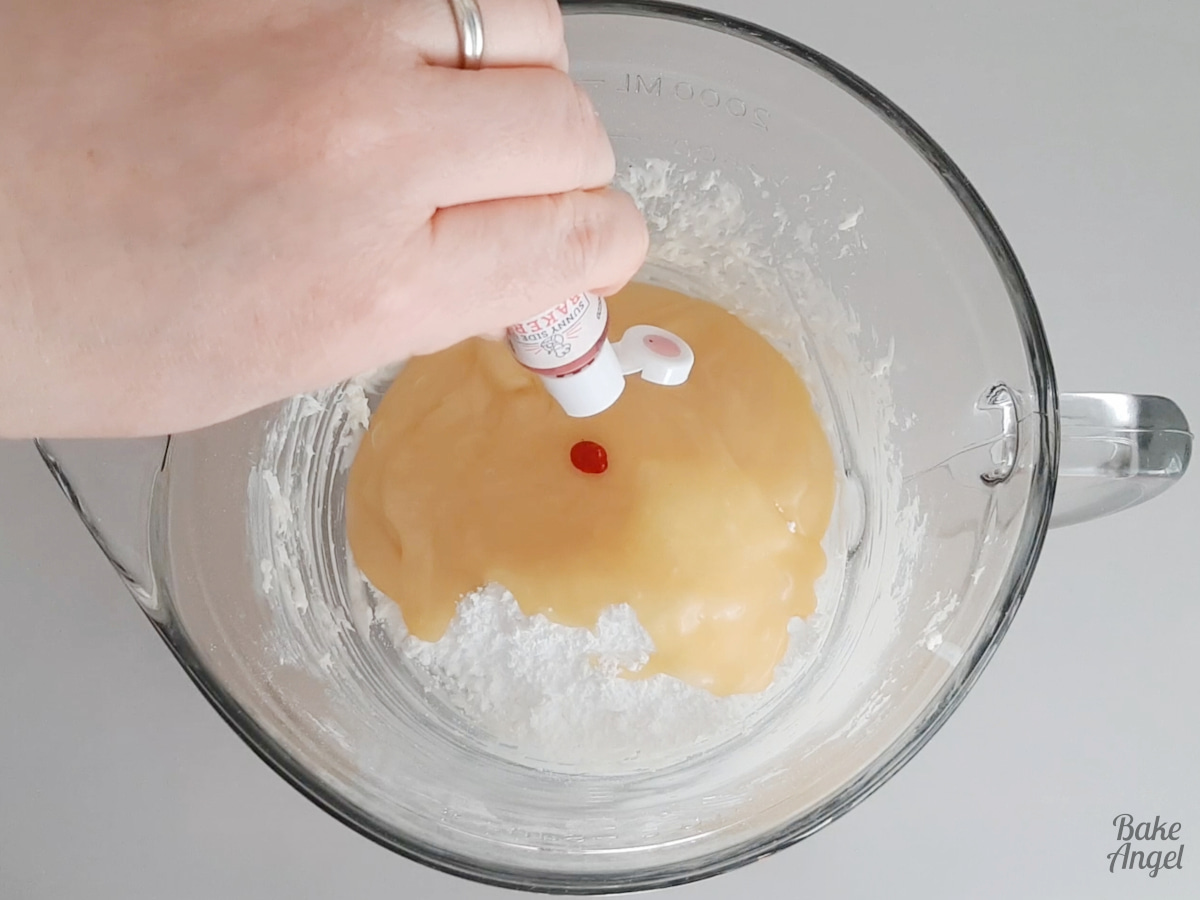
I adore the delicate pastel pink that this creates.

Mix in the remaining 100 g shredded coconut.
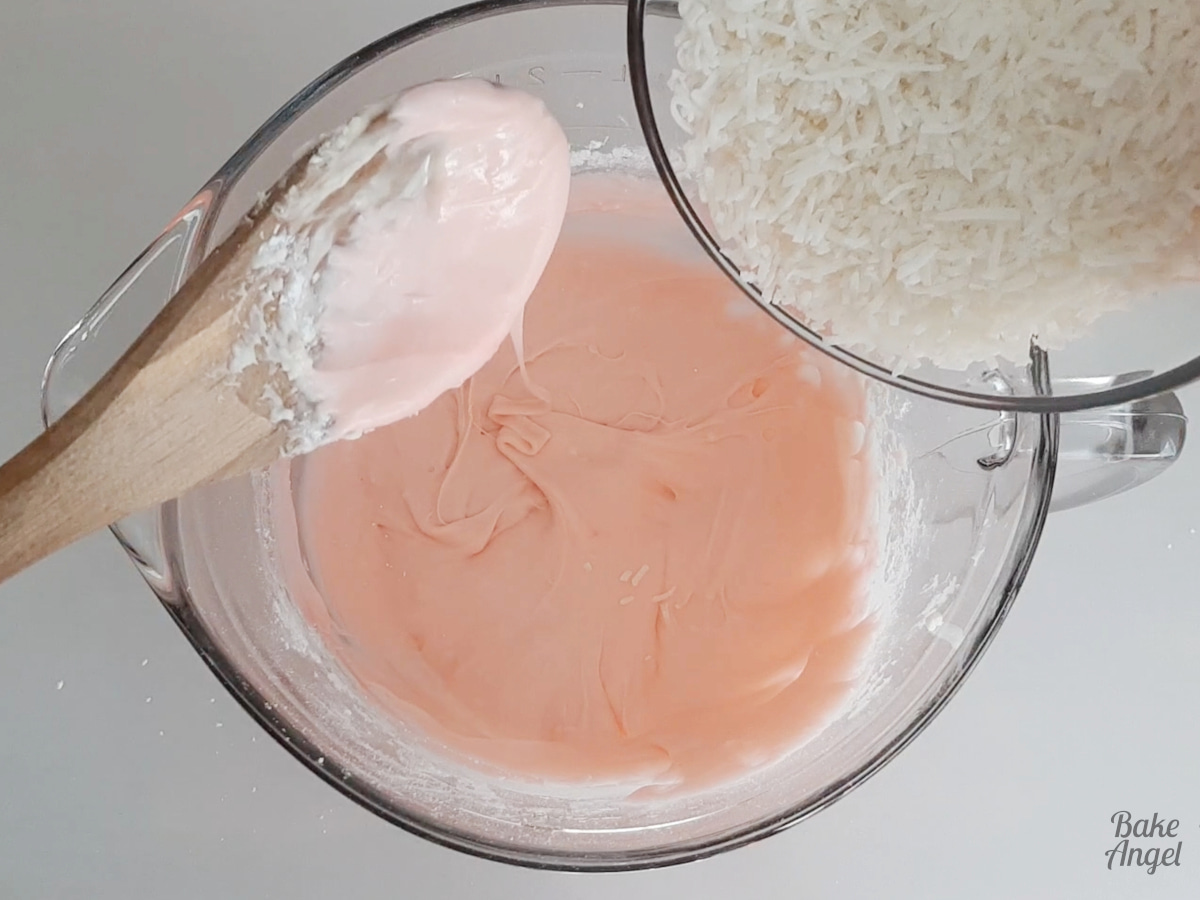
Look how lovely this colour looks. So vintage!

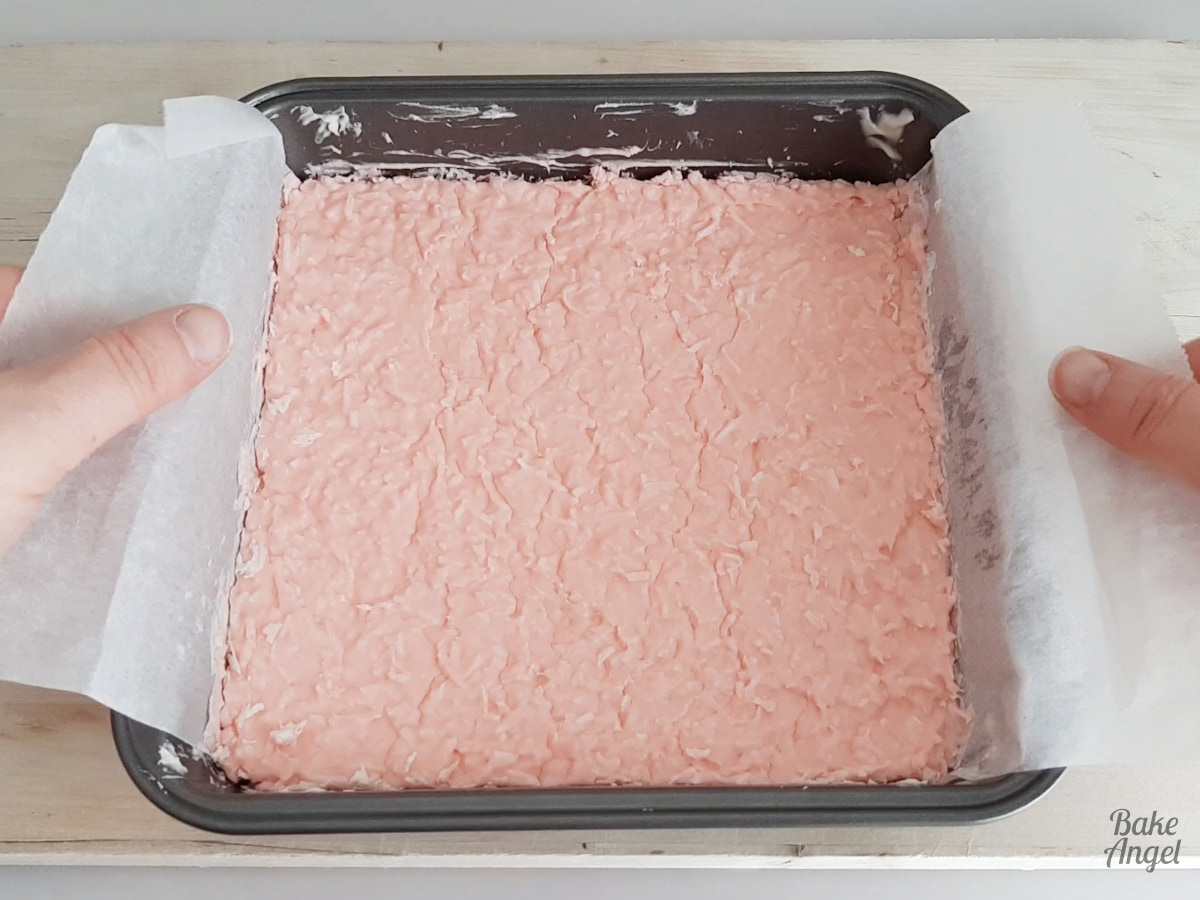
Carefully spread over the white layer, filling in any gaps and smoothing the top.
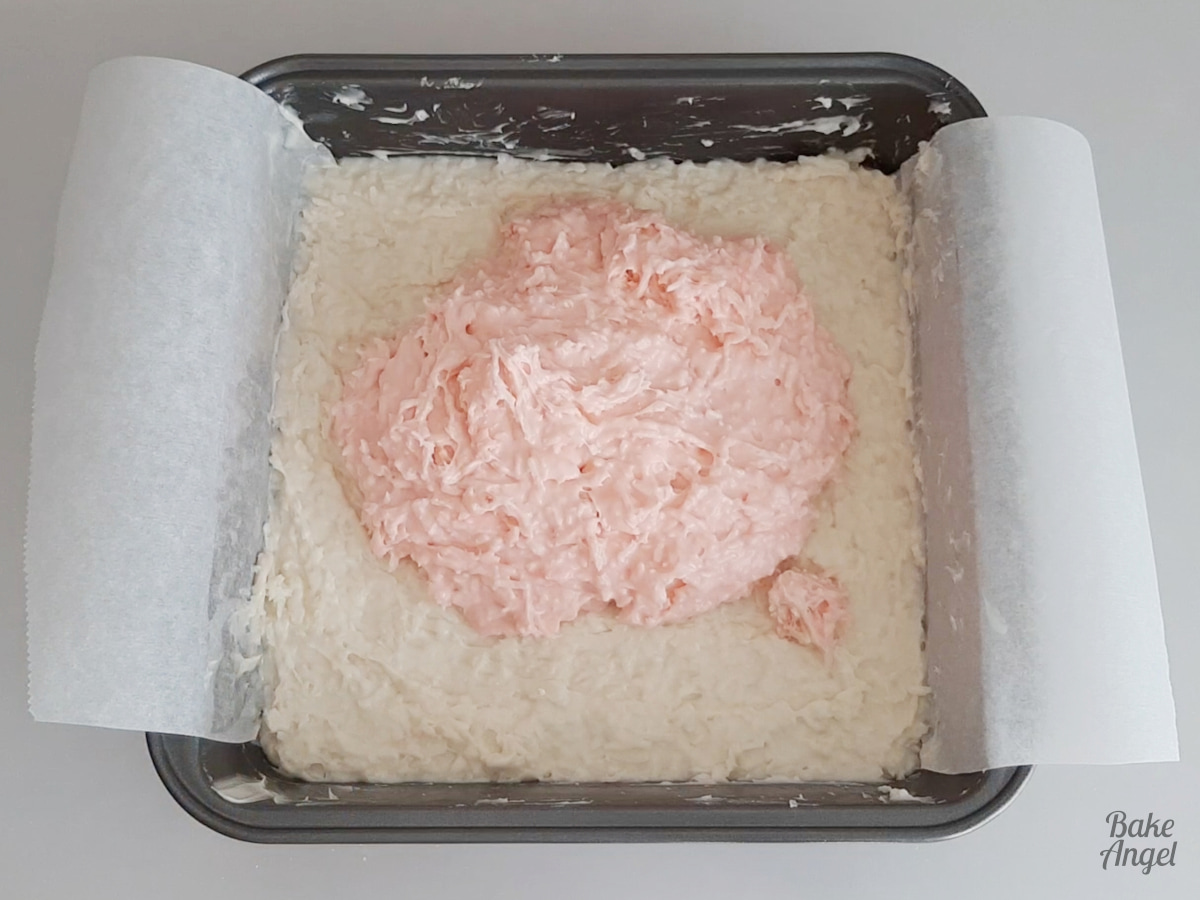

All done! Wasn’t that easy?
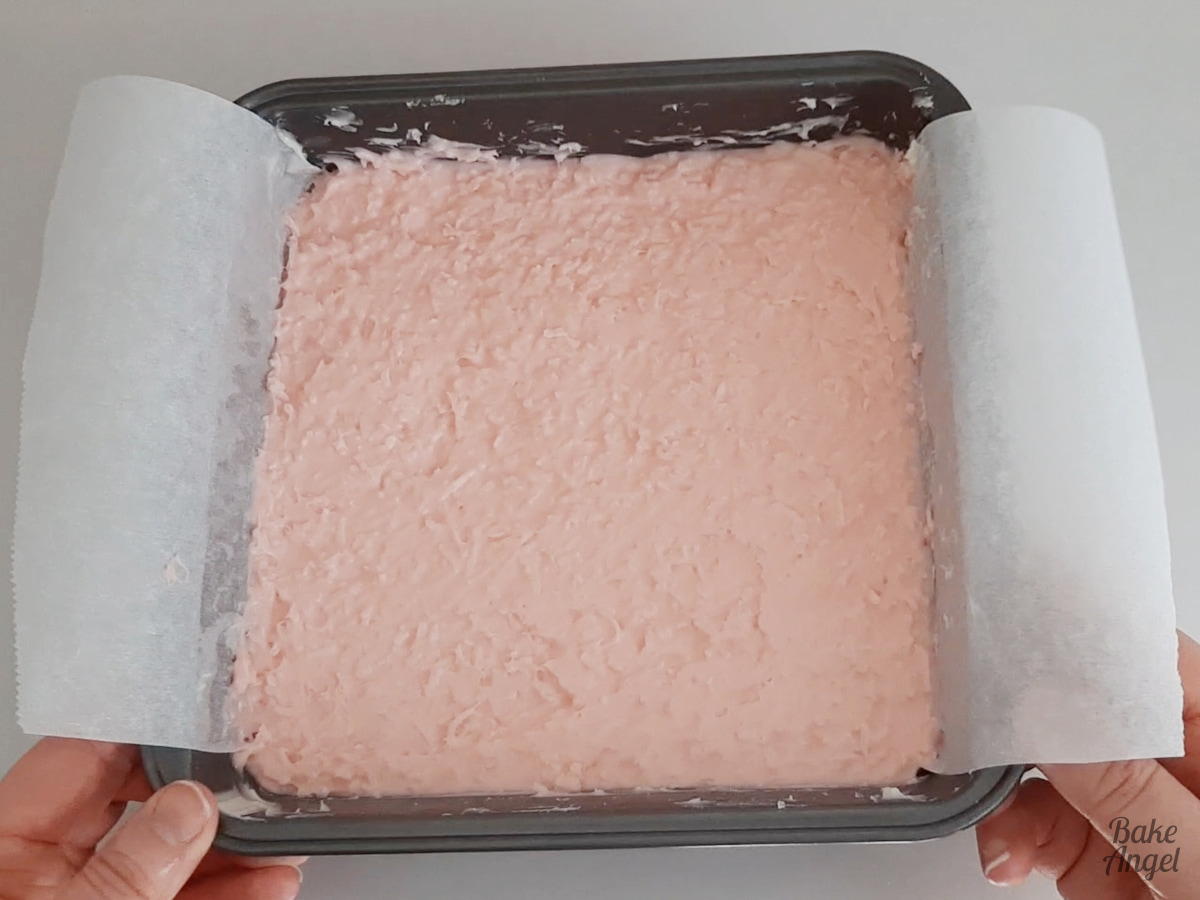
The Hardest Part: Let It Set
This will truly be a test of your willpower. Leave the coconut ice uncovered at room temperature for at least 2 hours. In very humid kitchens, it may take closer to 3 hours to fully firm up.
Once set, lift the slab out using the parchment paper overhang.
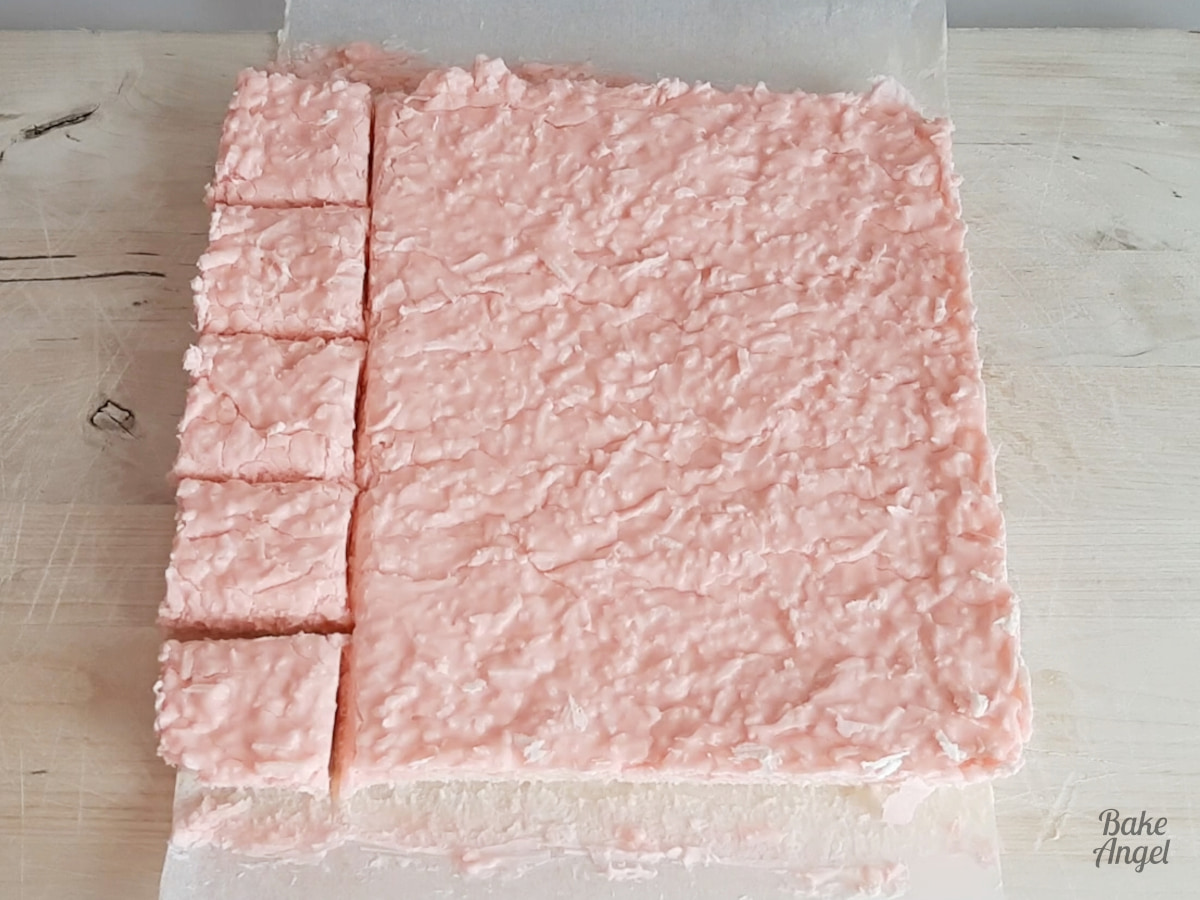
We waited (impatiently) before cutting up some of the coconut ice into bite-size pieces and then continued to cut the rest of the slab up throughout the following week, as we were snacking on it.
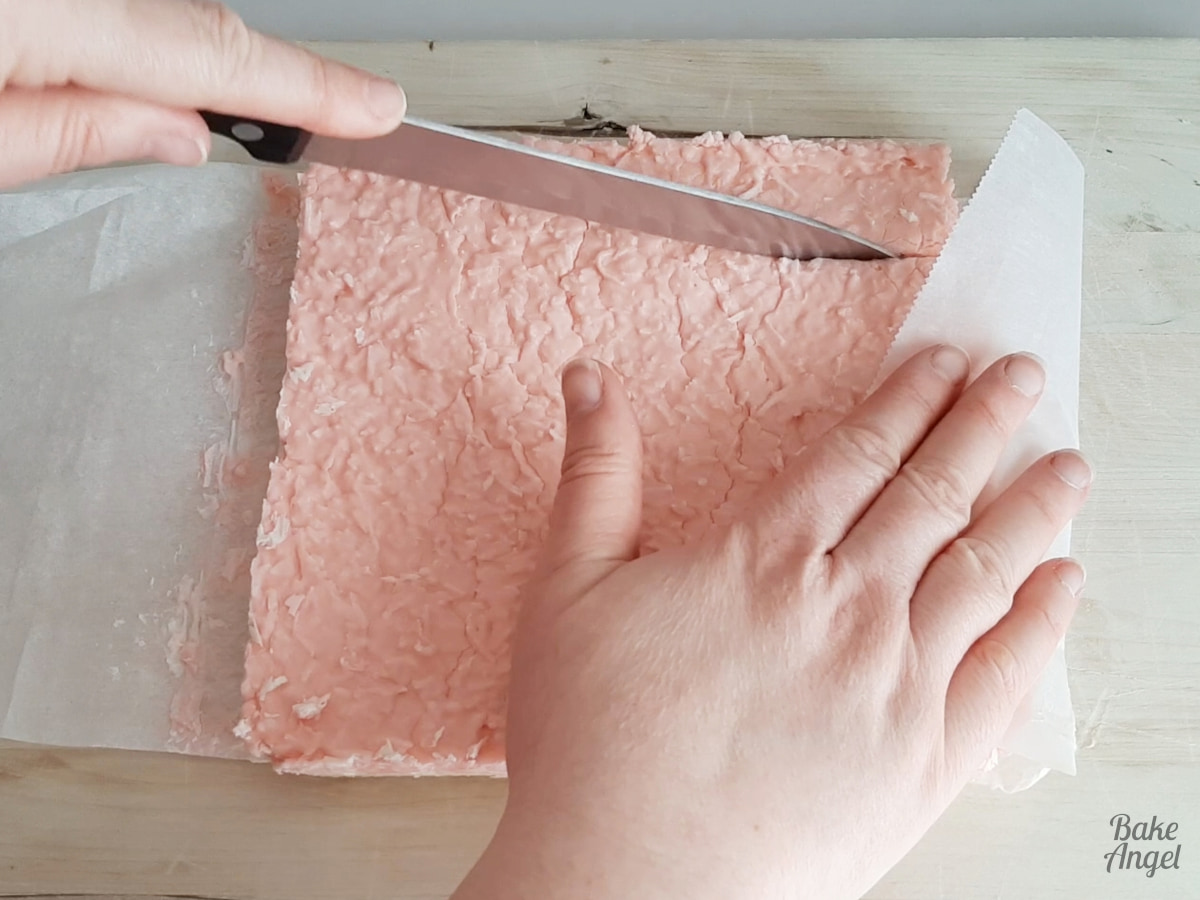
I recommend leaving the slab intact and cutting pieces as needed. This helps prevent the coconut ice from drying out too quickly.
Nice and easy and that took no time at all to make.
Serving Suggestion
These pink and white coconut ice squares are perfect alongside a cup of tea or coffee, or arranged on a dessert platter for parties, picnics, or afternoon treats. They also make a lovely homemade gift, wrapped in parchment for friends and family.
More Options and Variations
If you’d like to change things up, this recipe is very adaptable.
- Drizzle with melted dairy-free chocolate
- Add oil-based flavour extracts (avoid water-based extracts as they can affect setting)
- Change colours for holidays or celebrations
Neapolitan Coconut Ice:
Divide all ingredients into thirds and replace 20 g of icing sugar with cocoa powder for the chocolate layer.
Common Questions
Absolutely! Stick to oil-based extracts and add them sparingly to avoid altering the texture.
Coconut ice should be fudgy in the centre with a slightly firmer outer edge. It will feel very soft when first made and continue to firm up over time.
Scale the recipe using the method outlined in the ingredients section. You’ll end up with more coconut ice — never a bad thing.
While this recipe contains coconut (classified as a tree nut in some regions), it does not contain peanuts or other tree nuts. Always follow your household or school allergy guidelines.
Store in an airtight container at room temperature for up to 2 weeks. Leave the slab on parchment paper and cut pieces as needed for best texture.
Craving More Bite-Sized Treats?
This coconut ice is perfect for picnics, beach days, and dessert platters. If you love easy, small-batch sweets, try pairing it with my microwave vanilla fudge or millionaire shortbread for a crowd-pleasing spread.
For holiday cookie gift boxes, consider making these complimentary sweet treats:
- Chocolate Crinkle Cookies
- Candy Cane Shortbread
- Nut-Free Snowball Cookies
- No Nut Orange Cranberry Biscotti
If you make this recipe, I’d love to hear from you. Leave a comment below, rate the recipe, or share a photo on Instagram and tag @itsbakeangel so I can see your coconut ice creations.
4 Ingredient Coconut Ice
Equipment
- Wooden Spoon
Angela’s Top Tip
Weigh your dry ingredients in grams with a scale for best results!
Ingredients
- 250 ml Coconut Condensed Milk
- 200 grams Shredded Coconut (divided)
- 250 grams Icing Sugar (divided)
- Pink Food Colouring
Instructions
- Divide the icing sugar and shredded coconut into two equal portions.
- Grease and line an 8 x 8 inch pan with parchment paper, leaving overhang.
- Mix 125 g icing sugar with 125 ml condensed coconut milk until smooth. Stir in 100 g shredded coconut.
- Evenly spread the white coconut ice into the baking pan with a spatula.
- Add the remaining icing sugar (125 grams) and coconut condensed milk (125 ml) to the mixing bowl (no need to clean it between colours) with a few drops of pink food colouring, then stir in the remaining shredded coconut (100 grams).
- Spread carefully over the white layer and smooth the top.
- Leave uncovered at room temperature for at least 2 hours (up to 3 hours in humid conditions).
- Once firm, remove from the baking pan, cut into bite-sized pieces and enjoy.
Video
Notes
- This recipe makes at least 25 squares of coconut ice (roughly 1.5 inches in size).
- Store in an air tight container at room temperature for 2 weeks. I highly recommend cutting the slab as you want to eat the coconut ice, rather than cutting up the entire slab in one go. It will continue to firm up over time, but still remain soft and fudgy inside.
- To add an extra twist to your coconut ice, drizzle with melted chocolate or add flavouring to each layer.
- For a Neopolitan look, divide the coconut, icing sugar and coconut condensed milk into thirds and replace 30 grams of the icing sugar with cocoa powder.
- If you can only find larger cans of coconut condensed milk, increase the amount of coconut and icing sugar. The bonus of this is that you’ll end up with even more coconut ice to enjoy. Use the same amount of icing sugar as the ml in the can and then times the can size by 0.8 to calculate the amount of shredded coconut you’ll need. Eg if you have a 400 ml can of condensed milk, use 400 grams of icing sugar and 320 grams of shredded coconut.


This was such a fun and easy dessert to make with my kids!! They loved helping out in the kitchen and literally gobbled this up once it was ready to eat!
It’s definitely fun to make with kids.
These are such a nostalgic little treat! Love the chewiness of the coconut, too!
So nostalgic!
We had never had this particular sweet before, so I was thrilled to find your recipe. Just as easy and yummy as you promised – we loved it!
Thanks so much for your review. I’m so happy to hear that you all loved it.
It was so delicious and easy to make. The kids loved it and I’ll make this again.
So happy to hear that. Glad you all enjoyed the coconut ice.