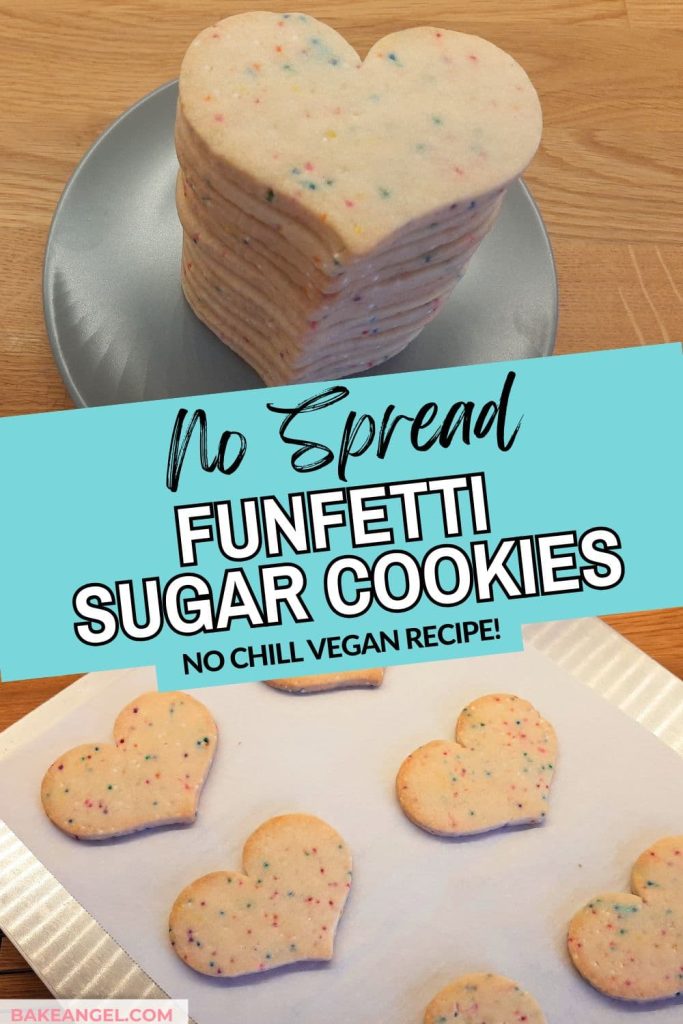
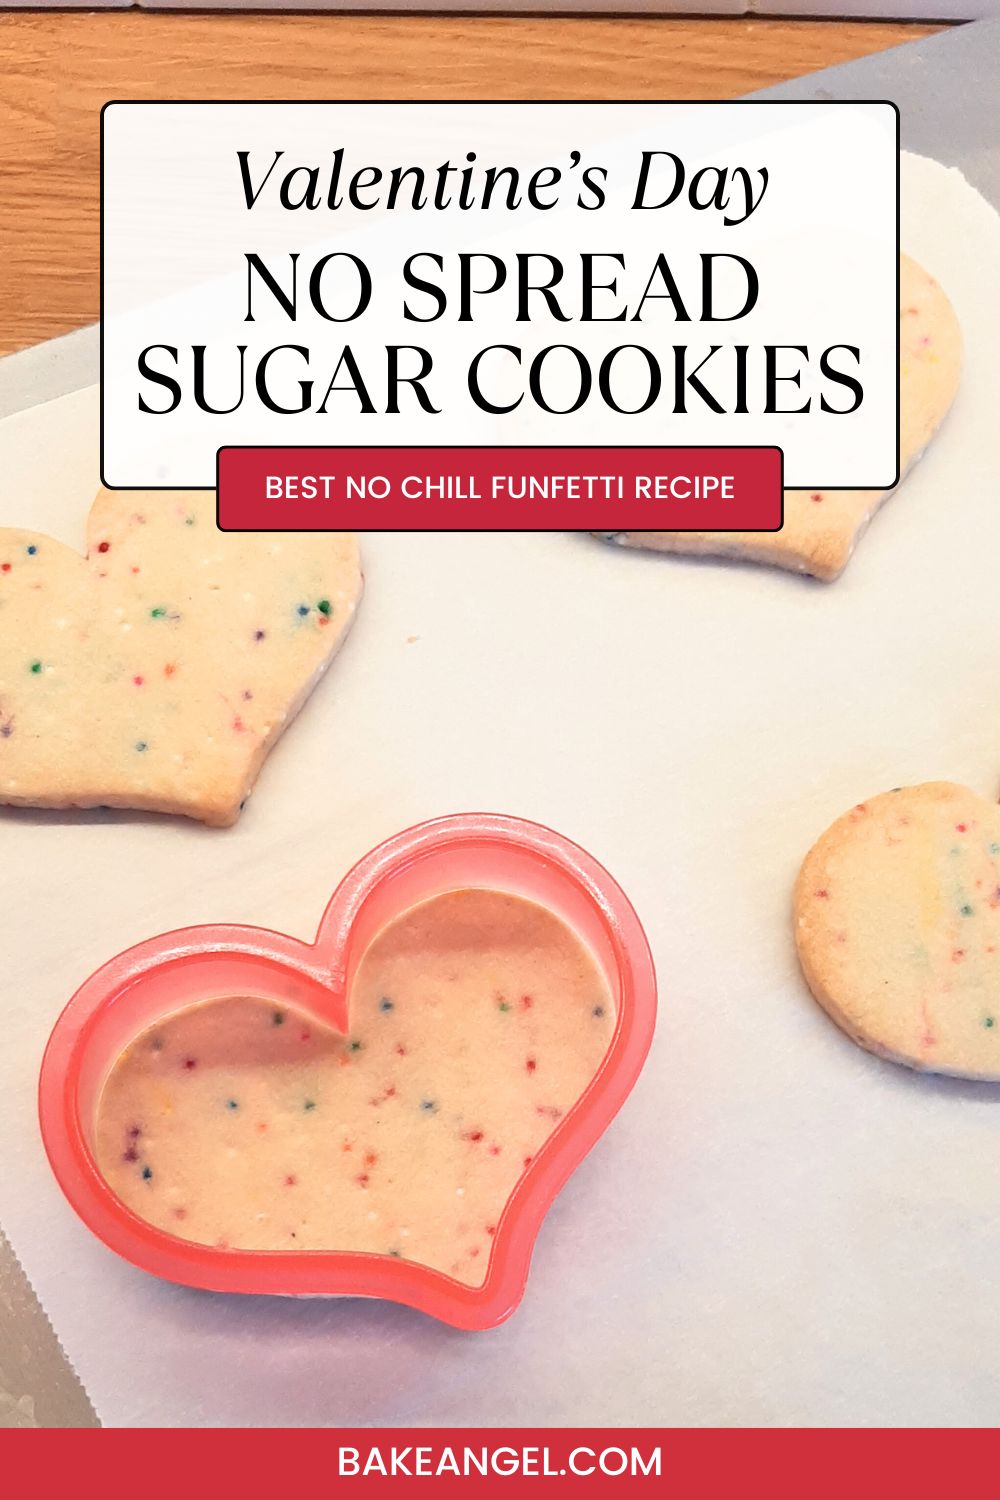
These no spread vegan funfetti sugar cookies are quick, reliable, and perfect for cut-out shapes. There’s no chilling required; they hold their shape beautifully in the oven, and they’re ready from start to finish in about 36 minutes. This is a dependable sugar cookie dough designed for decorators, busy bakers, and anyone who needs cookies that work first time – whether you’re baking heart-shaped cookies for Valentine’s Day or colourful funfetti cookies for any celebration.
Why I Made This Recipe
I created this recipe because I needed a no-spread sugar cookie that works every time. When you’re baking for families, classrooms, or anyone with food allergies, there’s very little room for guesswork – the dough has to behave predictably.
I develop allergy-aware recipes as part of daily life, not as a trend, so ingredient choice and ratios matter. This funfetti sugar cookie dough is based on a simple, proven shortbread-style ratio that eliminates the need for chilling while still holding sharp edges when baked.
The sprinkles add colour and crunch, but the real win here is reliability. This is the dough I reach for when I need cut-out cookies that stay the size and shape I cut them – whether they’re hearts for Valentine’s Day or classic rounds ready for decorating.
Why You Need to Make These
These no-spread funfetti sugar cookies take the stress out of baking cut-out cookies. There’s no chilling, no spreading in the oven, and no guesswork – just a dough that behaves exactly the way it should.
Perfect when you’re baking with kids, decorating with royal icing, or making Valentine’s Day sugar cookies that need to hold heart and letter shapes cleanly. The simple ingredient list and proven ratio make them easy enough for beginner bakers, while still delivering the reliability experienced cookie decorators look for.
These cookies are perfect if you need:
- No spread sugar cookies for cutters
- A no chill cookie dough for quick baking
- Vegan Valentine’s Day cookies for decorating
- A reliable funfetti cookie recipe that kids love
Soft in the centre, lightly crisp on the edges, and packed with colourful sprinkles, this is a dependable funfetti cookie recipe you can come back to for holidays, classroom treats, and everyday baking.
Ingredients and Substitutions
To keep this recipe suitable for allergy-awareness and vegan baking, every ingredient has been chosen intentionally. I rely on simple, widely available pantry ingredients and avoid anything that could introduce unnecessary spread or unpredictability in the dough.
One ingredient that deserves special attention in funfetti cookies is sprinkles. Many commercially available sprinkles contain dairy (often whey), gelatin, or shellac, which makes them unsuitable for vegan or dairy-free baking. If you’re baking for someone with food allergies, it’s always worth double-checking labels.
I use vegan-friendly sprinkles in this recipe and recommend choosing options with a firm coating, as they hold their colour better during baking and won’t bleed into the dough.
Let’s dive into the ingredients we’ll be using. For more questions about this recipe, check out my FAQ section.

Dry Ingredients
Flour: All-purpose flour gives the most reliable, no-spread results. I haven’t tested this recipe with gluten-free flour, but a 1-to-1 GF flour substitute should work. I’ve had consistent success with Bob’s Red Mill 1-to-1 GF flour in similar cut-out cookie recipes.
Sugar: White granulated sugar creates the classic sweet funfetti flavour. Golden or brown sugar will change both the flavour and texture of the cookies. Coconut sugar may work, but hasn’t been tested in this recipe.
Wet Ingredients
Plant-Based Butter: Use unsalted, block-style plant-based butter, not spreadable tub butter. Block butter has a lower water content, which is essential for preventing cookie spread. This recipe is designed to hold its shape, and butter choice plays a big role in that.
Flavourings: A combination of vanilla bean paste and almond extract gives the cookies their classic “birthday cake” flavour. If you avoid nuts, use an artificial almond-style extract, which is typically nut-free and still delivers great flavour. I use artificial extract myself, as it’s reliable, affordable, and avoids almond sensitivities.
For that pop of colour
Sprinkles: Nonpareils or standard jimmies both work well in this recipe. Be sure to choose vegan-friendly sprinkles, as many contain dairy (whey), gelatin, or shellac. Sprinkles with a firm coating hold their colour best during baking and won’t bleed into the dough.
Fun fact: I grew up calling sprinkles “hundreds and thousands” in the UK. When I first moved to Canada and asked for them in a shop, no one had a clue what I meant. Food terminology varies so much by country, and it’s one of the little things I still smile about when I’m baking.
How to Make Funfetti Cookies
I follow a simple 1-2-3 shortbread ratio for these cookies: 100 g sugar (½ cup), 200 g plant-based butter (14 tbsp), and 300 g all-purpose flour (2½ cups). This tried-and-true ratio ensures the dough holds its shape without spreading and creates the perfect texture.
Flavourings like vanilla and almond extract are optional, but they give these cookies their classic funfetti “birthday cake” taste. And don’t skip the sprinkles – they add colour, a little crunch, and are essential for that fun, celebratory feel.
Making the Dough
This dough comes together quickly using a simple, shortbread-style ratio that’s designed to prevent spreading. Start by preheating your oven to 325℉ (165℃) and ensuring your plant-based butter is at room temperature — soft enough to mix easily, but not melted.
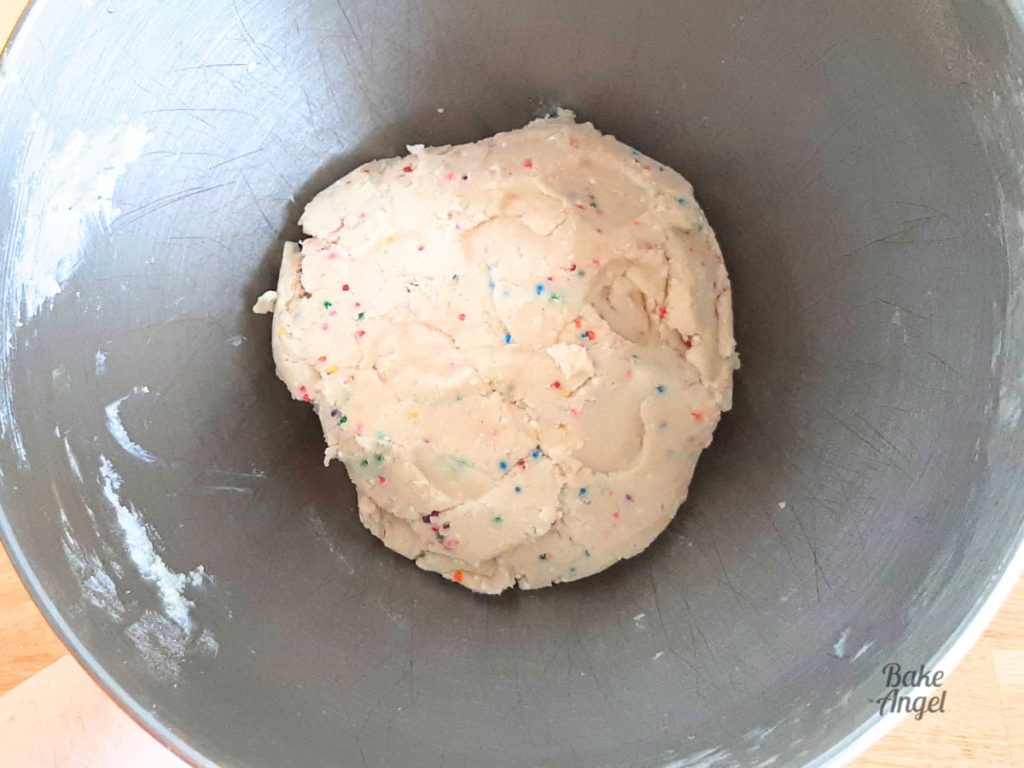
I prefer using a stand mixer for this recipe, as it allows the ingredients to combine evenly without overworking the dough. Add the ingredients gradually and stop mixing as soon as the dough comes together. Overmixing introduces excess air and can affect how the cookies bake.
If you don’t have a stand mixer, a hand mixer or mixing by hand works just as well. The key is gentle, minimal mixing to keep the dough smooth, stable, and easy to roll.
How to Roll Cookie Dough Evenly Every Time
Achieving evenly rolled cookie dough is key to baking cookies that look and bake perfectly. Here are my top tips for consistent results:
1. Use guide strips or paint stirrers. Place them on your work surface as thickness guides. 💡 Pro tip: Paint stirrers work just as well as guide rings and won’t touch the dough. They’re cheap, reusable, and easy to find at most hardware stores. Pick some up to add to your baking toolkit. This simple hack keeps your dough perfectly even every time.

2. Roll between parchment paper. This prevents sticking and avoids the need to dust with flour, which can dry out your dough.
3. Manage offcuts wisely. Instead of re-rolling scraps immediately, wait until the end and roll once. This minimizes overworking the dough, which can cause spread and uneven baking.
Following these simple steps ensures your dough is uniform, making cut-out cookies reliable and easy to decorate. With the right ratio and gentle mixing, your cookies will hold their shape beautifully every time.
Let’s Bake
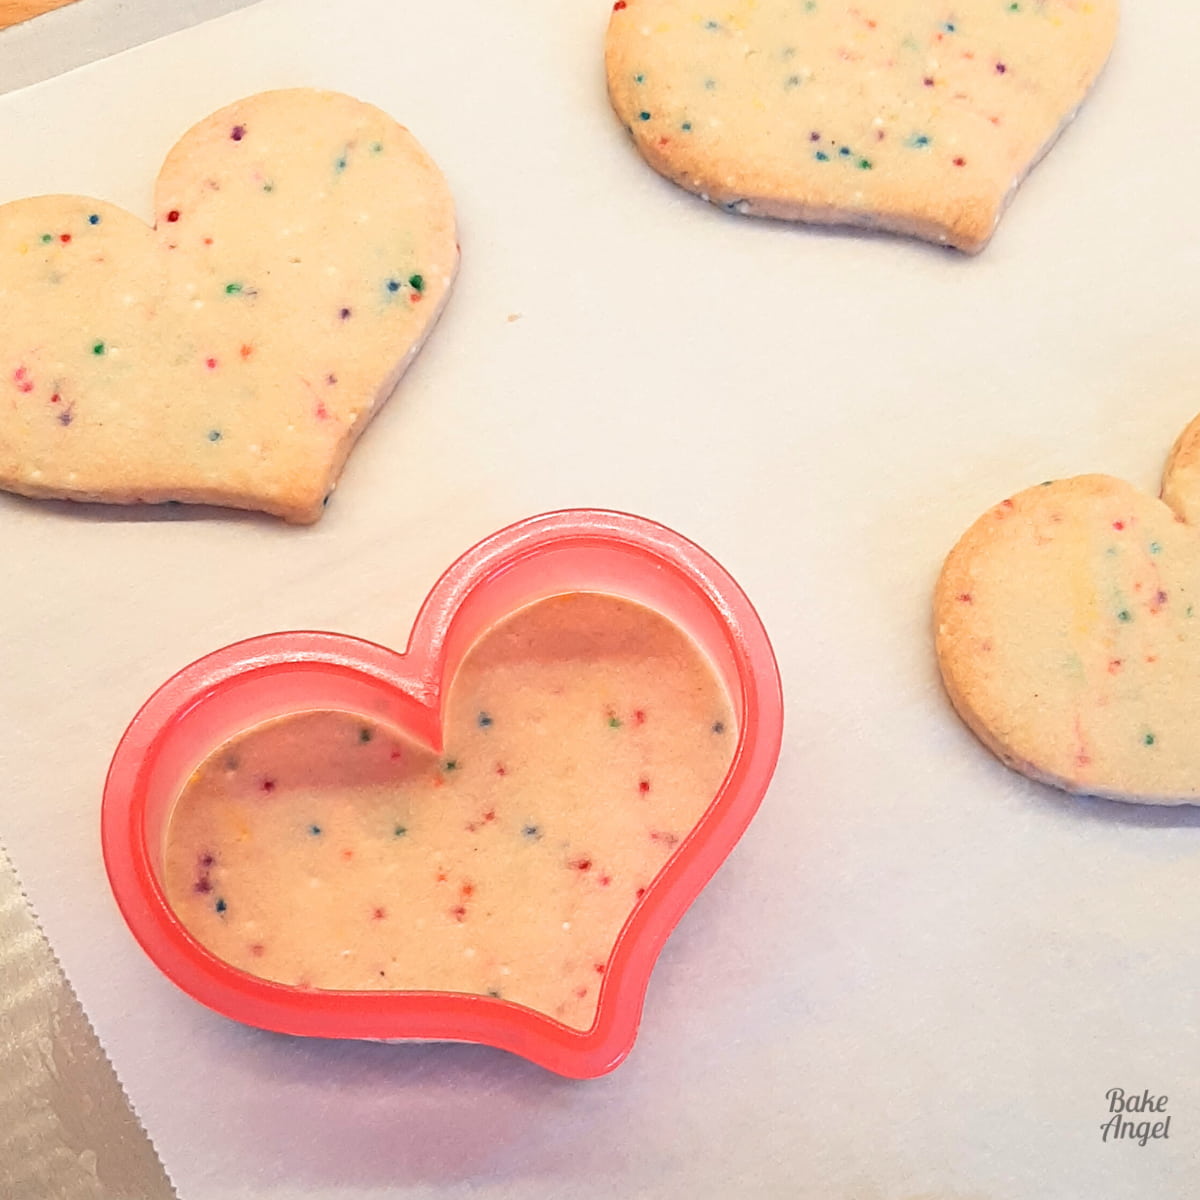
Now that your dough is rolled and shaped, it’s time to bake. These cookies don’t need chilling – just place your cookies on the lined baking sheet with a little space between them. Place the trays into the oven, bake until lightly golden at the edges, and you’re ready for decorating or enjoying straight from the tray.

Avoiding Cookie Spread
Even with this reliable dough, it helps to understand why cookies sometimes spread and how to prevent it. Here’s what I focus on:
- No leavening agents needed. This dough doesn’t rely on baking soda or powder, which can increase spread.
- Minimal mixing. Stop as soon as the dough comes together – overmixing incorporates air and can affect baking.
- Butter choice matters. High-water-content butter can cause spreading; stick to firm, block-style plant-based butter.
- Correct dry-to-wet ratio. The balance of flour, sugar, and butter is key to no-spread cookies. The 1-2-3 ratio is perfect for this.
💡 Pro tip: I tested this dough chilled versus unchilled – the ratio is perfect, so chilling isn’t required. This is a no spread, no chill recipe, perfect for quick baking and predictable results every time.
Following these tips ensures your cookies stay the exact size and shape you cut, making them ideal for cut-outs, decorating, and special occasions like Valentine’s Day.

Storage and Freezing
These funfetti cookies are best enjoyed fresh, but with proper storage, they’ll stay delicious for up days (or weeks!):
- Room Temperature: Store in an airtight container for up to 7 days. If decorated, keep in food-safe bags, a cookie box, or out of direct sunlight and heat.
- Heat-sealed bags: For even longer freshness, cookies stored in properly sealed bags can last up to 2 weeks. I’ve personally kept them longer, and they still taste great.
- Freezing unbaked dough: Wrap the dough tightly in plastic wrap, then place in an airtight container or freezer bag. Let it come to room temperature before rolling and cutting.
- Freezing baked cookies: Place fully cooled cookies in an airtight container, individual heat-sealed bags or a large freezer bag. Thaw at room temperature and decorate as desired.
💡 Pro tip: Freezing dough or cookies allows you to bake on demand – perfect for last-minute Valentine’s treats or any holiday baking.
Cookie Questions
Baking these cookies comes with a few common questions – here’s everything else you need to know to get perfect results every time:
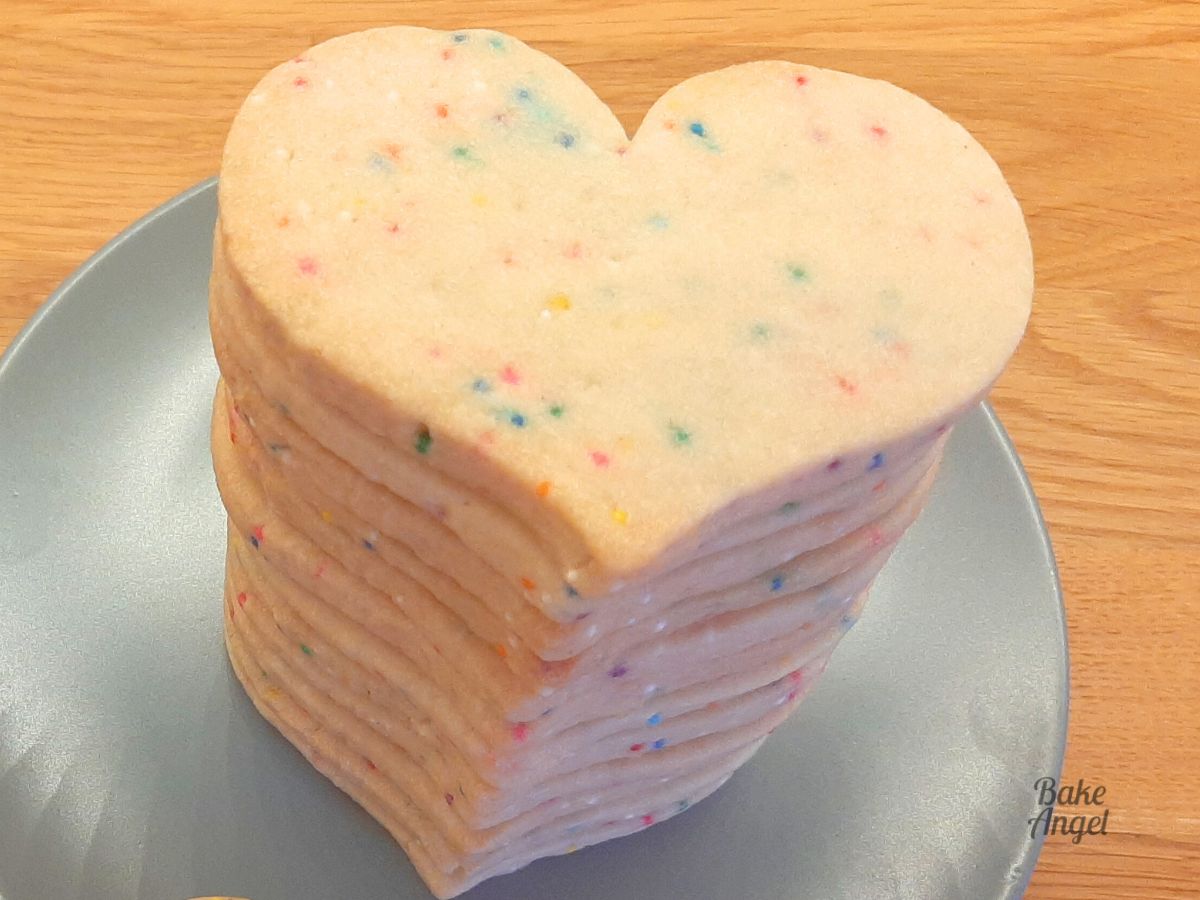
Approximately 18 cookies using a 3.5-inch heart cutter rolled to ¼-inch thickness. The yield will vary depending on the thickness and size of your cutter.
Absolutely. The 1-2-3 ratio scales easily – double, triple, or more using the recipe card buttons.
No chilling required! This is a no spread, no chill recipe, making it quick, convenient, and consistent every time. Simply roll, cut and bake.
Yes! These cookies hold up beautifully to royal icing, glaze, buttercream or fondant. For decorating ideas and tutorials, check out my Top 15 Cookie Decorating Tips.
Follow the tips above: correct ratio, minimal mixing, firm butter, and no leavening agents. These cookies are designed to stay the size and shape you cut, perfect for decorating and cut-outs.
Cookie Decorating Tips
Want to make these funfetti cookies even more special? Here are some quick ideas to take them from simple to show-stopping:
- Royal icing or glaze: Perfect for piping designs or adding a smooth finish. Try my Small Batch Royal Icing Recipe.
- Buttercream accents: Add texture and colour with a small piping tip. See my Stable Vanilla Buttercream Tutorial.
- Fondant details: Add fondant layers to create dimensional designs. My simple Marshmallow Fondant is the real MVP.
- Sprinkle toppings: Reinforce the funfetti vibe — layer on top of icing or press lightly into raw dough.
- Themed decorations: Heart-shaped cutters make these cookies ideal for Valentine’s Day, birthdays, or other celebrations.
💡 Pro tip: Start decorating simple and build up to more detailed designs – these cookies are forgiving and firm enough to handle multiple layers.
For even more inspiration, check out my Top 15 Cookie Decorating tips, where I cover everything from basic techniques to advanced piping ideas.
More Cookie Recipes You’ll Love
If you enjoy these no-spread funfetti cookies, try these other favourites from my blog:
- Small Batch Strawberry Lemonade Cookies (Dairy Free) – Quick, fruity and perfect for Spring
- Menorcan Pastissets – Spanish Sugar Cookies (Dairy Free) – a simple, festive treat with a delicate texture.
- Red Velvet Drop Cookies (Vegan) – Soft, colourful and allergy-friendly.
- Orange Spice Sugar Cookies (Vegan) – Warm spices make them perfect for holiday decorating.

No Spread Vegan Funfetti Cookies – Perfect for Decorating and Cut-Out Shapes
Equipment
- Paint Stirrers (get these from your hardware store)
Angela’s Top Tip
Weigh your dry ingredients in grams with a scale for best results!
Ingredients
- 100 grams White Sugar (1/2 US cup)
- 200 grams Plant Based Butter (unsalted) (14 tbsp)
- 300 grams All Purpose Flour (plain flour – 2.5 US cups)
- 0.5 tsp Vanilla Bean Paste
- 0.5 tsp Almond Extract (artificial if nut free)
- 50 grams Sprinkles
Instructions
- Preheat & prep: Preheat oven to 325°F (165°C). Line baking pans with parchment paper. Ensure butter is at room temperature.
- Cream butter & sugar: In a stand mixer, cream 200 grams Plant Based Butter (unsalted) and 100 grams White Sugar together until smooth.100 grams White Sugar, 200 grams Plant Based Butter (unsalted)
- Add flavourings: Mix in 0.5 tsp Vanilla Bean Paste and 0.5 tsp Almond Extract.0.5 tsp Vanilla Bean Paste, 0.5 tsp Almond Extract
- Incorporate flour: Add 300 grams All Purpose Flour in thirds, mixing gently until just combined. Avoid overmixing.300 grams All Purpose Flour
- Fold in sprinkles: While mixing on low, add 50 grams Sprinkles. Scrape down bowl once to ensure even distribution.50 grams Sprinkles
- Roll dough: Place dough between two sheets of parchment paper. Roll to ¼-inch thickness using paint stirrers or guides if desired.
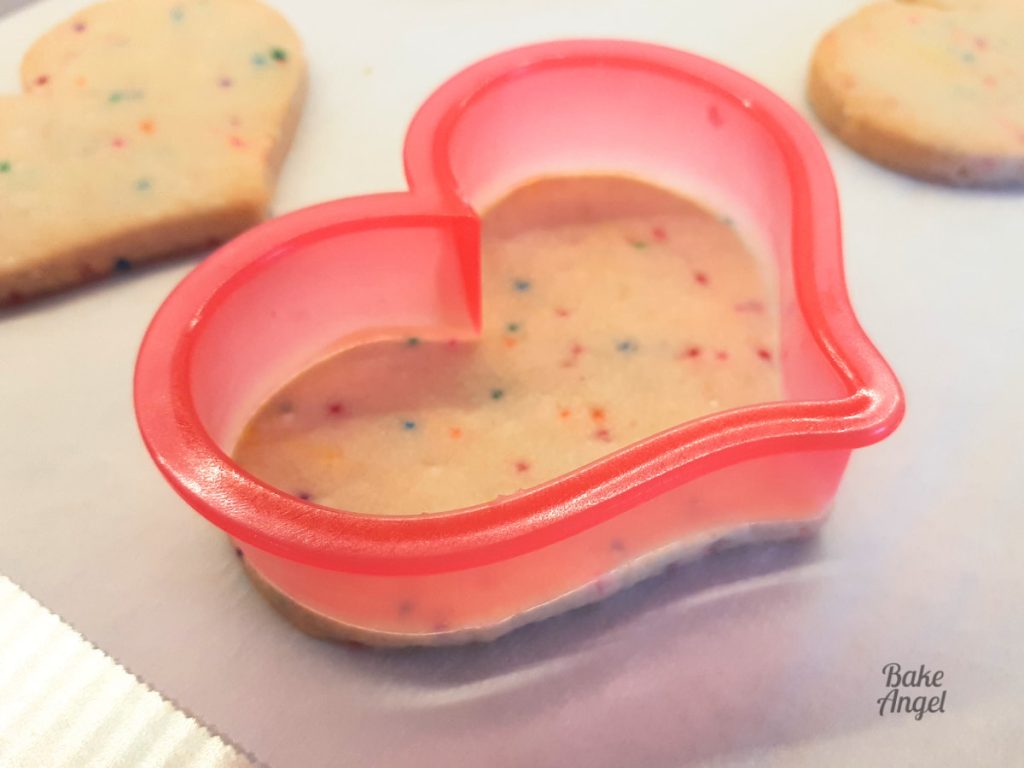
- Cut shapes: Use cookie cutter to cut shapes and place on prepared baking pans.
- Bake: Bake at 325°F (165°C) for 16–18 minutes, until edges are lightly golden and the surface looks matte.
- Cool & enjoy: Allow cookies to cool completely before decorating or serving.
Video
Notes
- Yield: About 18 cookies using a 3.5-inch heart cutter. Adjust thickness and cutter size as desired.
- Scaling: This recipe follows the 1-2-3 shortbread ratio – easily double, triple, or triple-plus for larger batches.
- Decorating: Firm enough for royal icing, fondant, glaze, or buttercream. Check out Top 15 Cookie Decorating Tips for inspiration.
- Gluten-Free: Substitute all-purpose flour with a 1-to-1 GF baking blend.
- Chilling: No chilling required – roll, cut, and bake.
- Storage:
- Room Temperature: Airtight container for up to 7 days.
- Heat-Sealed Bags: Up to 2 weeks (I’ve personally stored longer with great results).
- Freezing: Dough or baked cookies freeze well; thaw at room temperature before decorating.


Love me some funfetti cookies! These look delicious.
Thanks – they’re so good. Hope you enjoy them!
So glad I found this recipe. Thanks for the spreading tips as well. Makes so much sense!
Perfect no spread recipe and tasty! Thank you. Got to learn from you at the cookieathon event this summer.
Thanks so much Nancy! I’m so happy you love this recipe and you enjoyed Cookie-A-Thon.