
Homemade chocolate donuts don’t have to mean a big batch or a morning spent in the kitchen. These small-batch chocolate ring donuts make just six and bake in a toaster oven in around 8 to 10 minutes, making them a lovely homemade dessert to prepare while dinner is cooking. From mixing the batter to serving your donuts, you can have them ready in less than 25 minutes.
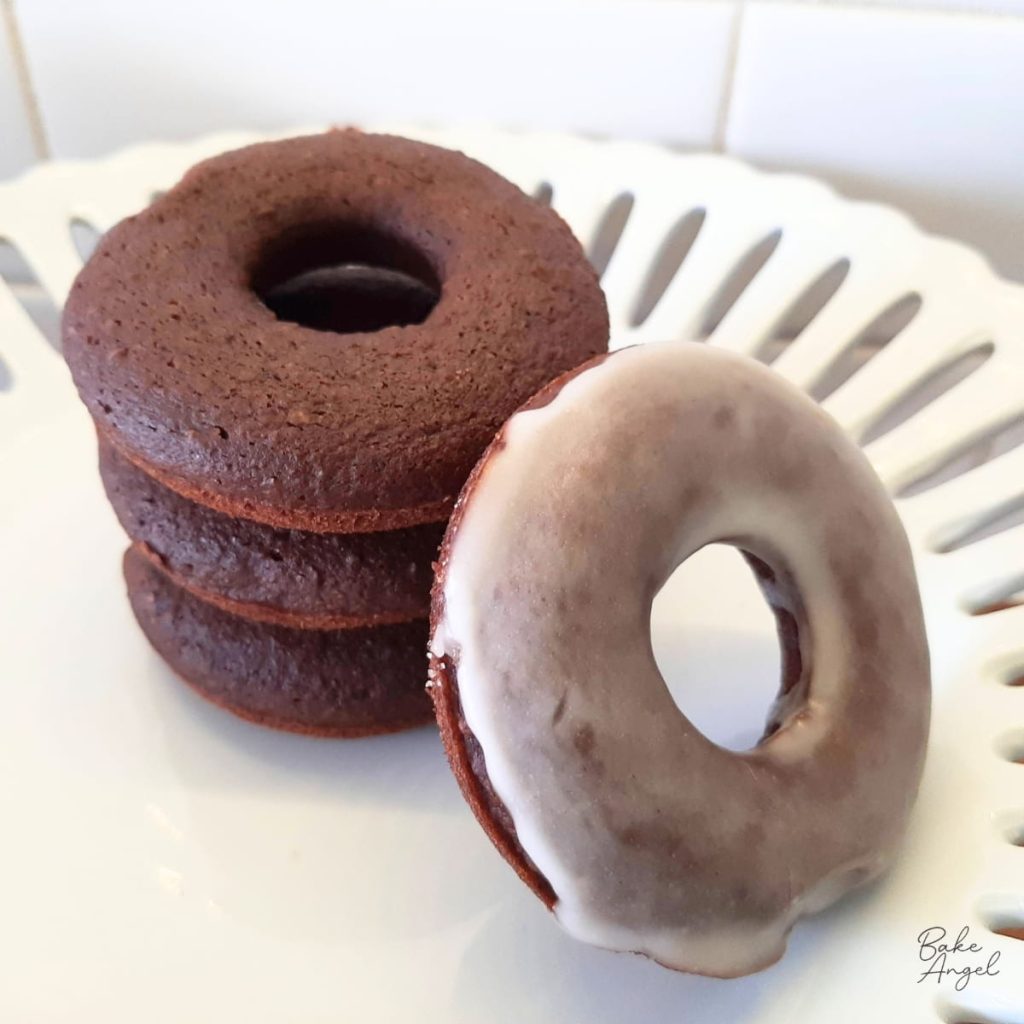
Made with cocoa powder, plant-based milk, and applesauce instead of eggs, these chocolate donuts are naturally vegan when prepared with dairy-free butter. You don’t need a stand mixer or complicated equipment, either. Just mix, pipe, and bake!
Why I Made This Recipe
Sometimes you want to bake something homemade without making more than your family can enjoy. I wanted chocolate donuts that were quick to prepare, made with everyday ingredients, and didn’t require a large batch.
Using a six-cavity donut pan means there’s no need to make a dozen donuts when you only want a small treat. Baking them in a toaster oven is another practical option, especially on busy evenings when the main oven is already in use, or you simply don’t want to heat the whole kitchen.
Why You’ll Love These Chocolate Donuts
- Small batch: Makes six ring donuts, ideal for a family dessert.
- Quick baking: The donuts bake in around 8 to 10 minutes.
- Toaster oven friendly: A practical option for smaller batches.
- Vegan: Applesauce replaces the egg, with plant-based milk and dairy-free butter.
- Simple ingredients: No specialist equipment or complicated techniques.
- Simple to customize: Enjoy them plain or add a glaze or your favourite topping.
Ingredients You’ll Need
Here’s what you’ll need to make these chocolate donuts.
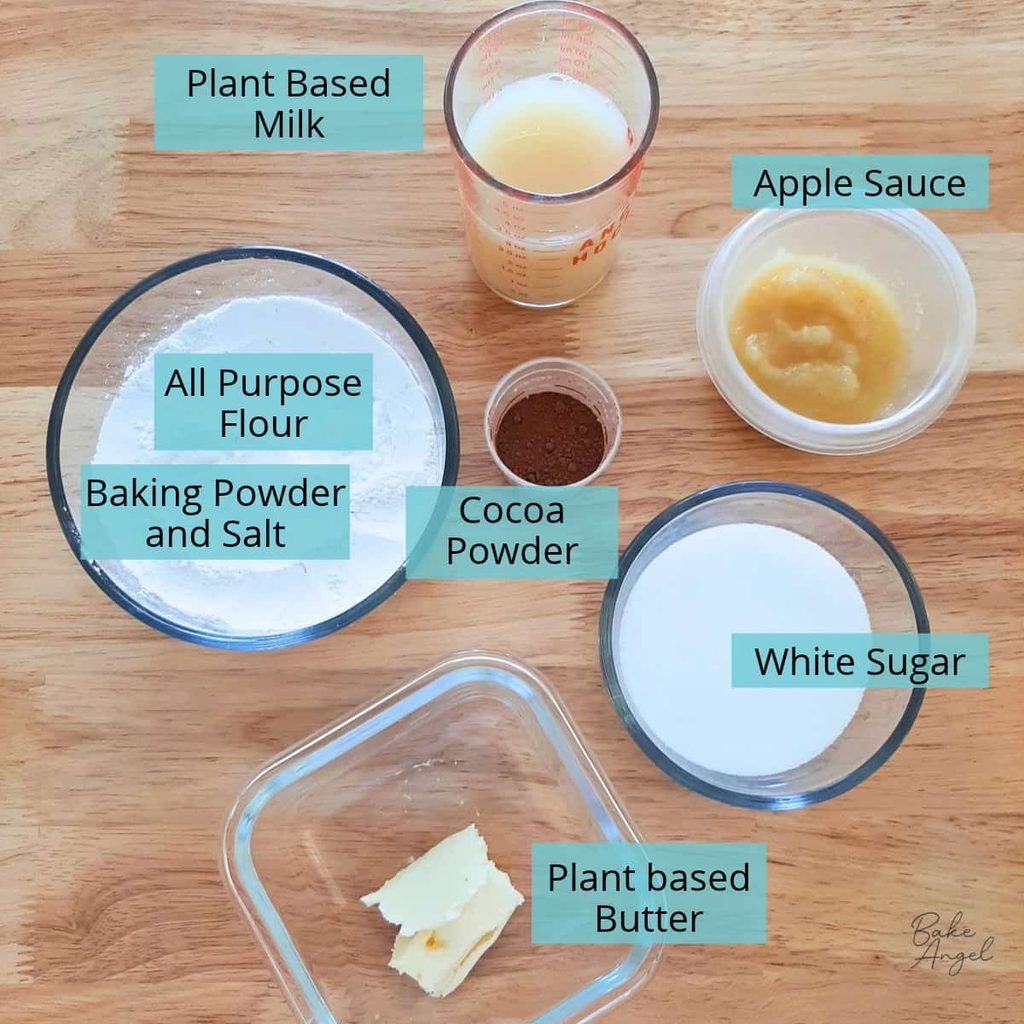
Cake flour: Cake flour has a lower protein content than all-purpose flour, helping give these donuts a tender texture. If you can’t find cake flour at your grocery store, you can make your own at home. See my homemade cake flour guide.
Baking powder: Helps the donuts rise, giving them a light texture.
Salt: Balances the sweetness and enhances the chocolate flavour.
White sugar: Adds sweetness and helps create a lovely texture.
Cocoa powder: Gives the donuts their chocolate flavour. Use unsweetened cocoa powder rather than a sweetened drinking chocolate mix.
Butter: A small amount of melted butter adds richness. Use dairy-free butter to keep the recipe vegan and dairy-free.
Plant-based milk: I use almond milk, but you can substitute another suitable milk that meets your dietary needs.
Applesauce: Replaces the egg and helps bind the batter together. Use unsweetened applesauce if possible so you can control the sweetness.
Ingredient Substitutions
One of the things I love about this recipe is how straightforward it is to adapt.
- Not vegan? Replace the 50 g of applesauce with one egg, as demonstrated in the video. The final texture may vary slightly.
- Need gluten-free donuts? Try a suitable gluten-free flour blend formulated for cakes and other baked goods. I haven’t tested this recipe with every blend, so results may vary.
- Need nut-free donuts? Choose a suitable nut-free plant-based milk, such as oat milk, and check all ingredient labels for your requirements.
How to Make Chocolate Donuts
These donuts come together quickly, so I recommend preheating your oven before you start mixing the ingredients.
1. Preheat the oven and prepare your pan
Preheat your oven or toaster oven to 420°F (220°C). Make sure it has reached temperature before baking.
Lightly spray the cavities of a six-cavity donut pan with oil. This helps the donuts release easily once baked.
2. Combine the dry ingredients
Add the cake flour, baking powder, salt, white sugar, and cocoa powder to a mixing bowl.
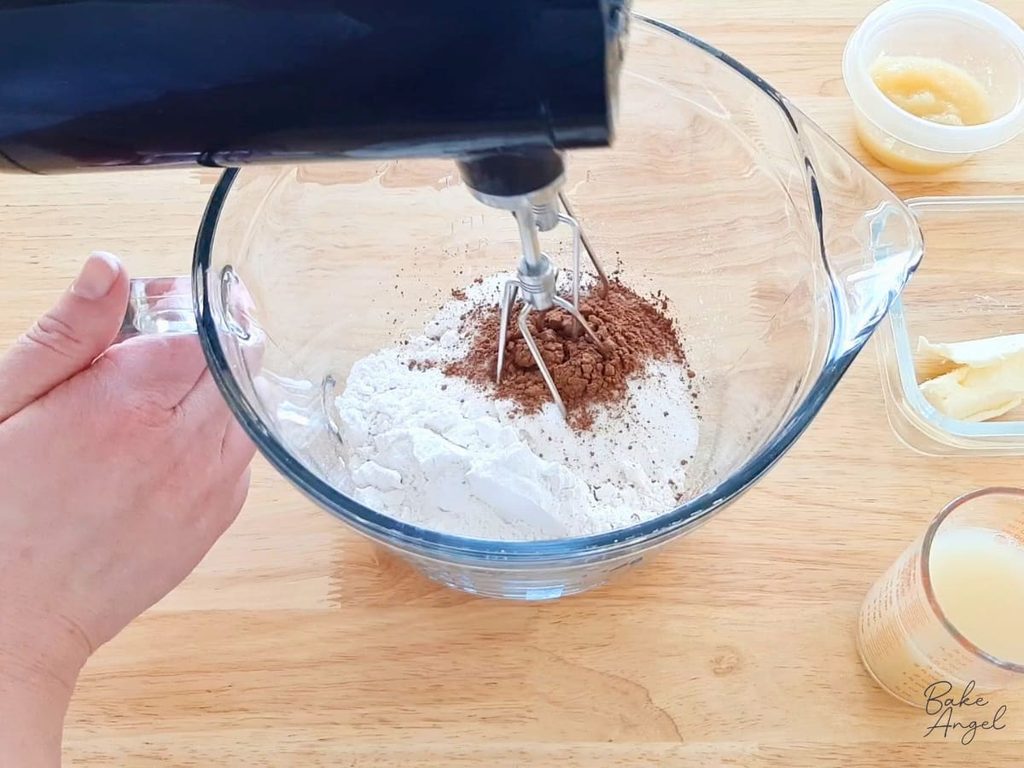
Mix until the ingredients are evenly distributed and the cocoa powder is incorporated throughout.
3. Add the wet ingredients
Melt the butter in the microwave, taking care not to overheat it. A small amount like this may only need around 20 seconds, depending on your microwave.
Add the melted butter, plant-based milk, and applesauce to the dry ingredients.
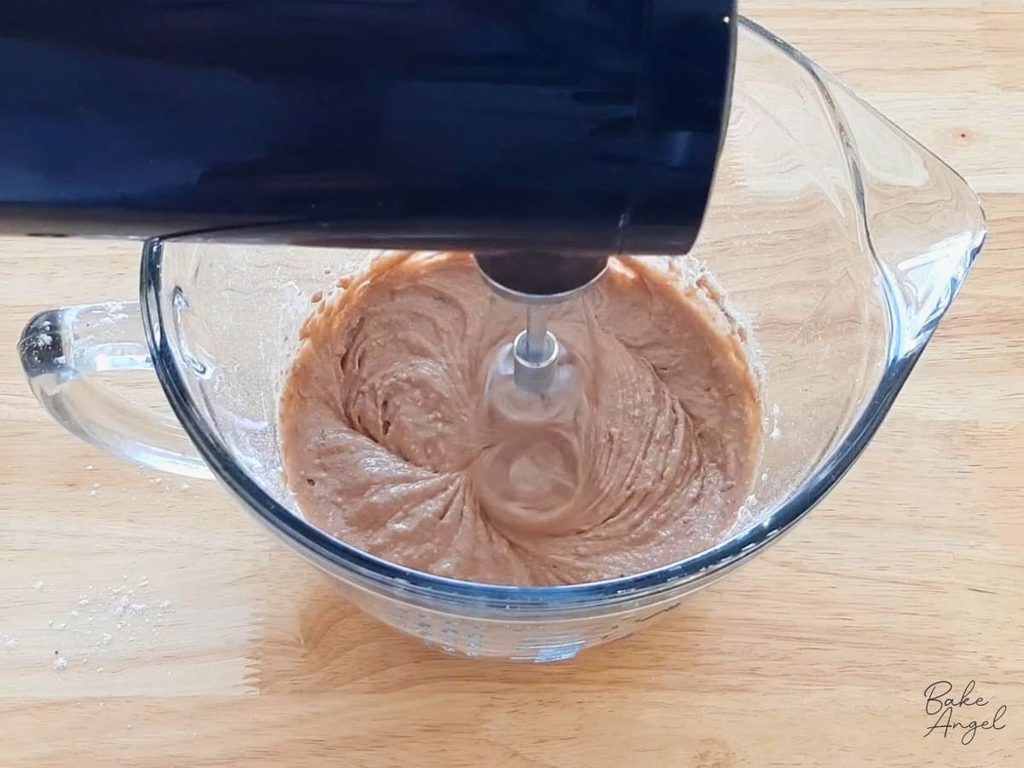
Using a hand mixer, mix until everything is combined and no dry flour remains at the bottom of the bowl.
4. Transfer the batter to a piping bag
Transfer the batter into a piping bag or a sturdy zip-top bag.
Bake Angel tip: Place your piping bag inside a tall glass or mug before filling it. Fold the top of the bag over the rim to hold it open, leaving both hands free to add the batter without making a mess.
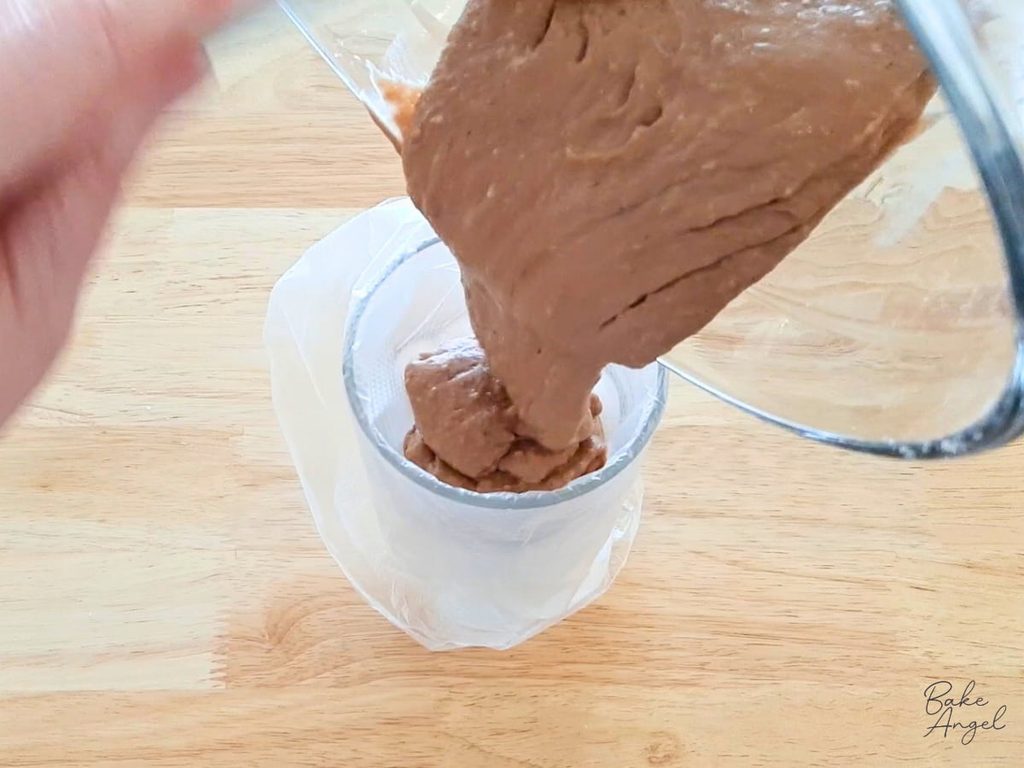
Push the batter towards the bottom of the bag, twist the top closed, and secure it with a clip or elastic if needed.
5. Fill the donut pan
Snip a small opening in the end of the piping bag.
Pipe the batter into each donut cavity, working around the ring a few times to distribute the mixture evenly. Allow the batter to settle, then use the remaining batter to top up the cavities.
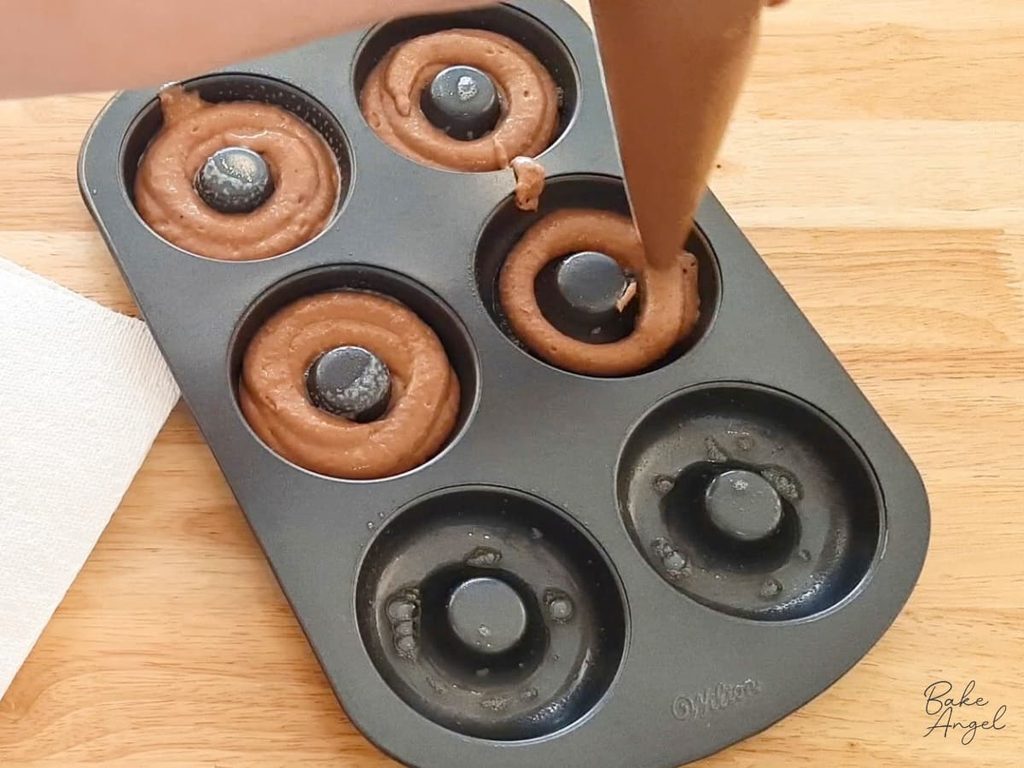
Once all six cavities are filled, gently tap the pan on the counter a few times. This helps level the batter and encourages larger air bubbles to rise to the surface.
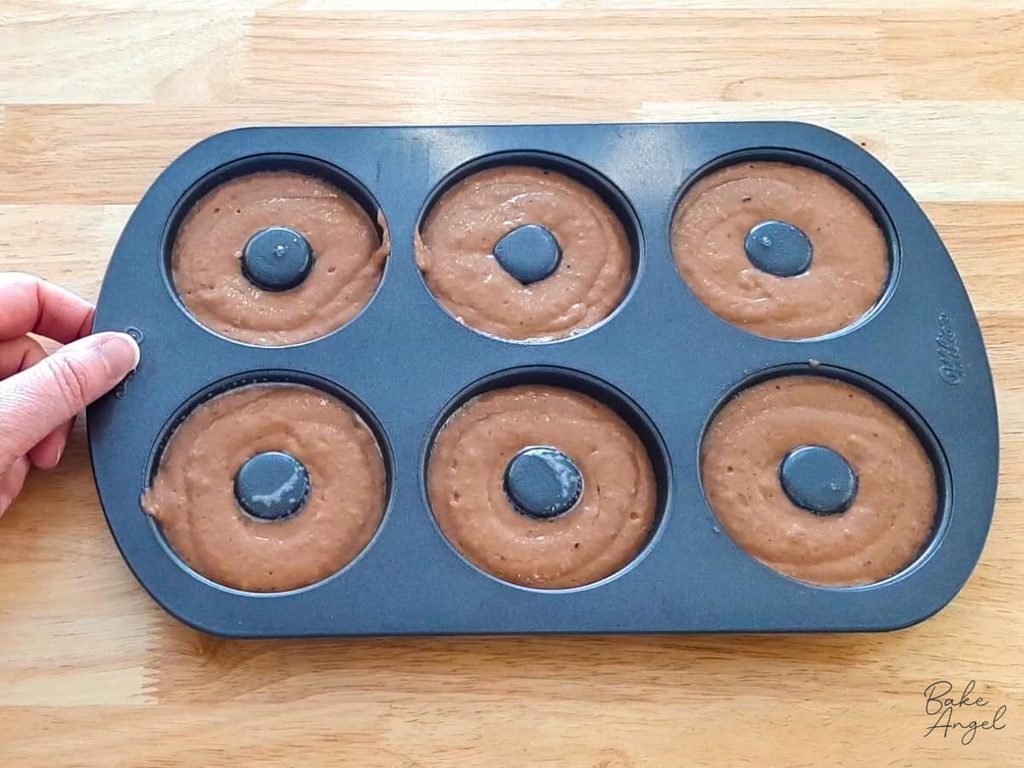
Wipe away any batter that has dripped onto the pan so it doesn’t burn during baking.
6. Bake the donuts
Place the pan in your preheated oven or toaster oven and bake for 8 to 10 minutes at 420°F (220°C).
The high baking temperature helps the batter puff up quickly, giving the donuts their lovely risen shape. The tops will look set when they’re ready.
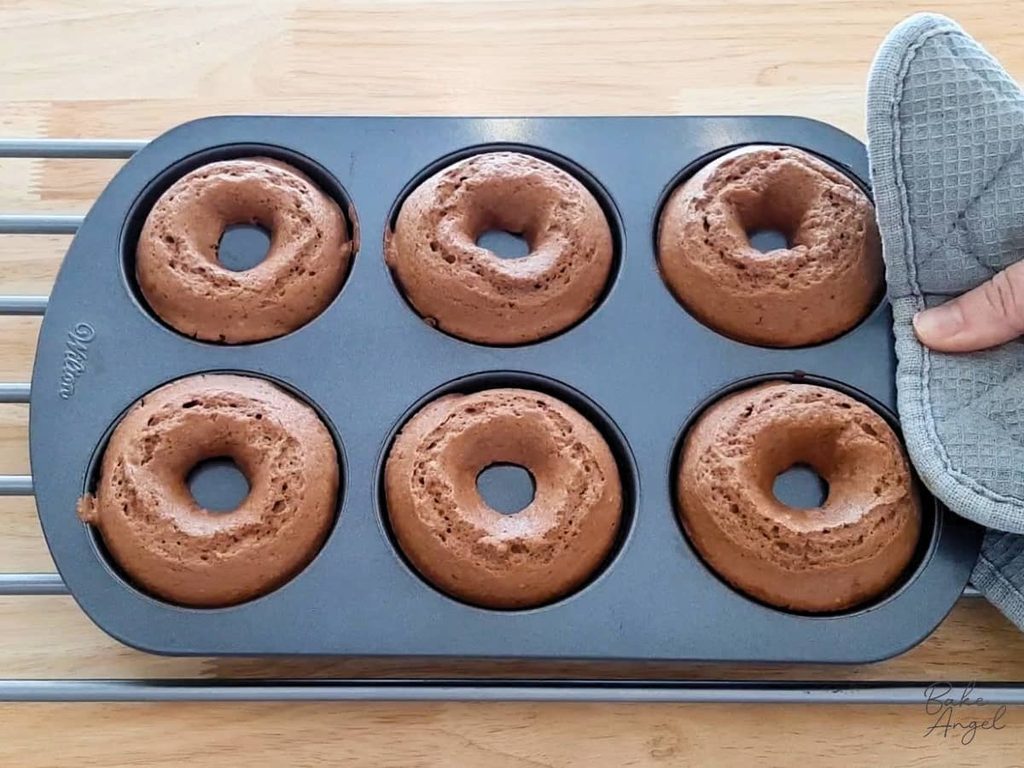
Baking times can vary slightly depending on your toaster oven, pan, and the amount of batter in each cavity, so check towards the end of the baking time.
7. Cool and decorate
Remove the pan from the oven and allow the donuts to cool in the pan before carefully lifting them out.
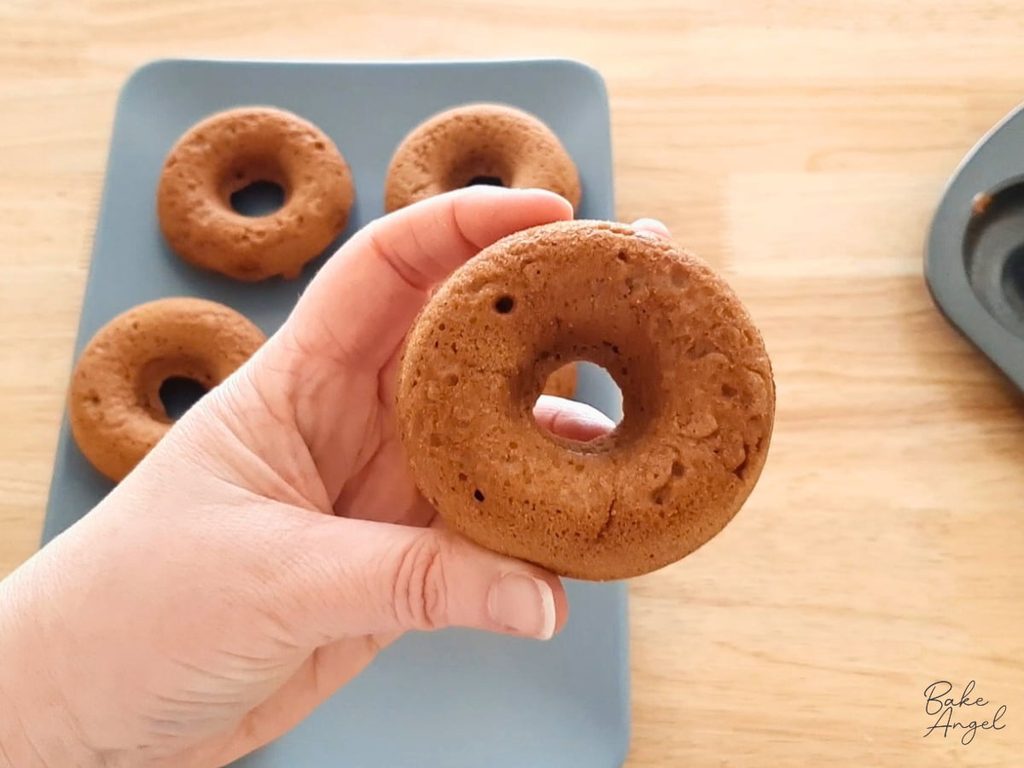
Transfer them to a plate or wire rack to finish cooling.
You can enjoy them plain or add a quick glaze made by mixing icing sugar with a little water until you reach your preferred consistency. Drizzle or spread the glaze over the cooled donuts and let it set before serving.
And that’s it! Homemade chocolate donuts in less than 25 minutes.
Tips for the Best Chocolate Donuts
- Pipe rather than spoon: A piping bag helps distribute the batter evenly.
- Leave room to rise: Don’t fill the donut cavities right to the top.
- Watch your toaster oven: Heating patterns vary, so check the donuts towards the end of baking.
How to Store Chocolate Donuts
Store the cooled donuts in an airtight container at room temperature for up to 3 days. If you’ve added a glaze, allow it to set before storing.
You can also freeze the donuts for up to 3 months in an airtight container. Let them defrost, then pop them in the microwave in 10-second increments if you’d like to enjoy them slightly warm. I recommend adding the glaze after defrosting.
Frequently Asked Questions
Yes! This chocolate donut recipe works in a toaster oven, as long as your 6-cavity donut pan fits comfortably inside. Leave enough room for air to circulate and keep an eye on the donuts as they bake, as toaster ovens can vary in how they distribute heat.
If you aren’t making the vegan or egg-free version, you can replace the 50 g of applesauce with one egg. This is the alternative I demonstrate in the recipe video.
Absolutely – simply use the handy upscaler in the recipe card to double and triple the recipe. A larger recipe will need to be baked in batches if you’re using your toaster oven.
Yes! This recipe makes 24 mini donuts. They’re so good that they have their own post – check it out for more tips and a fun way to use them.
Yes! You can bake the donuts the day before you need them. Let them cool completely, then store them in an airtight container at room temperature. I recommend adding the glaze or decorations closer to serving time for the freshest finish.
Ways to Serve These Chocolate Donuts
These chocolate donuts are lovely on their own, with a rich chocolate flavour that doesn’t need much extra. If you fancy dressing them up, there are plenty of ways to decorate them for everyday treats, birthdays and seasonal celebrations.
Keep them simple: A light drizzle of icing sugar glaze is all you need for a sweet finishing touch. You can also leave them plain or add a little melted chocolate once they’ve cooled.
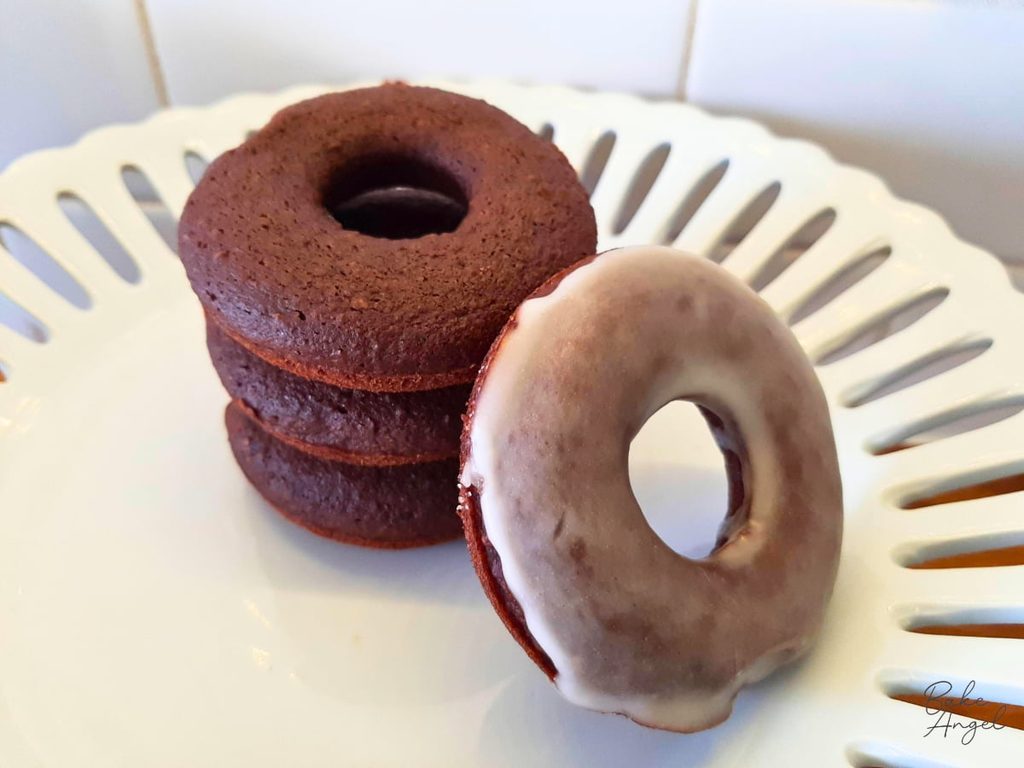
Add a swirl of frosting or ganache: For something a little more indulgent, try topping the donuts with my American buttercream or chocolate ganache. You can pipe a small swirl onto each donut or spread it over the top before adding sprinkles or other decorations.
Create a decorate-your-own donut table: These are a fun addition to a children’s birthday party. Bake the donuts ahead of time and let them cool completely, then arrange them on a platter alongside small bowls of glaze, frosting, sprinkles and other suitable toppings. Everyone can decorate their own donut, making it a lovely little party activity as well as a dessert.
Make them seasonal: Change the toppings to suit the occasion. Try pastel frosting and colourful sprinkles for Easter, red and pink decorations for Valentine’s Day, or festive sprinkles and a chocolate drizzle at Christmas. You could even use orange icing and themed sprinkles for Halloween.
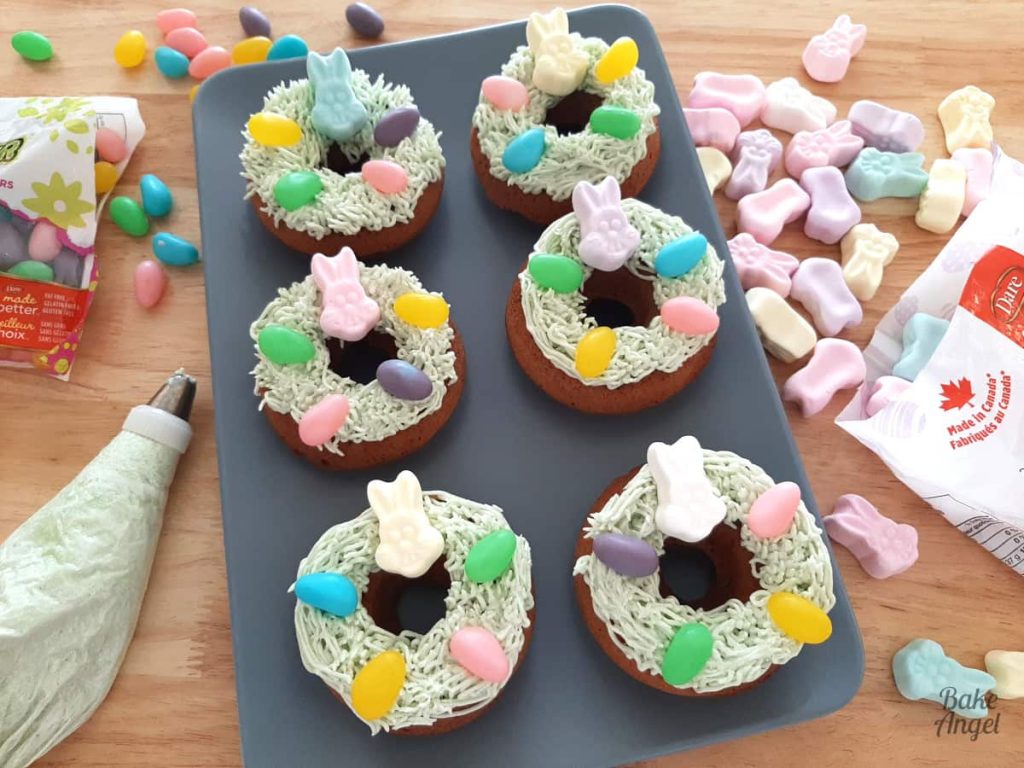
It’s a simple way to turn one small batch of homemade chocolate donuts into something a little more special, without needing to change the recipe itself.
Bake Angel Top Tip: When serving guests with food allergies, check the labels on all toppings and decorations and keep suitable ingredients and utensils separate.
More Baking Inspiration
If you enjoy making homemade treats without committing to a big baking session, here are a few more recipes to explore.
- Chocolate Mug Cake: A quick chocolate dessert for one when you want something sweet without making a full batch.
- Small Batch Orange Spice Cookies: Perfect when you want a few homemade cookies to enjoy with your afternoon tea or coffee.
- Fillings and Icings: Find recipes for frostings, fillings, and other baking components to bring your homemade treats together.
- Dairy-Free Baking Recipes: Discover more everyday bakes made without dairy, with practical substitutions to help you bake with confidence.
Food allergies and dietary requirements don’t have to limit what you bake. With a few simple ingredients and a little flexibility, you can still enjoy homemade treats that fit your family.
Happy baking!

Small-Batch Chocolate Donuts (Vegan)
Angela’s Top Tip
Weigh your dry ingredients in grams with a scale for best results!
Ingredients
- 120 grams Cake Flour
- 1 teaspoon Baking Powder
- ½ teaspoon Salt
- 70 grams White Sugar
- 1 tablespoon Unsweetened Cocoa Powder
- 15 grams Plant Based Butter melted
- 90 ml Plant-Based Milk
- 50 grams Apple Sauce unsweetened
- Cooking Spray for greasing the donut pan
Instructions
- Preheat your oven or toaster oven to 420°F (220°C). Lightly grease a six-cavity donut pan with cooking spray.
- Add the cake flour, baking powder, salt, sugar and cocoa powder to a mixing bowl. Mix until evenly combined.
- Melt the dairy-free butter in the microwave. Add the melted butter, plant-based milk and applesauce to the dry ingredients.
- Using a hand mixer, mix until everything is combined and no dry flour remains at the bottom of the bowl.
- Transfer the batter to a piping bag or zip-top bag. Snip a small opening in the end.
- Pipe the batter into the six prepared donut cavities, distributing it evenly. Gently tap the pan on the counter to level the batter and release larger air bubbles.
- Bake for 8–10 minutes at 420°F (220°C), until the donuts have risen and are set.
- Allow the donuts to cool in the pan before carefully removing them. Transfer to a plate or wire rack to finish cooling.
- If desired, mix icing sugar with a little water to make a simple glaze. Drizzle over the cooled donuts and allow to set before serving.
Video
Notes
- Yield: Makes six regular ring donuts.
- Not Egg-Free?: Replace the 50 g applesauce with one egg if you don’t need the recipe to be vegan.
- Milk alternative: Almond milk is used in the original recipe, but other plant-based milks can be substituted.
- Cake flour: Cake flour gives these donuts a tender texture. See my homemade cake flour guide to make your own, plus an easy gluten-free substitute.
- Toaster oven: Check that your six-cavity donut pan fits comfortably inside your toaster oven. Baking times may vary slightly between appliances.
- Storage: Store in an airtight container at room temperature for up to 3 days.
- Nutrition Information: Nutritional values are estimates and are provided as a guide only. They are calculated based on the ingredients used and may vary depending on the brands and substitutions you choose.



Leave a Reply