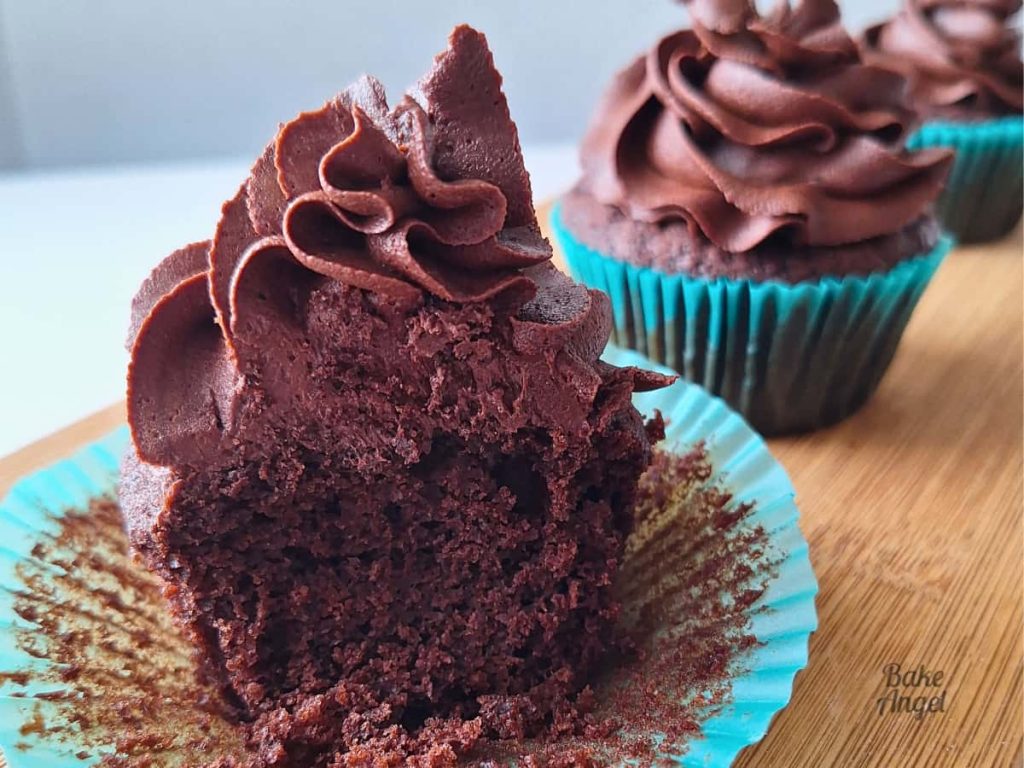
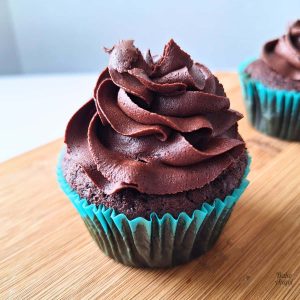
This stable chocolate buttercream frosting is silky, rich, indulgent, and perfectly balanced – everything you want in a reliable, easy-to-make recipe. It’s dairy-free, vegan, and designed to hold its shape, making it ideal for cakes, cupcakes, cookies, and even macarons. With a smooth, medium consistency that lightly crusts, this buttercream is especially great for piping and performs well in warm or humid conditions.

Created to complement my popular Stable Vanilla Buttercream, this allergy-friendly chocolate version has been extensively tested in my home kitchen. As a baker with 19+ years of experience and a Mom to a family with food allergies, I tested multiple ratios to create a buttercream that delivers consistent results, great flavour, and reliable structure every time.
Why You’ll Love This Buttercream
If you’re looking for a reliable dairy-free chocolate buttercream frosting that pipes beautifully and holds up in warm weather, this recipe ticks every box:
- Allergy-Friendly: Free from dairy, eggs, gluten, nuts, and soy.
- Simple Ingredients: Made with everyday pantry staples.
- Stable for Decorating: Holds details well for detailed designs and layering.
- Balanced Flavour: Rich but not overly sweet.
- Yield: Enough to frost a two-layer 8-inch cake or 16-24 cupcakes, depending on how generously you pipe.
Whether you’re making a special birthday cake or need a quick frosting for a small batch of vanilla cupcakes, this recipe uses simple steps that anyone can follow. It’s also a fantastic beginner-friendly buttercream if you are new to decorating, so don’t be afraid to give it a go.
Ingredients and Substitutions
Made with simple vegan ingredients, this dairy-free chocolate buttercream frosting is naturally egg-free, gluten-free, soy-free, and nut-free, without compromising on rich, chocolatey flavour.
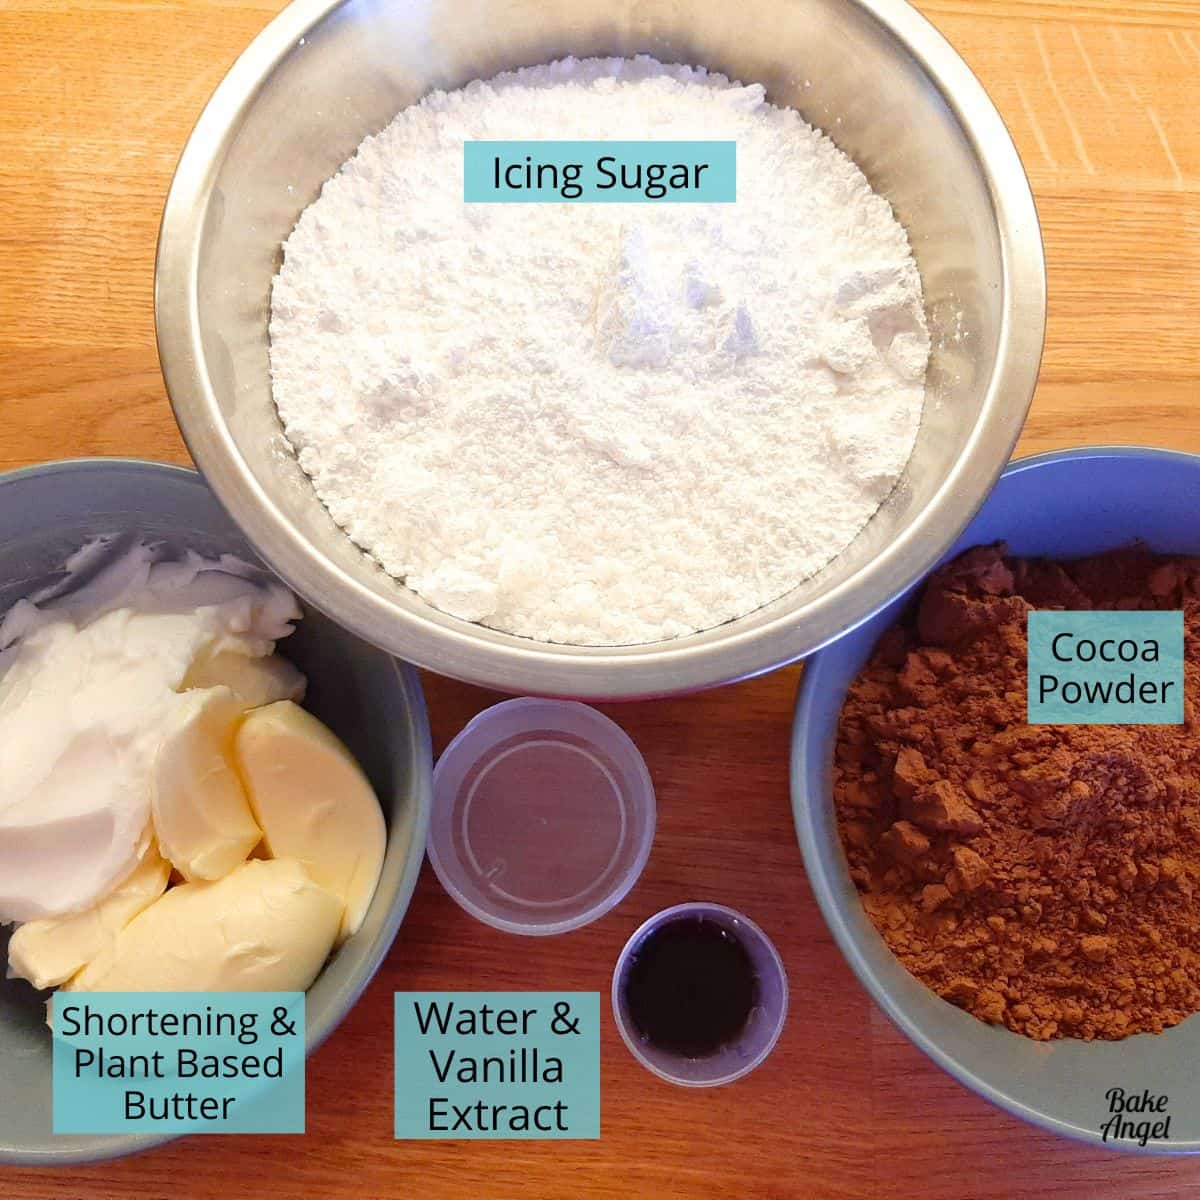
- Plant-Based Butter and Shortening: This buttercream uses a 50/50 mix to provide stability that holds up in heat while still tasting rich and creamy. Feel free to switch up the ratios if you prefer to use more butter, although the buttercream may soften more in warmer conditions.
- Cocoa Powder: Sift the cocoa powder if there are any lumps. I personally prefer to use Dutch-processed, but any cocoa powder will work.
- Icing Sugar: Provides structure and sweetness. Always sift your icing sugar to ensure a silky, lump-free buttercream.
- Water: Essential to create the pipeable, smooth consistency. Sub with plant-based milk for a creamier option – soy, oat, and almond milk all work well.
- Vanilla Extract: Use extract or vanilla bean paste to lift the flavour of the buttercream. Coffee extract also works wonderfully for a mocha-inspired flavour.
How to Make Stable Chocolate Buttercream
This buttercream is quick to make with no fancy equipment or ingredients needed. Make sure your butter is at room temperature before starting.
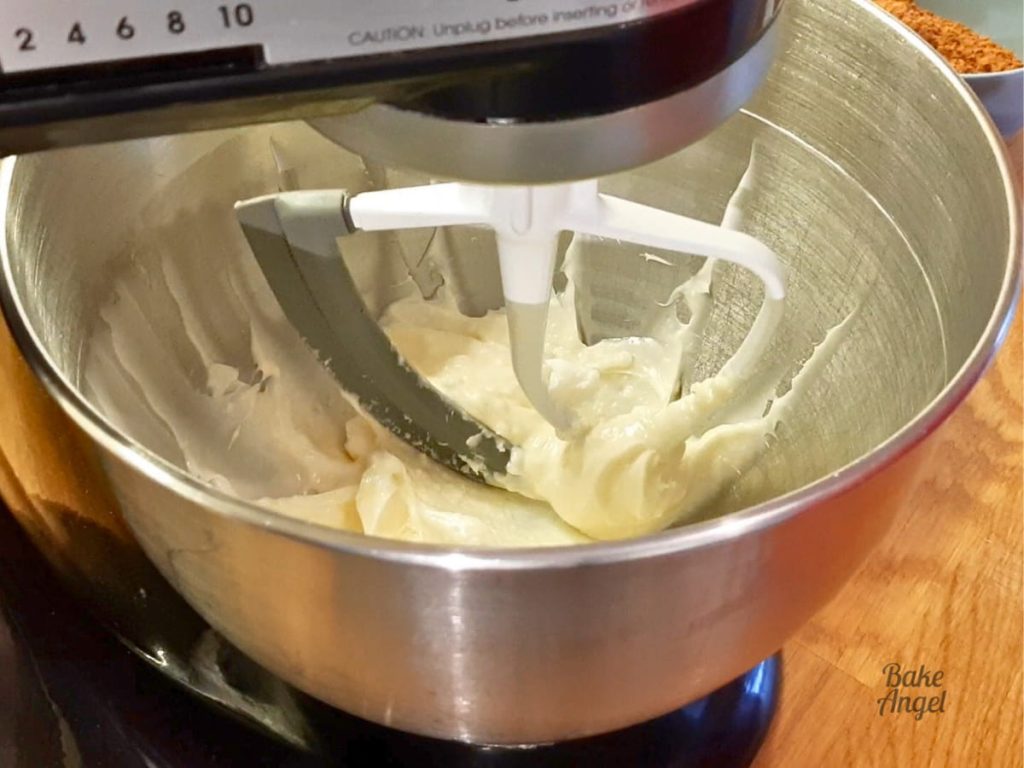
1. Add plant-based butter and shortening to the mixing bowl and beat for 1-2 minutes until smooth.
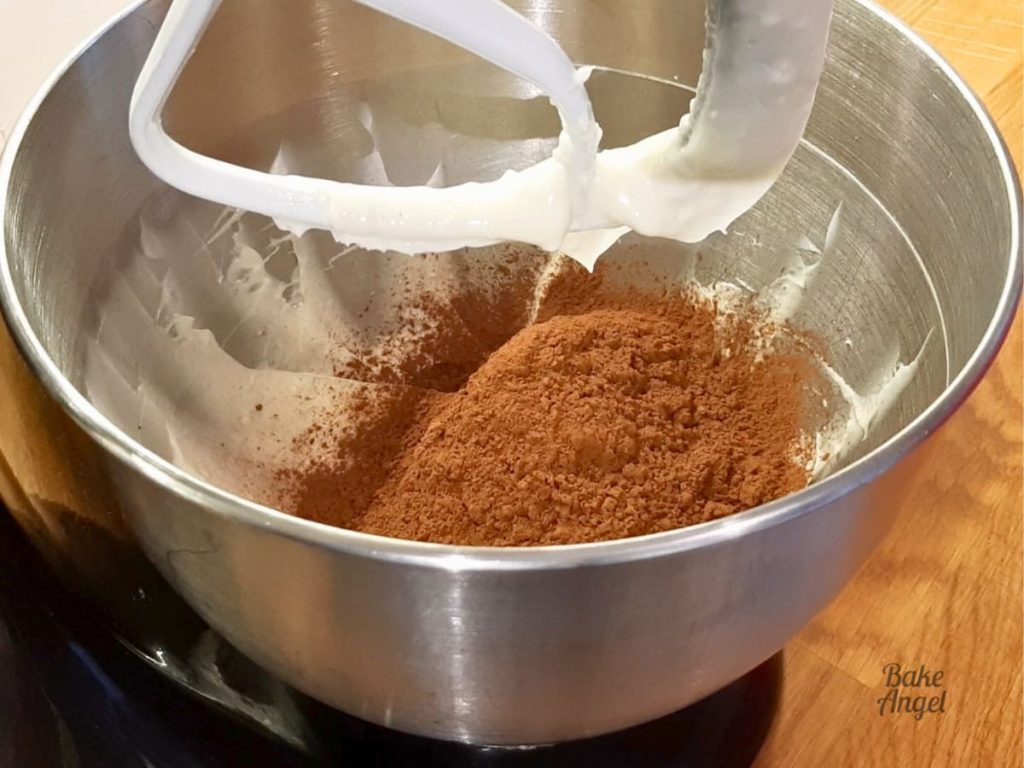
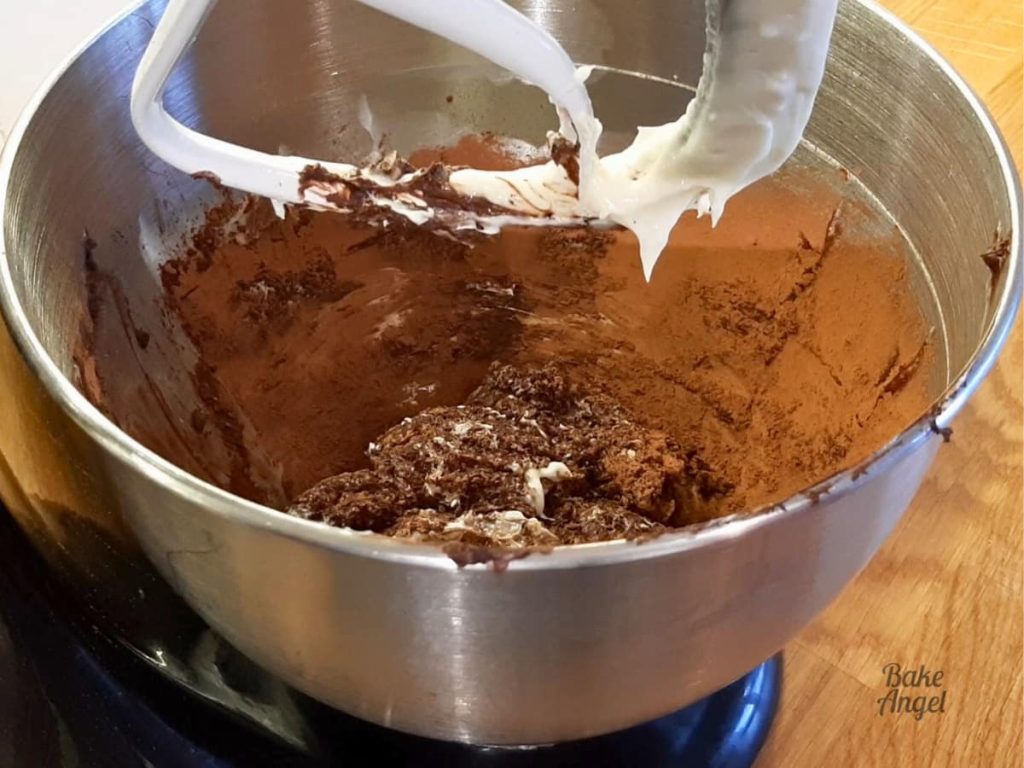
2. Mix in the cocoa powder and vanilla extract until fully combined.
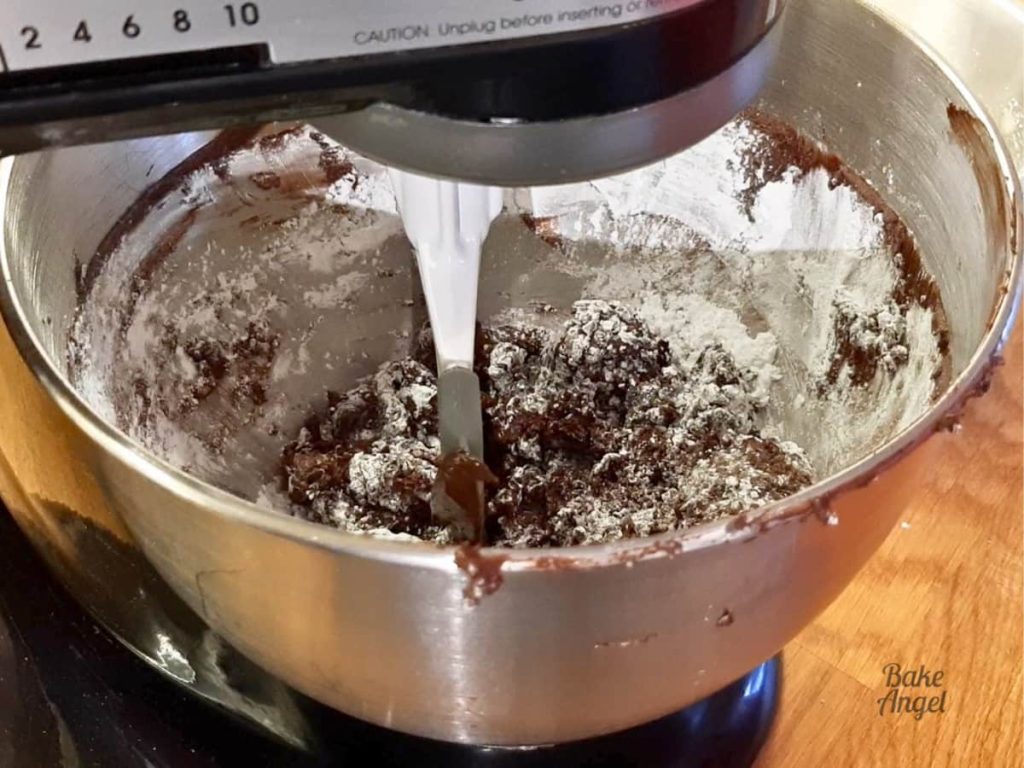
3. Add icing sugar in thirds, mixing well between each addition.
4. As the mixture thickens, slowly add the water until you reach a smooth, pipeable consistency.
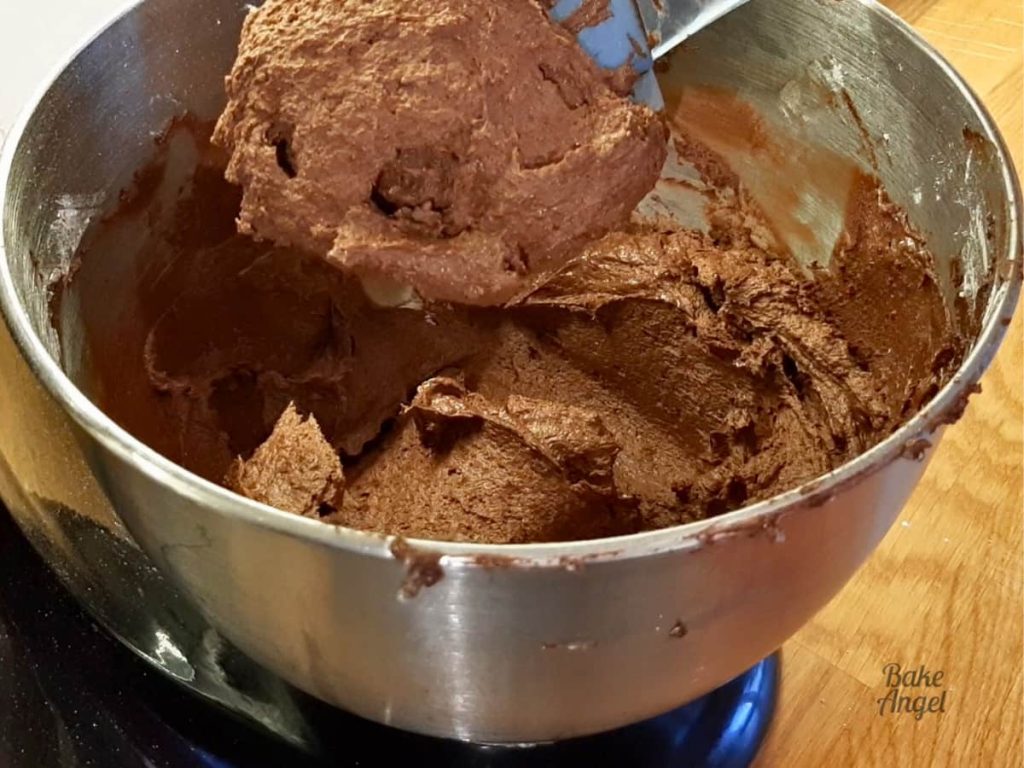
5. Continue mixing for 1-2 minutes until light, fluffy and silky.
Adjusting the Consistency
The humidity in your kitchen can affect the texture of the buttercream slightly, so here’s a handy guide to adjust the consistency if needed:
- Too Thick? Add 1 tsp of water or milk at a time to thin.
- Too Soft? Add more icing sugar or chill slightly to firm.
- Too Airy? Mix on low speed to smooth it out.
Piping with this Chocolate Buttercream
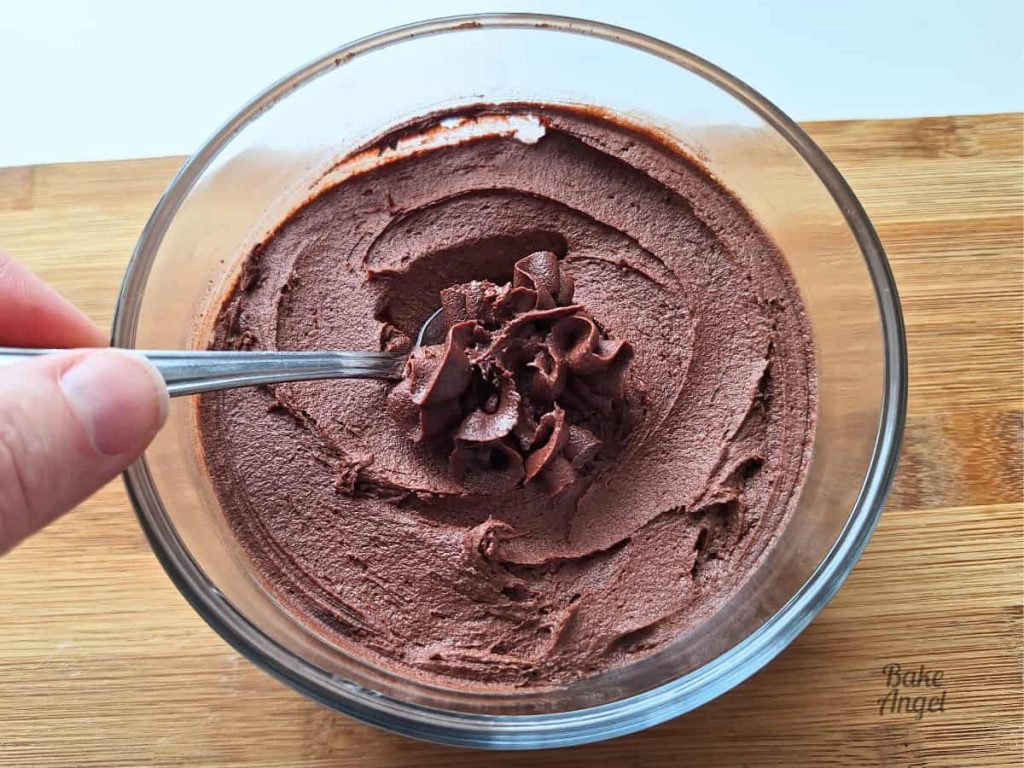
This crusting buttercream is ideal for piping, thanks to its stable, medium consistency. It holds detail well for borders, swirls, and decorative work, even in warmer conditions. Top Tip: For hot or humid days, the 50/50 ratio of butter to shortening improves stability without sacrificing flavour.
For some decorating inspiration, check out my Cake Decorating 101 post.
Ways to Use this Chocolate Buttercream
This is a great, stable buttercream recipe that every baker should have in their recipe collection. Here are some delicious ideas to use this frosting:
- Cookies: Use as a filling in my Chocolate Cookie Sandwiches (Vegan).
- Cupcakes: Pipe swirls on Vegan Cupcakes.
- Cakes: Fill and ice a Classic Vanilla Layer Cake (Vegan).
- Brownies: for the ultimate chocolate treat, add a dollop to my Mini Brownies (Vegan, GF).
Let me know in the comments below what you’d pair this recipe with.
Storage Tips
I love a great buttercream recipe that stores well so that I don’t have to worry about using it all in one go – perfect for make-ahead baking and batch decorating. With this being a large batch, here are a few ways to store it properly to retain maximum freshness:
- Counter: If you are using this within a couple of days, and it’s not too warm in your kitchen (under 20°C), you can store this in a sealed container at room temperature.
- Fridge: Pop the buttercream in an airtight container in the fridge for 7-10 days. It will firm up slightly, so just make sure to rewhip it before using (especially if you will be piping with it).
- Freezer: Freeze in a suitable airtight container for up to 3 months. I often separate the batch into smaller bullets of icing (i.e. placing 1/4 of the batch in plastic wrap, then rolling it up) so that I can just grab one when needed, rather than having to defrost the whole batch.
Baker’s Tip: When stored in the fridge, this buttercream will deepen in colour and develop a richer flavour. This happens as the cocoa powder absorbs moisture and the flavours blend over time. A happy consequence of not using it right away!
Common Buttercream Questions
Yes! This stable chocolate buttercream works great in warm, humid conditions thanks to the combination of plant-based butter and shortening. The shortening helps the buttercream hold its shape, making it ideal for piping and use on baked goods for outdoor events.
Yes, you can use all plant-based butter (200 grams total), but the buttercream will be softer and less stable, especially in warm or humid conditions. For best results, stick with the 50/50 ratio of butter to shortening.
Yes – this buttercream frosting is perfect for piping as it holds its shape beautifully. Use it for cake borders, cupcake swirls, rosettes and detailed decorations.
This buttercream can be made ahead of time and stored in the fridge until needed. Let it come back to room temperature, then re-whip it briefly to restore its smooth, fluffy texture.
If your buttercream is too soft, chill it in the fridge for 10-15 minutes, then re-whip it before using. You can also add a little extra icing sugar to firm it more quickly.
Add a small amount of water, a few drops at a time, until you reach the desired consistency. Mix well after each addition to avoid over-thinning.
Use the paddle attachment for best results. It mixes the ingredients evenly without incorporating too much air. The whisk attachment can add excess air, which may affect the texture.
More Recommended Buttercream Recipes
For more icing recipes, check out these staples that I often have on hand for quick dessert toppings:
Stable Chocolate Buttercream Frosting (Dairy-Free & Vegan)
Equipment
- Stand Mixer (Or hand mixer)
Angela’s Top Tip
Weigh your dry ingredients in grams with a scale for best results!
Ingredients
- 100 grams Plant Based Butter (unsalted) 1/2 US Cup
- 100 grams Vegetable Shortening 1/2 US Cup
- 85 grams Cocoa Powder 3/4 US Cup – Dutch-processed recommended
- 1 tsp Vanilla Bean Paste
- 454 grams Icing Sugar 4 US Cups – sifted
- 64 grams Water 1/4 US Cup – can also use plant-based milk
Instructions
- In a mixing bowl, beat 100 grams Plant Based Butter (unsalted) and 100 grams Vegetable Shortening with the paddle attachment for 1–2 minutes until soft and light.
- Using a spatula, fold in 85 grams Cocoa Powder to avoid excess mess, then mix until combined.
- Add 1 tsp Vanilla Bean Paste, then mix on low speed for 30 seconds.
- In thirds, add 454 grams Icing Sugar, folding each addition first, then then mixing until just incorporated.
- On the final addition of icing sugar, add 64 grams Water gradually. You may not need it all, depending on humidity.
- Scrape down the sides of the bowl to make sure everything is combined and mix for another 30 seconds. Use immediately.
Video
Notes
Nutrition


Leave a Reply