Looking for a smooth, glossy vegan royal icing that pipes beautifully and dries firm for cookie decorating? You’re in the right place! This 2-ingredient vegan royal icing recipe is completely egg-free, dairy-free, and meringue powder–free and it performs just like the traditional version.

As a professional cookie decorator with over 19 years of baking experience, I’ve tested dozens of royal icing variations. This is the recipe I use for my allergy-friendly classes and tutorials because it’s affordable, foolproof, and deliciously simple.
Why You’ll Love This Recipe
This recipe is a game-changer if you have egg allergies or follow an egg-free diet. Easy to make and perfect to work with, this icing is:
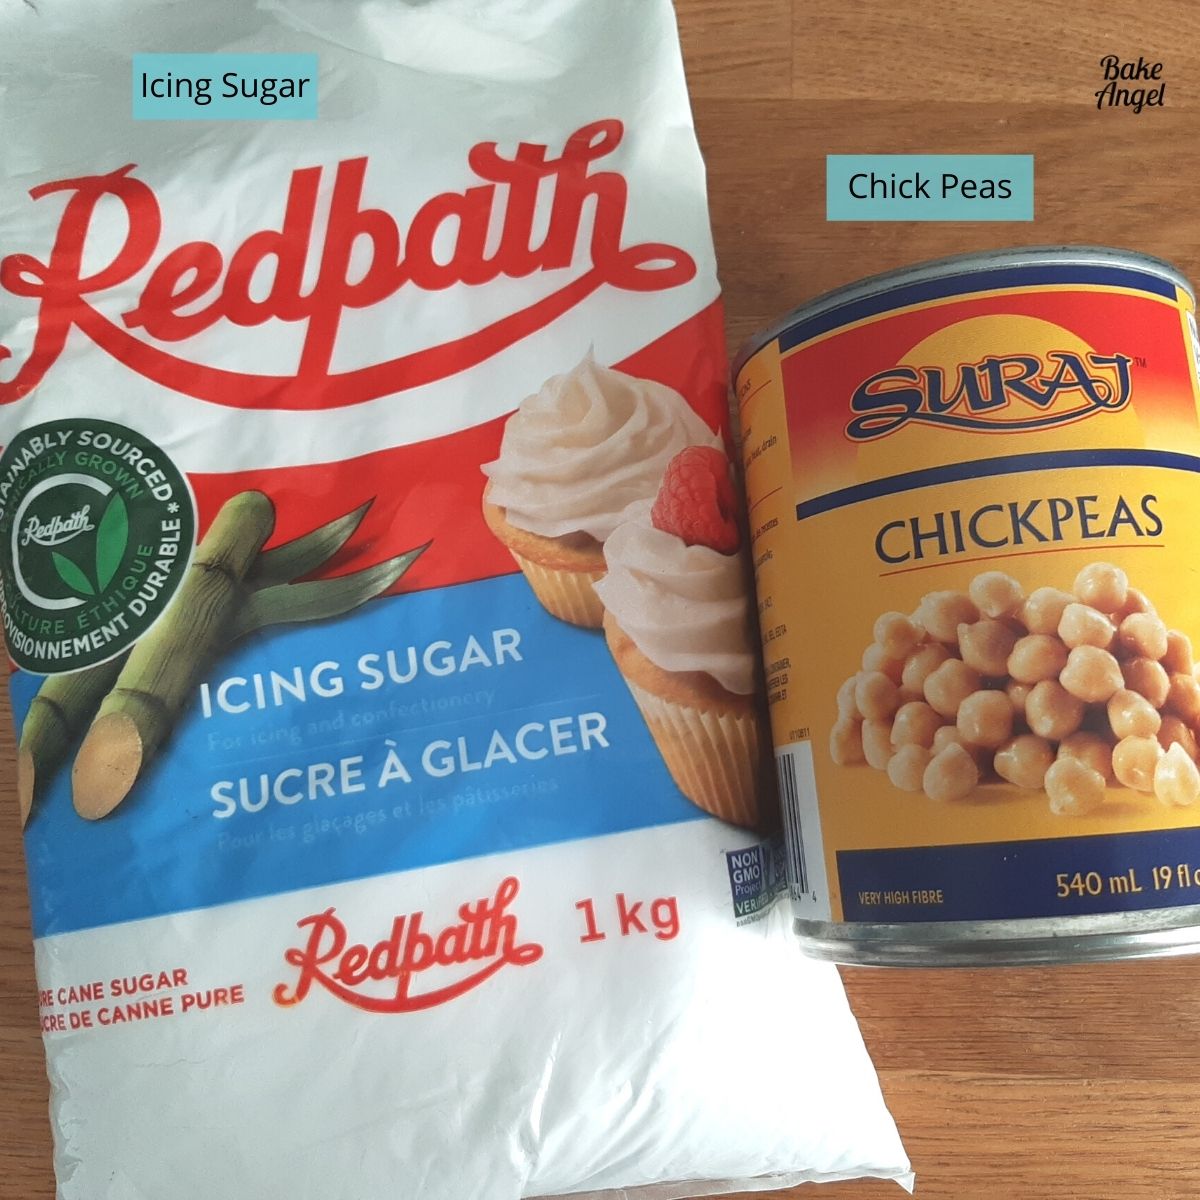
- Only 2 pantry ingredients — icing sugar and aquafaba
- Dries firm for cookie decorating, writing, or piping flowers
- Completely egg-free and dairy-free
- Costs under $3 per batch
- Beginner-friendly and easy to colour or flavour
What is Aquafaba?
The secret to this vegan royal icing is aquafaba – the liquid from a can of chickpeas. While most people pour it down the drain, it’s actually a powerful binding agent that mimics egg whites.
The word aquafaba literally means bean water. It contains starch and a little protein, which gives it its foaming and stabilizing properties, making it perfect for replacing egg whites in meringues, marshmallows, and icing.
Fun Fact: Aquafaba was first used as an alternative for eggs in late 2014, purely by accident when musician Joël Roessel discovered that it had wonderful foaming properties and could whip into stiff peaks. From there, Roessel shared his experiments and recipes on his blog and the global aquafaba revolution began.
Ingredients and Substitutions
This recipe couldn’t be easier – just 2 ingredients, and it’s the easiest and cheapest way to make royal icing.
Side Note: I always weigh my ingredients rather than use cup measurements. This ensures accuracy for every recipe and perfect results every time. Check out the recipe card for US cup measurements.
Dry Ingredients
Icing Sugar: Make sure to choose a vegan-friendly icing sugar, as some brands use bone char in processing to enhance the white colour of icing sugar. I exclusively use Redpath Sugar here in Canada, as their icing sugar only uses cane sugar and cornstarch (to stop clumping). It is also pre-sifted and ready to use straight from the bag. Top Tip: if you’re icing isn’t pre-sifted, always sift before mixing for a smoother result.
Wet Ingredients
Aquafaba: Use the liquid from a can of chickpeas – no need to reduce the liquid beforehand. If you can’t find chickpeas, canned white beans, navy beans or lima beans work too.
Optional Add-Ins:
Flavouring: Add 1 teaspoon of extract (vanilla, almond, or lemon) with your second addition of icing sugar.
Colouring: Use water-based and powdered food colouring only – oil-based colours will cause your icing to separate. If you want to colour the entire batch, add colouring alongside the icing sugar. To add multiple colours, split up your icing once it is fully mixed and colour as required.
How to Make Perfect 2 Ingredient Vegan Royal Icing
Step 1: Prep your Tools
Before starting to make our icing, make sure to wipe your mixing bowl, whisk attachment and spatula with white vinegar to remove any oil residue. Oil and royal icing do not mix well together, and this can cause the meringue to deflate or split, so this step is key.
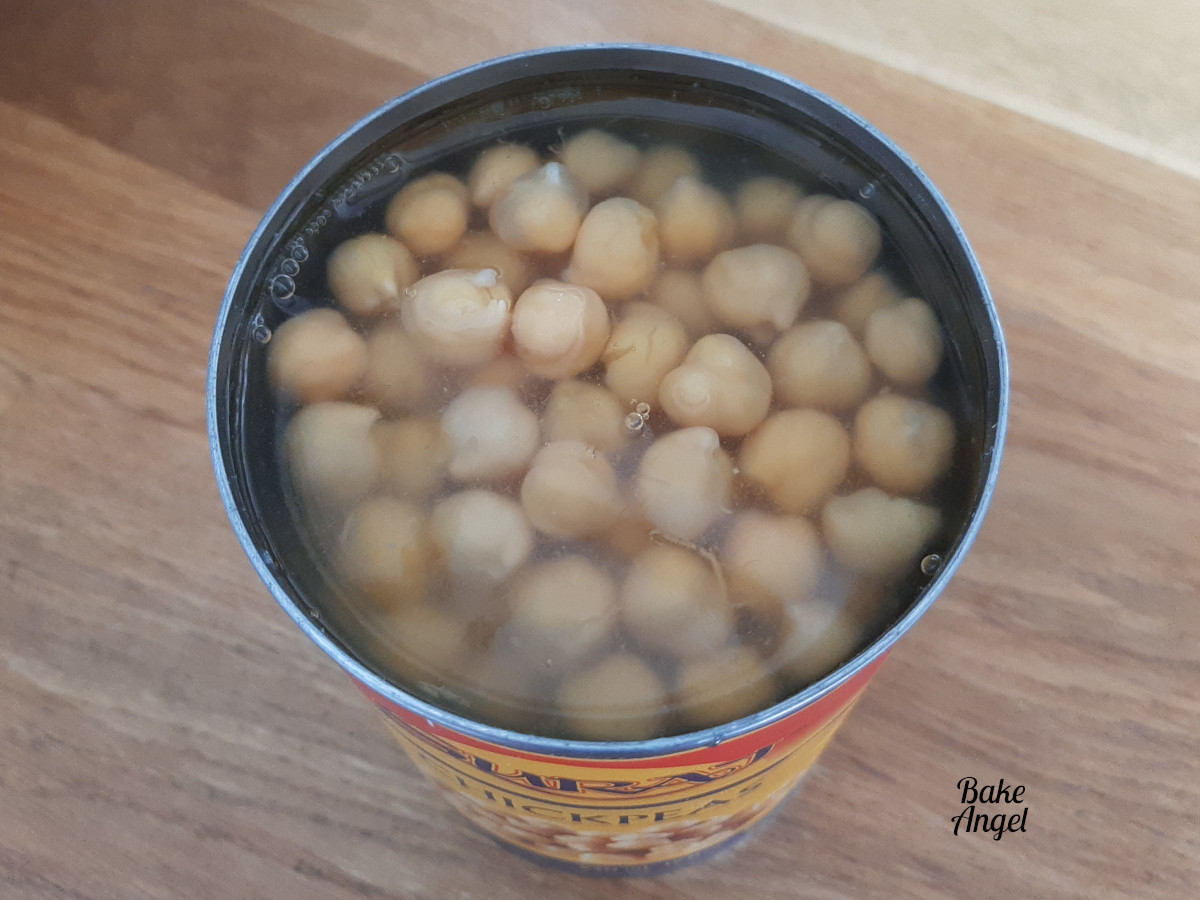
Step 2: Drain the Chickpeas
Open the can of chick peas and strain the liquid into a bowl. You will notice a strong chickpea smell when you start whisking the aquafaba, but this quickly dissipates once you start adding the icing sugar, and does not affect the taste of the icing. Top Tip: Save the chickpeas for another recipe (homemade hummus is so easy to make!)

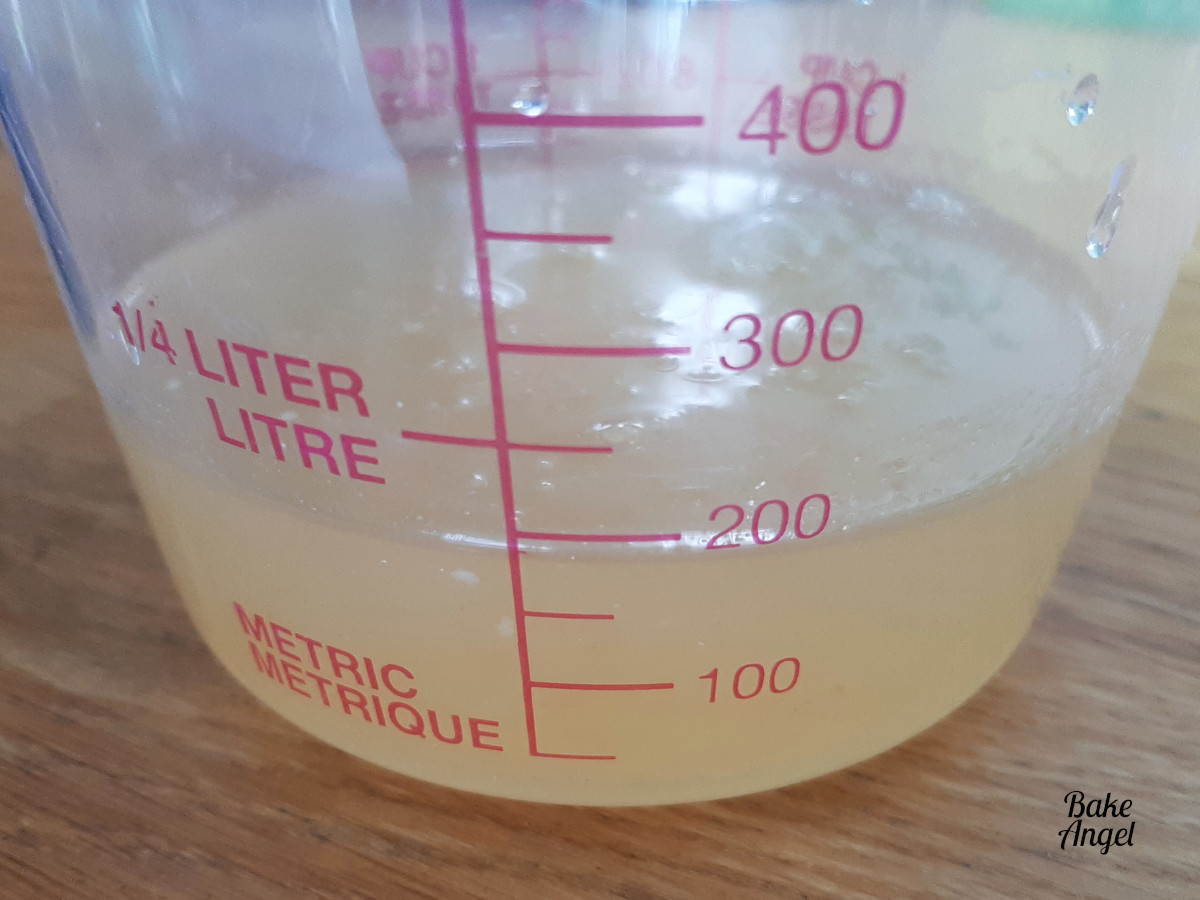
Note – I use 19 fl oz / 540 ml cans of chickpeas and usually get 200ml of aquafaba per can. Adjust the amount of icing sugar if your can size is different.
Step 3: Whip the Aquafaba
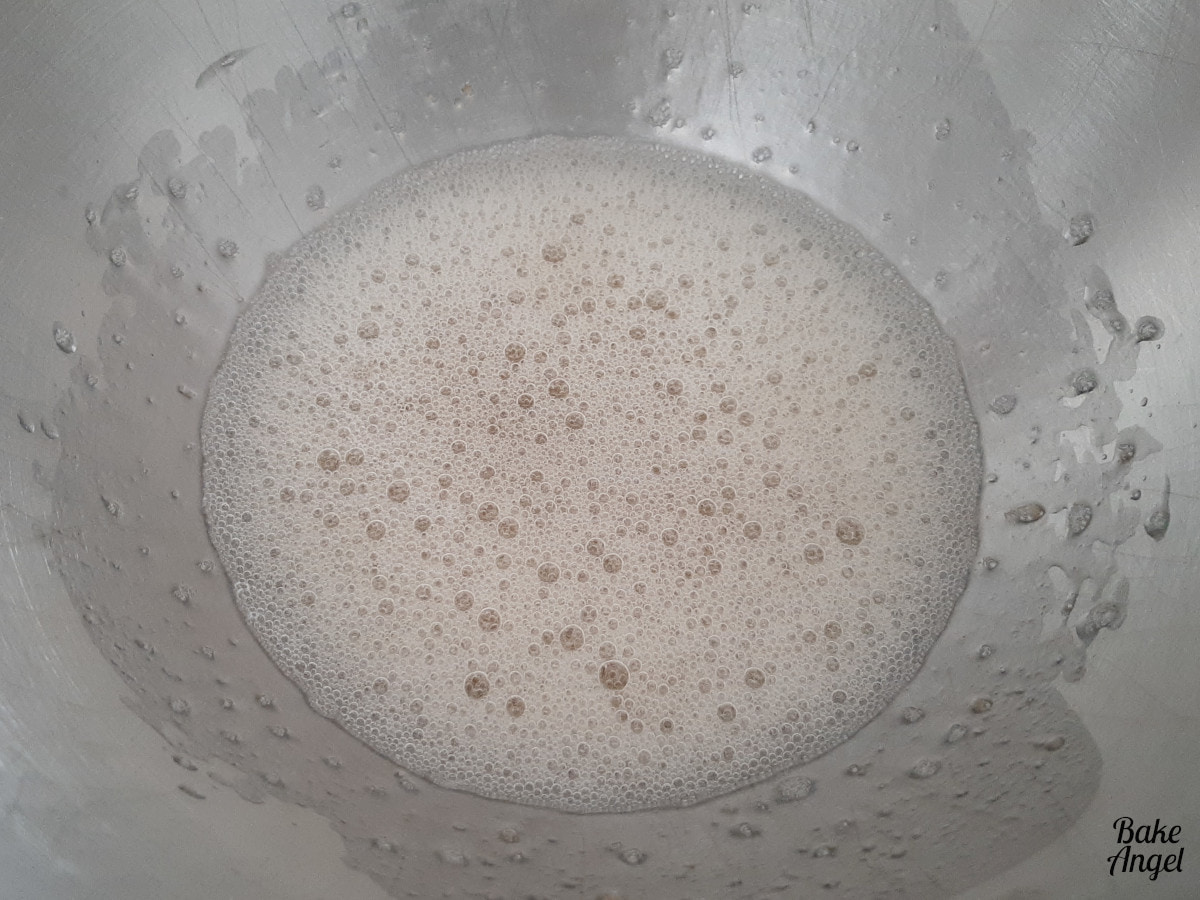
Pour the aquafaba into your stand mixer bowl and mix it on low speed (2) with the whisk attachment until it becomes frothy.

Just like when you whip egg whites, the liquid will start to froth as tiny air bubbles form. This is the structure developing, which adds volume to the icing.
Increase to medium speed (5) and continue whisking until it turns whiter and slightly thick with larger bubbles.

Step 4: Add the Icing Sugar
Add the icing sugar in two stages and stir lightly with a spatula before turning the mixer on to avoid a big *puff* of icing – I know you know what I’m talking about here :). Add flavouring or colouring (if using) with the second addition.

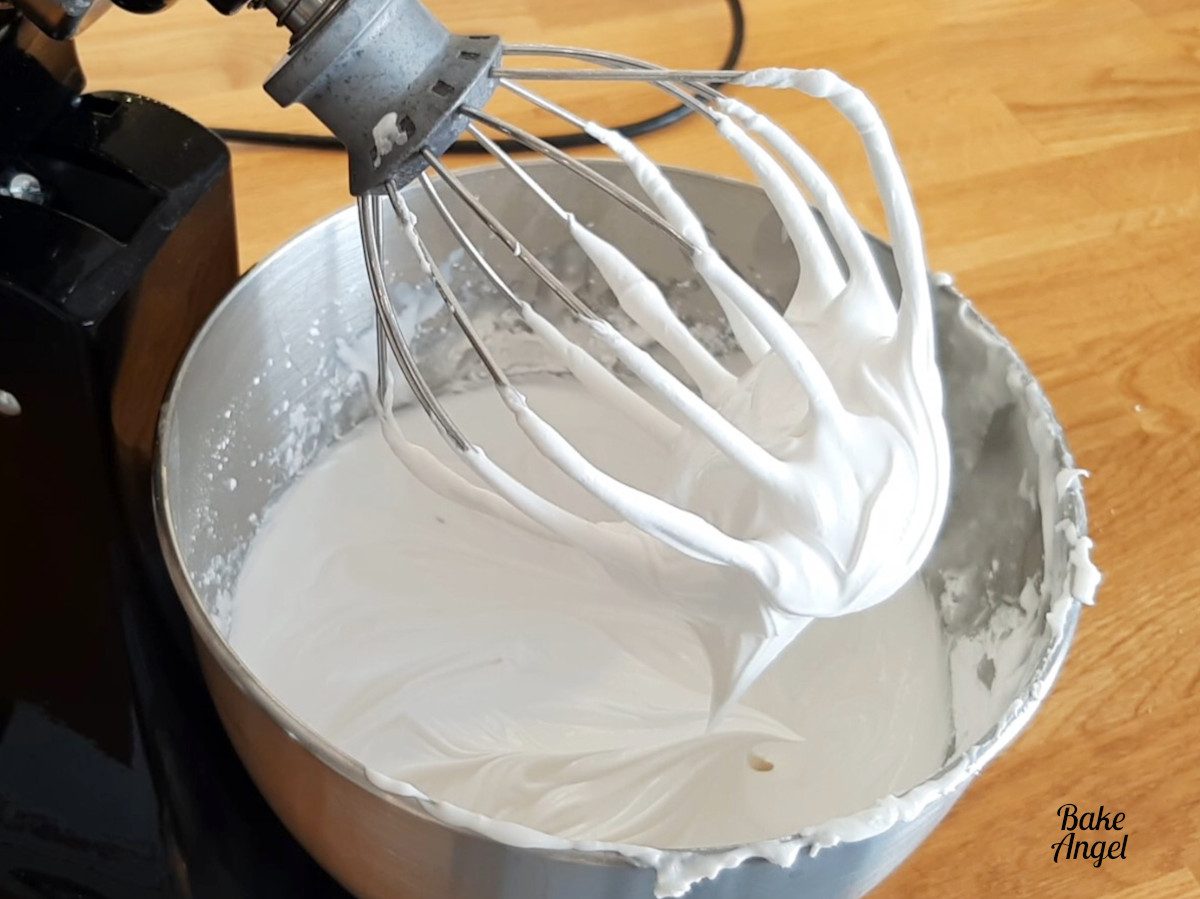
Continue to mix at medium speed (5-6) until the icing looks light and fluffy and forms a medium to stiff peak. This usually takes about 6 minutes. I prefer to make my icing on the stiffer side so that I can split it up and add water to part of it for flooding, and also keep some for flower work and writing.
Top Tip: The exact amount of icing sugar that you will need depends on your kitchen’s humidity. On humid days, you may need more icing sugar; on dry, cold days, like we have in our Canadian winters, add a little more liquid.
Royal Icing Consistency
There are 4 main consistencies I use when decorating:
| Consistency | Best For | Adjustment Tip |
| Flood | Covering cookies | Add water until it runs off a spoon in 10–12 seconds |
| Hybrid | Slightly puffy floods | Add a few sprays of water |
| Medium | Writing, details, transfers | Use as-is from this recipe |
| Stiff | Flowers, string work, 3D details | Add more icing sugar if needed |
Use a spray bottle to add water gradually to thin your icing – it gives you the best control. For a full breakdown, check out my full Royal Icing Consistencies 101 video.
Storage Tips
Store your vegan royal icing in an airtight container at room temperature for up to one week. If you prefer, you can also refrigerate or freeze it. Always stir by hand before reusing to smooth it back out.
Drying Tips
Vegan royal icing takes a little longer to dry than meringue powder versions. To speed things up:
- Use a fan or dehydrator while drying your cookies.
- Or, place cookies in the oven at the lowest temperature for about 10 minutes with the door slightly open to “crust” the icing.
Pair It With
This icing is perfect with my Vegan Sugar Cookie Recipe and any of the designs from my Top 15 Cookie Decorating Tutorials.
FAQs about Vegan Royal Icing
Yes, you can use a plant-based meringue powder instead, but the texture may differ slightly.
Absolutely! Once fully dry, it’s smooth and firm – ideal for decorating and stacking sugar cookies.
Yes, this recipe dries strong enough for assembling gingerbread houses.
No, any chickpea aroma disappears once the icing sugar is added. Add flavouring if you’d like a custom taste. Vanilla, almond and lemon extract all work perfectly.
Final Thoughts
Whether you’re vegan, egg-free, or simply curious about allergy-friendly baking, this 2-ingredient vegan royal icing will change the way you decorate cookies. It’s simple, affordable, and totally dependable.
If you try this recipe, tag me on Instagram @itsbakeangel – I love seeing your cookie creations!

Perfect 2 Ingredient Vegan Royal Icing
Equipment
- Can Opener
Angela’s Top Tip
Weigh your dry ingredients in grams with a scale for best results!
Ingredients
- 1 Can of Chickpeas see note
- 2 lbs Icing Sugar (approx 900 grams or 7.5 US Cups)
Instructions
Prep Your Tools:
- Make sure to wipe your mixing bowl, whisk and spatula with white vinegar to remove any oil residue.
Drain the Chickpeas:
- Open 1 Can of Chickpeas and pour it through a sieve over a mixing bowl to collect the liquid (known as aquafaba). You should have about 200 ml of liquid. Save the chickpeas for another recipe!
Whip the Aquafaba:
- Pour the aquafaba into your stand mixer bowl fitted with the whisk attachment. Start mixing on low speed (2) until the liquid becomes foamy with small bubbles.
- Gradually increase to medium speed (5) and continue whisking until the aquafaba turns pale and slightly thicker with larger bubbles.
Add the Icing Sugar:
- Add 2 lbs Icing Sugar in two stages. To avoid a sugar cloud, stir each addition lightly with a spatula before turning the mixer on.If you’re adding flavouring or colouring, include it with the second addition of icing sugar.
Mix to Perfect Consistency:
- Continue whisking on medium speed (5–6) until the icing is light, glossy, and holds a medium to stiff peak – about 6 minutes of mixing.The icing should be thick enough for piping details but soft enough to spread smoothly.
Adjust as Needed:
- For flooding cookies, add a few drops of water at a time until the icing reaches a pourable consistency.For stiffer piping work, add a little more icing sugar.Remember: humidity affects your icing texture. On humid days, you may need slightly more sugar; in dry weather, a touch more liquid.
Video
Notes
- I use 19 fl oz / 540 ml cans of chickpeas, which yield about 200 ml of aquafaba. If your can size differs, simply adjust the amount of icing sugar until you reach your desired consistency. Tip from experience: I like to make my icing on the stiffer side, then thin portions as needed for flooding or detail work.
- You may notice a mild chickpea aroma when whisking the aquafaba. This disappears once the icing sugar is added and does not affect the taste. Add a teaspoon of your favourite flavouring (like vanilla or almond) if you prefer.
- To colour the entire batch, add your food colouring with the second addition of icing sugar. For multiple colours, divide the finished icing and tint each portion separately.
- Store in an airtight container at room temperature for up to 1 week. Stir by hand before using to restore the texture. You can also refrigerate or freeze it for longer storage. Just bring it to room temperature and remix before decorating.


Love this icing! I was so excited to try it and used it on cookies for my non-vegan family. They couldn’t even tell the difference!
That’s awesome. I am so happy to hear that!
Amazing icing! 😊 My grandson is severely allergic to egg!
Thanks for sharing. I’m so happy that you found my recipe!