
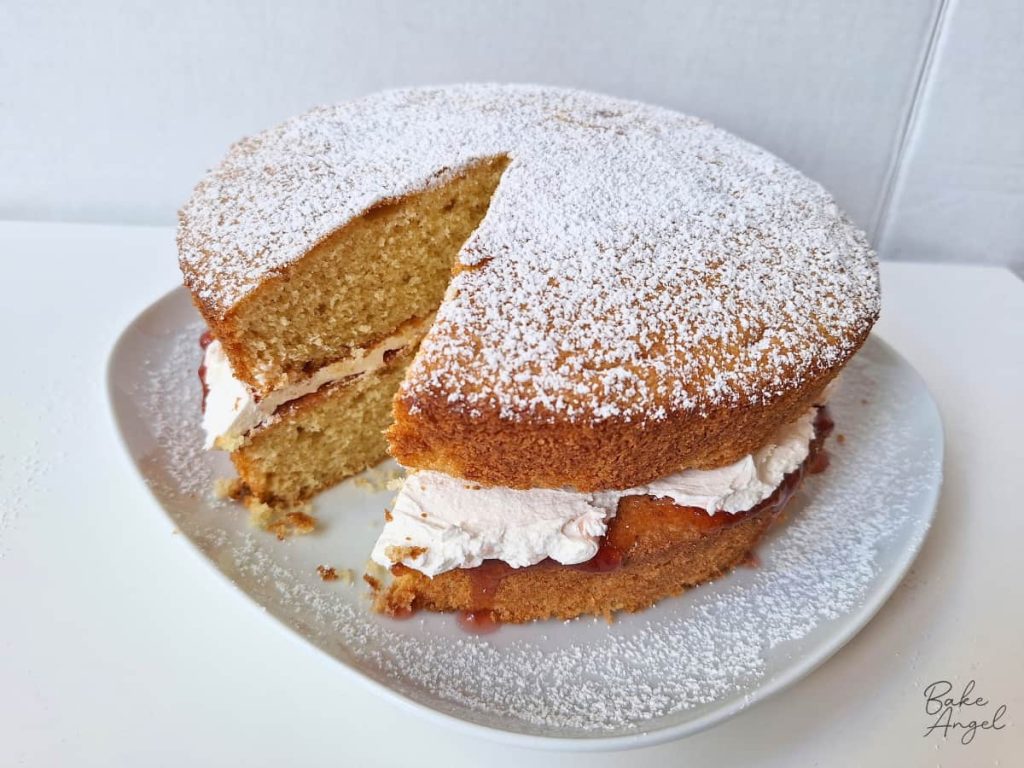
This dairy-free and gluten-free Victoria Sponge is filled with homemade strawberry jam and silky vanilla buttercream for a classic Victoria Sandwich Cake that everyone can enjoy. It is perfect for afternoon tea, birthdays, coffee mornings, or anytime you need a dessert that feels like pure comfort eating.
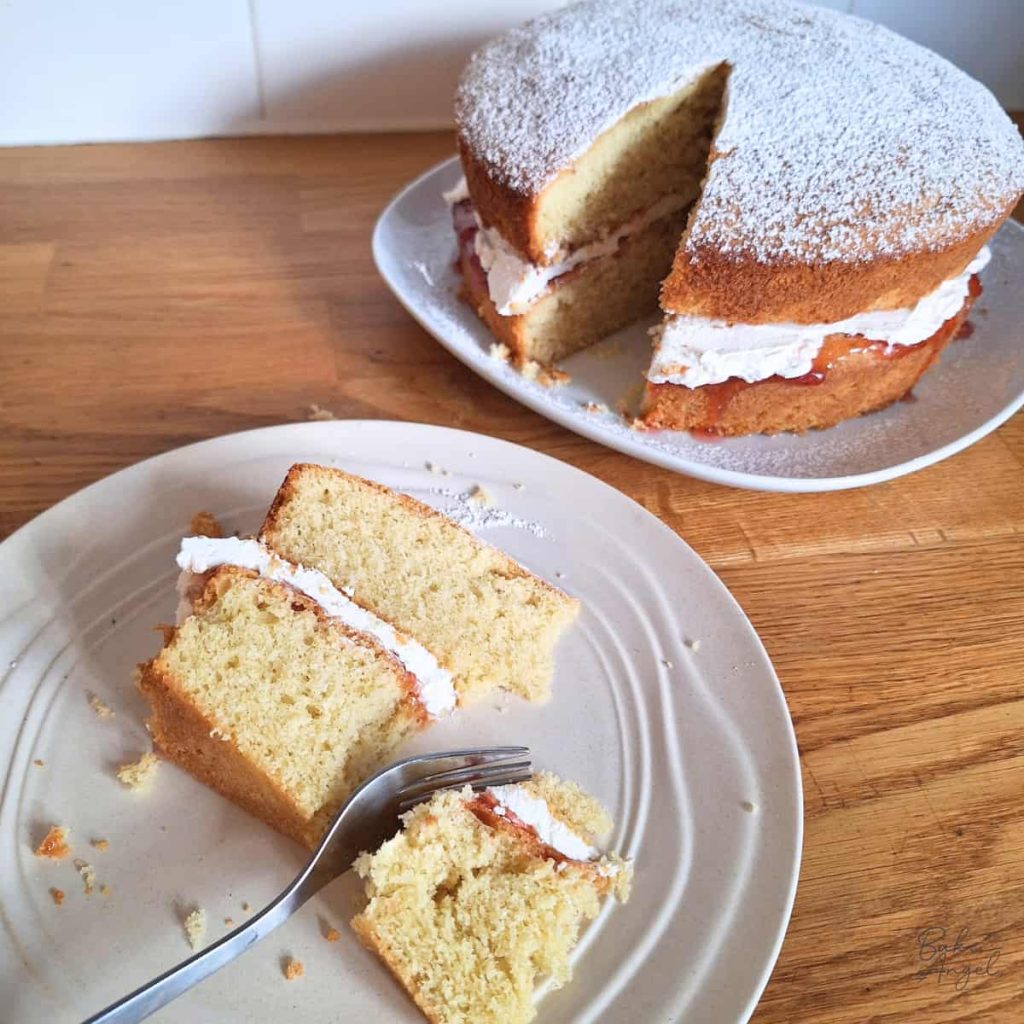
One of the most loved cakes in the UK is the classic Victoria Sponge cake, so it goes without saying that I ate a LOT of it growing up. It is simple to make, rich and moist, and absolutely packed with British nostalgia.
And this dairy-free, gluten-free version proves you don’t need dairy or gluten to enjoy it.
If you love this style of cake, check out my Mini Victoria Sponge Cakes too. They are perfect for when you want a smaller individual treat.
Why This Cake Always Works
- A simple, tried-and-tested ratio: Traditional Victoria Sponge is based on a wonderfully simple baking ratio, making it an easy cake to remember and adapt.
- No fancy equipment required: A stand mixer or hand mixer makes things quicker, but you can also make this cake by hand with a little extra elbow grease.
- Light and fluffy despite being gluten-free: The additional egg helps give this gluten-free sponge the moisture and structure it needs.
- Classic British flavours: Strawberry jam, vanilla and a dusting of icing sugar give you that nostalgic Victoria Sandwich flavour without needing dairy or gluten.
Ingredients and Substitutions
A traditional Victoria Sponge uses equal quantities of flour, sugar and butter, with one egg for every 50g of each ingredient. Fun fact: one large egg usually weighs around 50g too!
It is usually made with 4 eggs and 200g of each dry ingredient for a traditional two layer cake.
For this gluten-free and dairy-free version, I use an extra egg and 50g of each dry ingredient to help create the light, moist consistency you expect from a Victoria Sponge cake. Gluten-free cakes can sometimes be dense or crumbly, so the additional egg helps compensate for the difference in gluten-free flour.
For the Cake
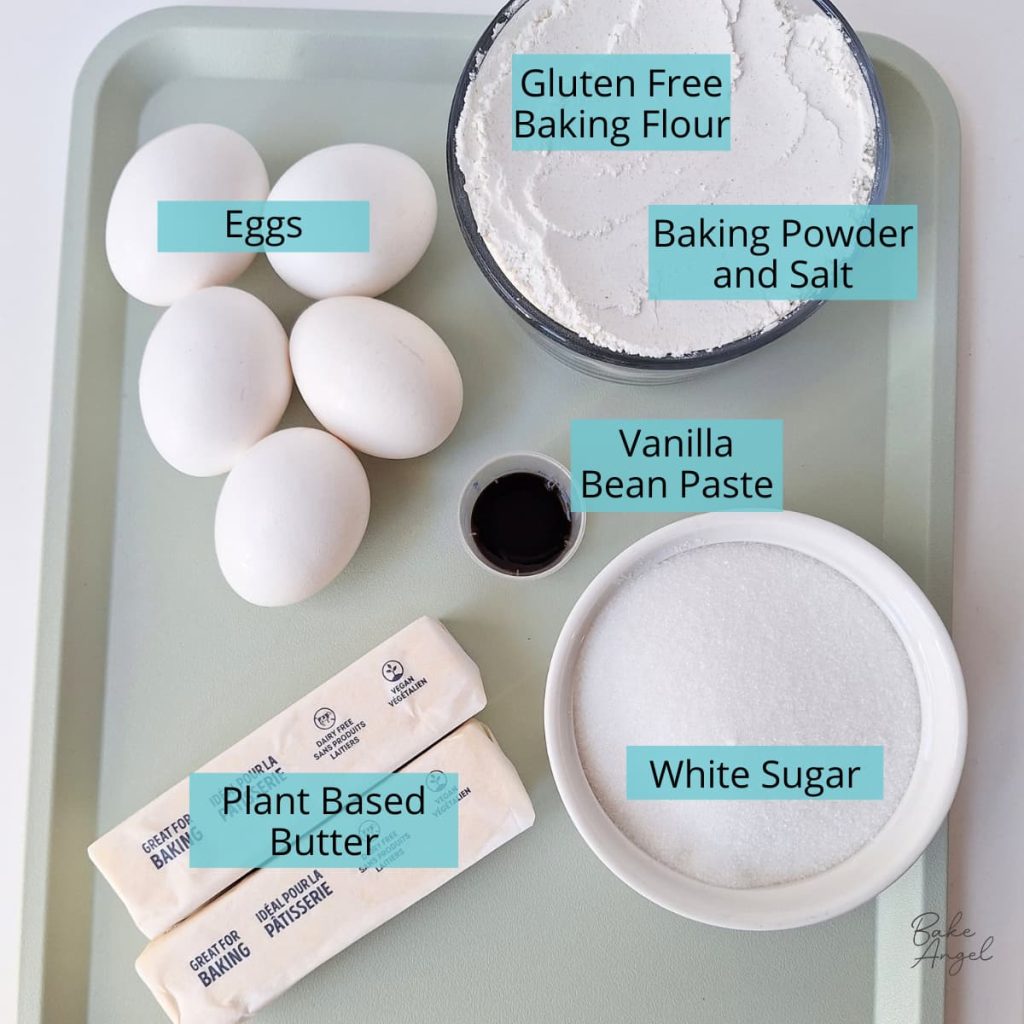
Gluten-free self-raising flour helps create a light and fluffy sponge. If you can’t find it in the store, you can make your own using my easy method. For this recipe, you will need to sift together 3 tsp of baking powder, 1/2 tsp of salt, and 250g 1-to-1 gluten-free baking flour.
White sugar, known as caster sugar in the UK, sweetens the cake while helping to create a tender crumb.
Plant-based butter keeps this sponge cake dairy-free. I recommend using a block-style unsalted plant-based butter, as this cake has a delicate flavour and doesn’t need extra salt to balance the sweetness.
Eggs add moisture, structure, and colour to the cake. For a vegan version, you can substitute with 5 flax eggs. Learn more about egg substitutions in baking in this comprehensive post.
Vanilla bean paste adds extra flavour to the sponge. It isn’t essential, but I love the extra punch of vanilla it gives the cake.
For the Filling
Strawberry jam gives the cake its classic Victoria Sandwich flavour. Homemade jam or store-bought both work well.
Classic Vanilla Buttercream adds a silky, creamy layer between the cake and keeps the recipe completely dairy-free. My small batch recipe makes the perfect amount for this cake, with no large bowl of leftover buttercream to worry about.
The buttercream is also vegan and gluten-free, so if you are making this cake for someone with multiple dietary requirements, you can keep the whole cake dairy-free, gluten-free and vegan-friendly with the appropriate egg substitution.
If you prefer a more traditional cream filling, swap the buttercream for my coconut whipped cream icing.
Baker’s Tips for Perfect Baking
Bring your ingredients to room temperature. Let the plant-based butter and eggs come to room temperature before making the batter. This helps the ingredients incorporate more easily and gives you a smoother batter.
Weigh your ingredients. Gluten-free baking can be less forgiving than traditional baking, so weighing your ingredients will give you much more consistent results.
Don’t overmix the flour. Once the gluten-free flour has been added, mix just until everything is combined. Overmixing can affect the texture of the finished cake.
Make the buttercream ahead if you like. My Small Batch Vanilla Buttercream takes less than 3 minutes to make and can be prepared ahead of time. Store it in an airtight container in the fridge and bring it back to a spreadable consistency before using.
How to Make Dairy-Free Gluten-Free Victoria Sponge Cake
Make the Cake Batter
Preheat your oven and grease and line two 8-inch (20cm) round cake pans with parchment paper.
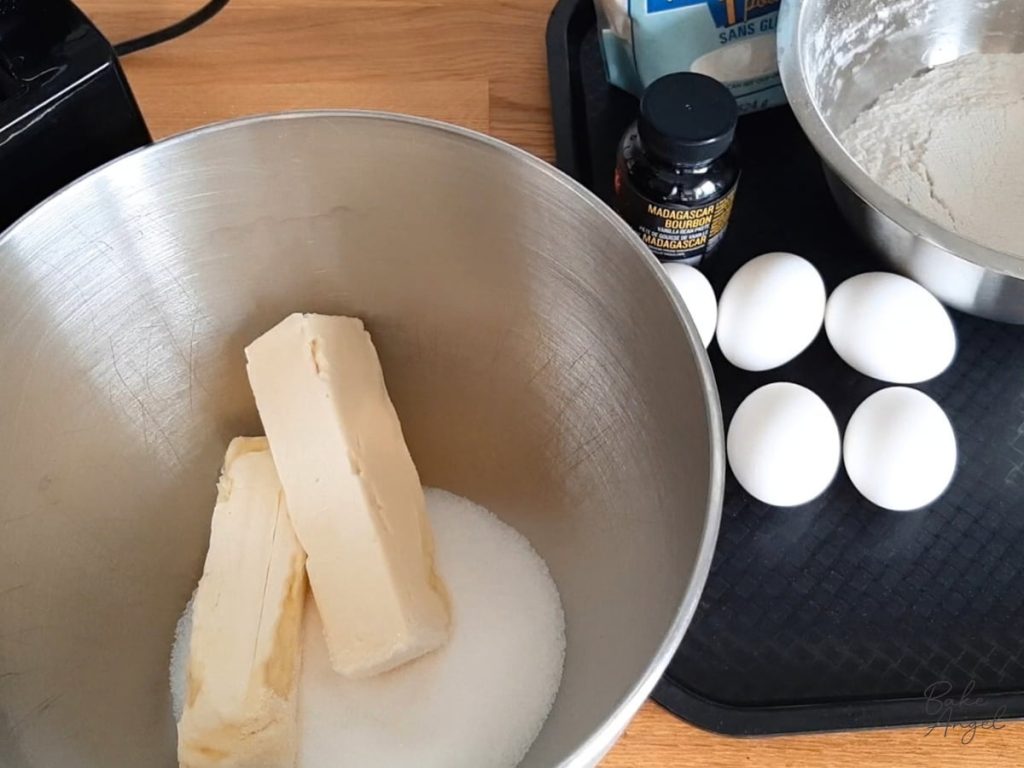
Cream the plant-based butter and white sugar together until light and fully combined.
Break the eggs into a jug and add the vanilla bean paste. Stir to combine.
Slowly add the egg mixture to the creamed butter and sugar, mixing as you go. Avoid adding all of the wet ingredients at once, as the batter can curdle.
Add the gluten-free self-raising flour, ideally in thirds, and gently stir between each addition until combined. Take care not to overmix.
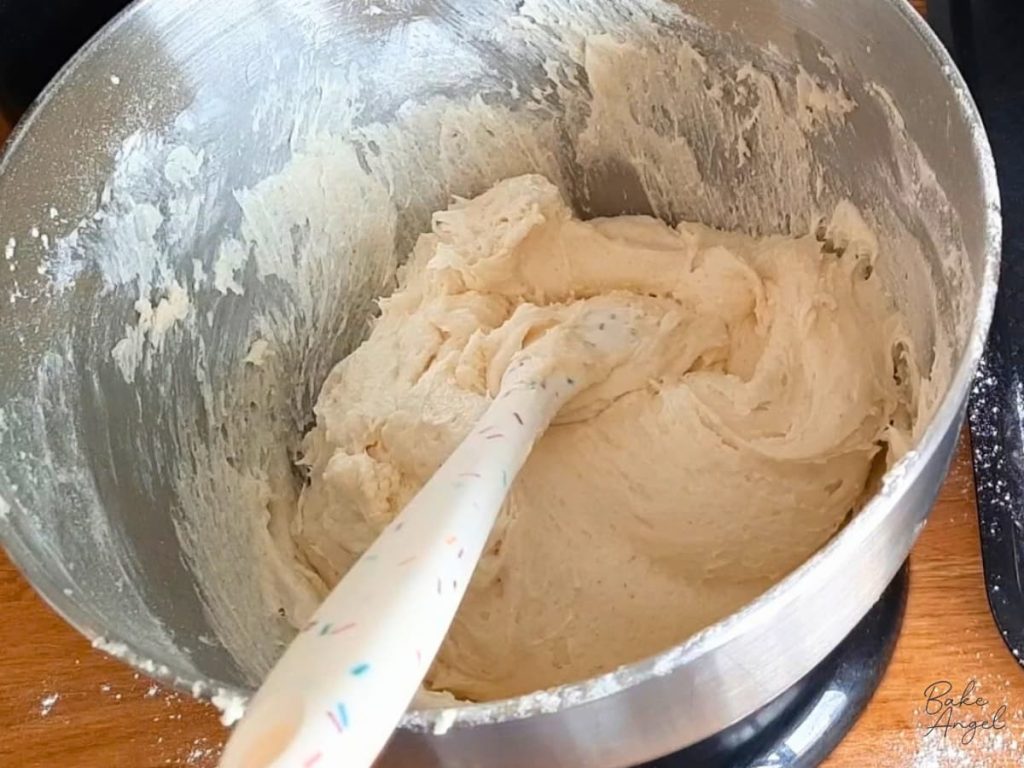
Divide the cake batter evenly between the two prepared pans.
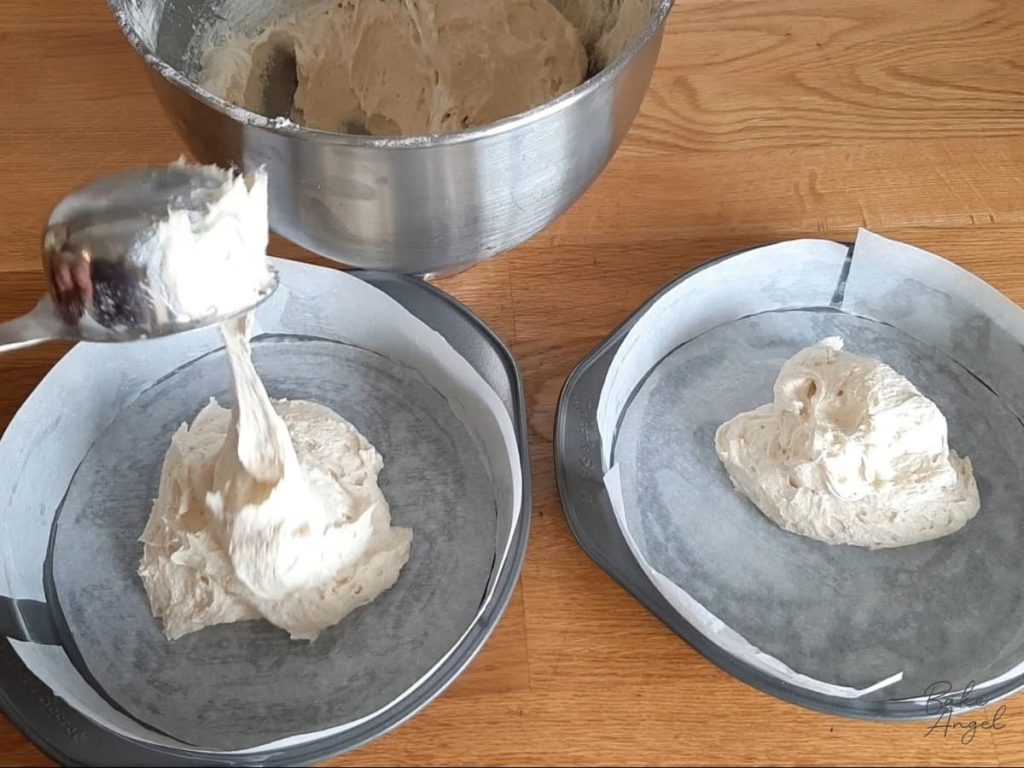
Give the pans a gentle tap on the counter to help remove any large air bubbles.
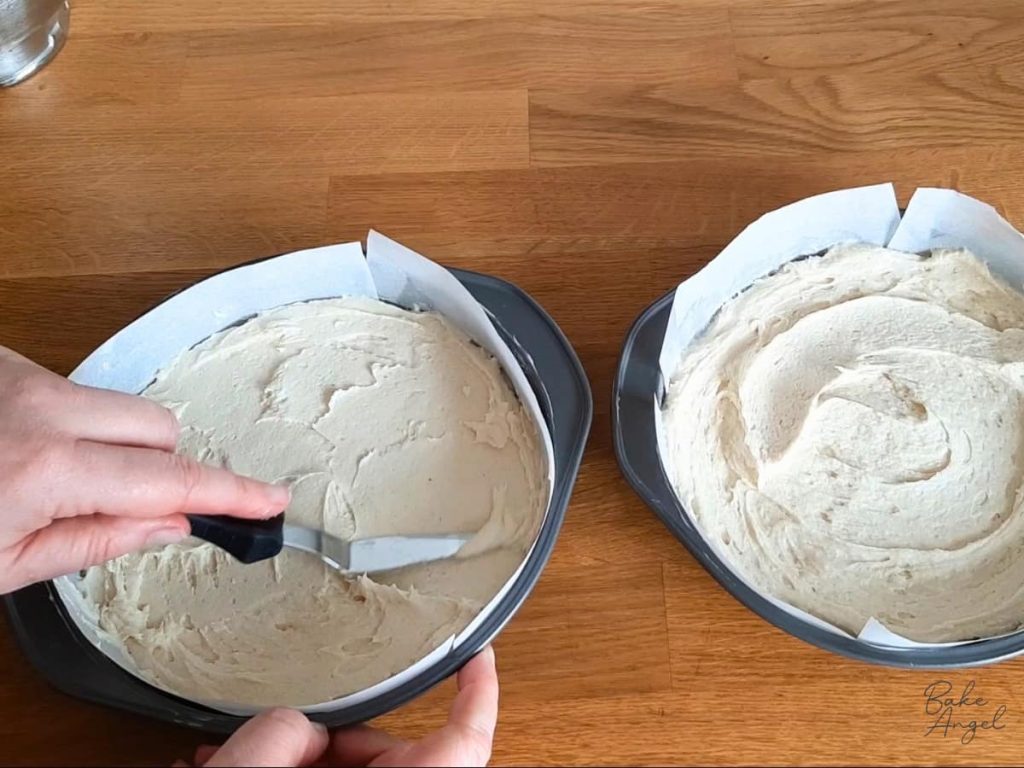
Bake at 350°F (approximately 180°C) for 25–30 minutes, or until the cakes are well risen and lightly golden.
The cakes should feel slightly firm to the touch and spring back when gently pressed.
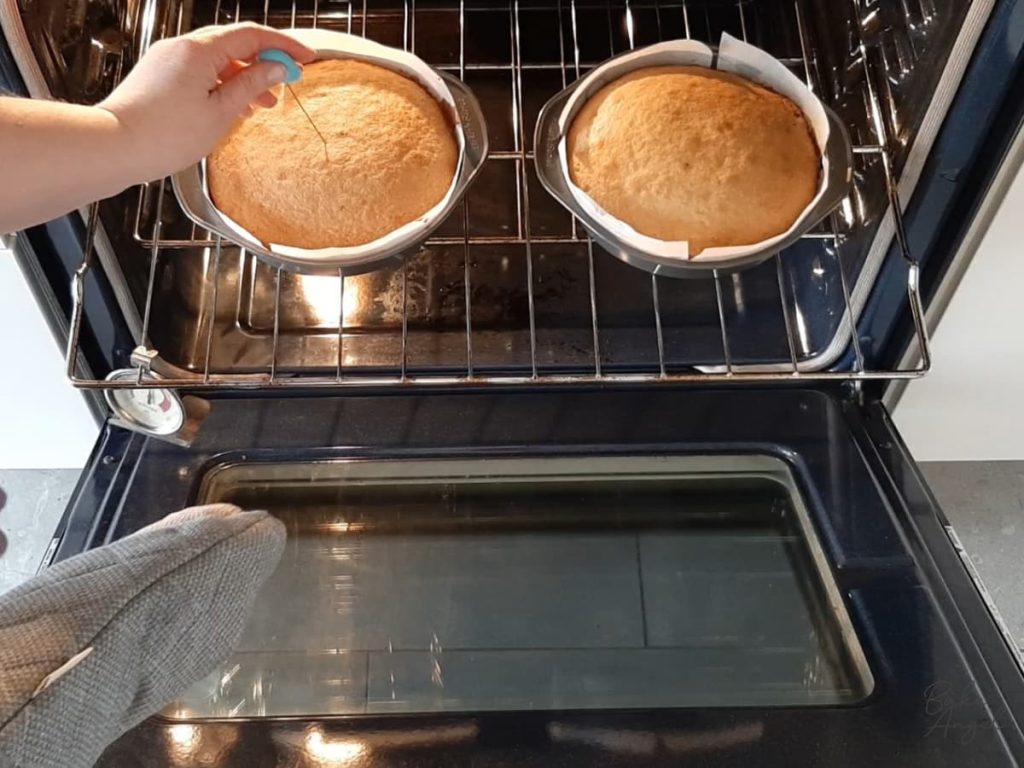
Remove the cakes from the oven and place the pans on a cooling rack for 10 minutes before turning the cakes out to cool completely.
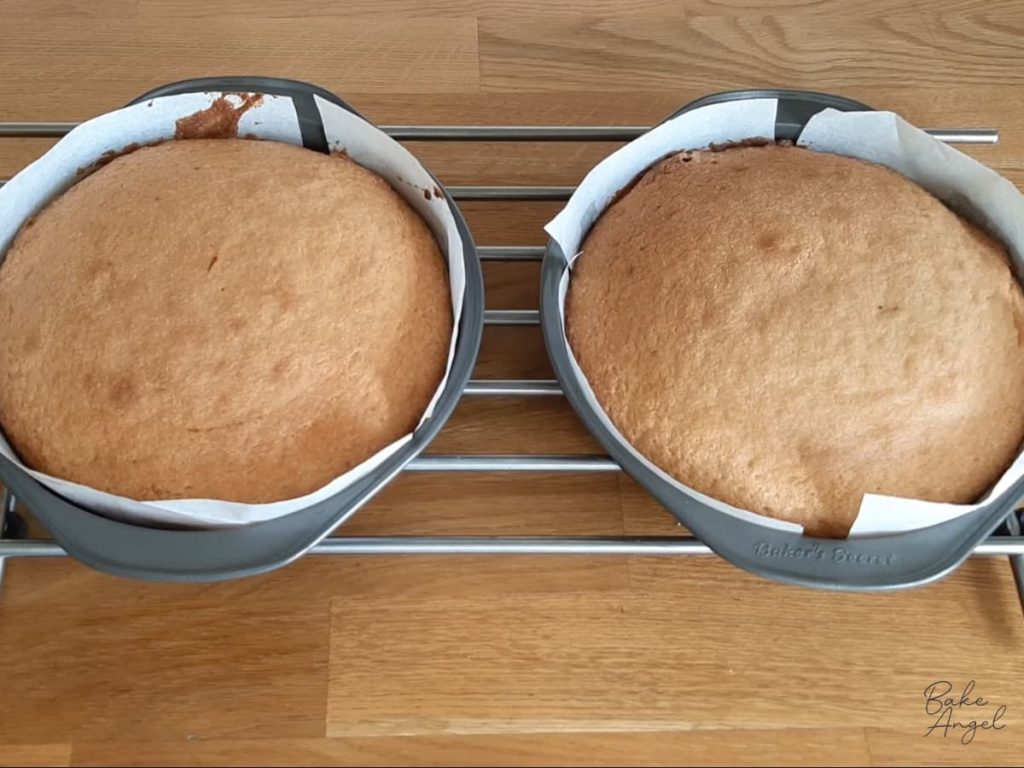
The easiest way to remove the cakes is to place a cooling rack over the top of the cake, carefully invert the pan, then gently shake the pan to release the cake. Because the pans were greased before baking, the cakes should release easily.
Assemble the Victoria Sponge
Remove the parchment paper from each cake layer.
If your cakes have domed during baking, level them using a cake leveller or sharp knife. Generally, this recipe produces fairly flat cake layers, so you may not need to do this.
Place one cake layer on your chosen serving plate, bottom side down.
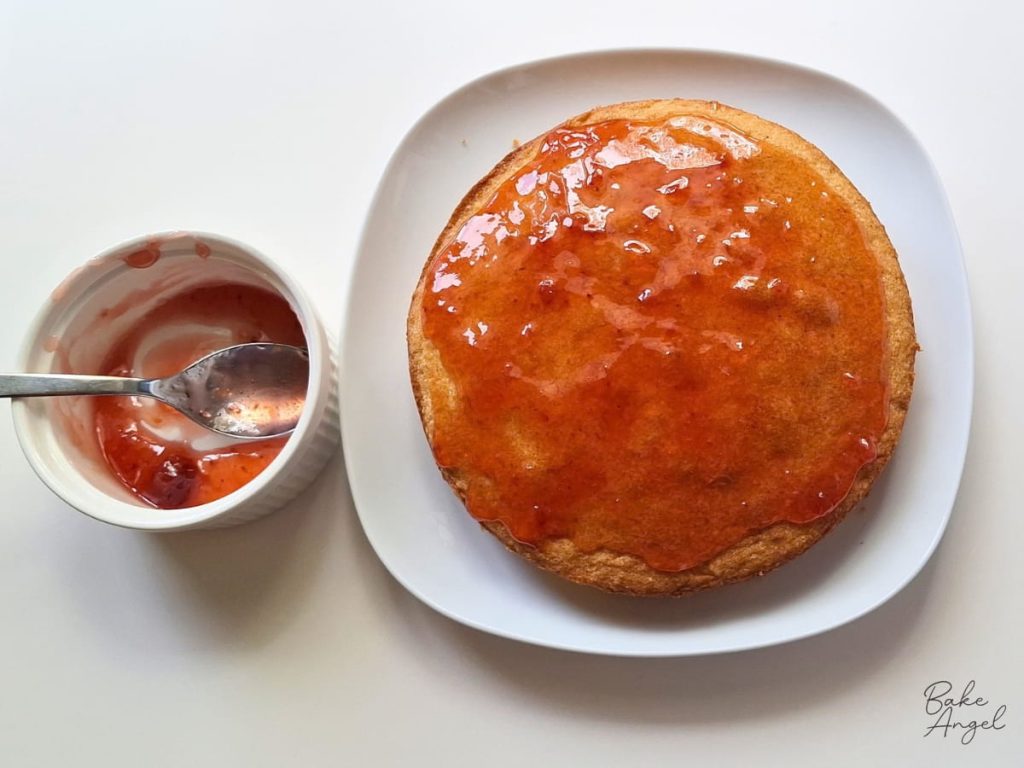
Spread over the strawberry jam, followed by as much vanilla buttercream as you like.
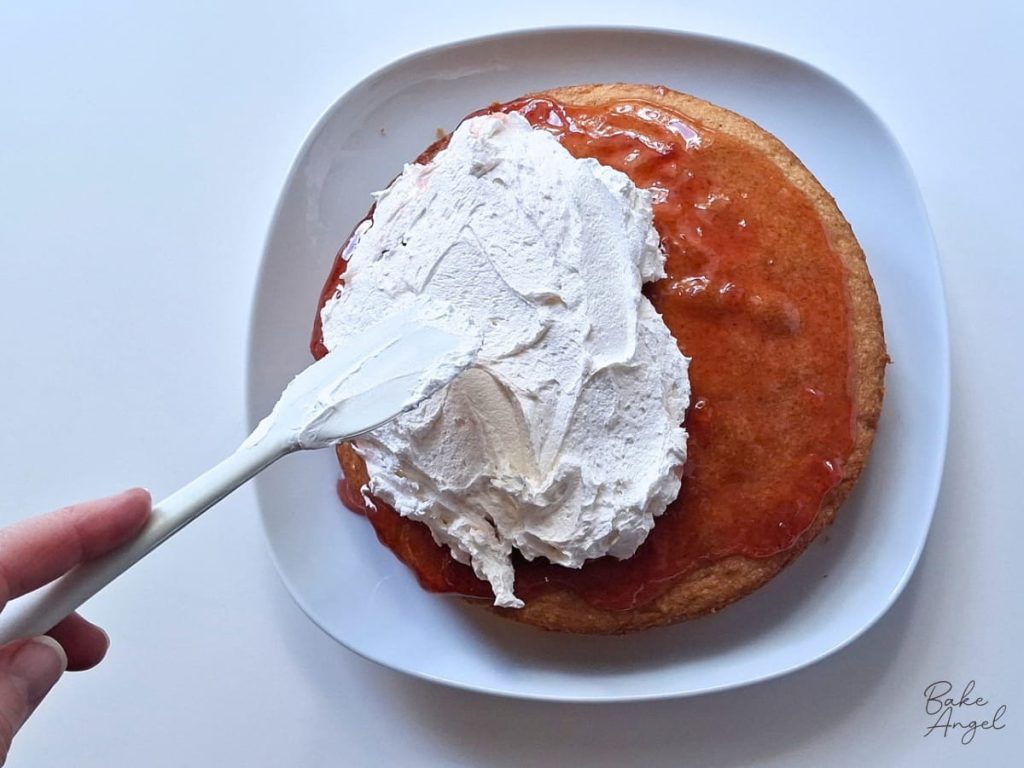
Place the second cake layer on top, again with the bottom side down.
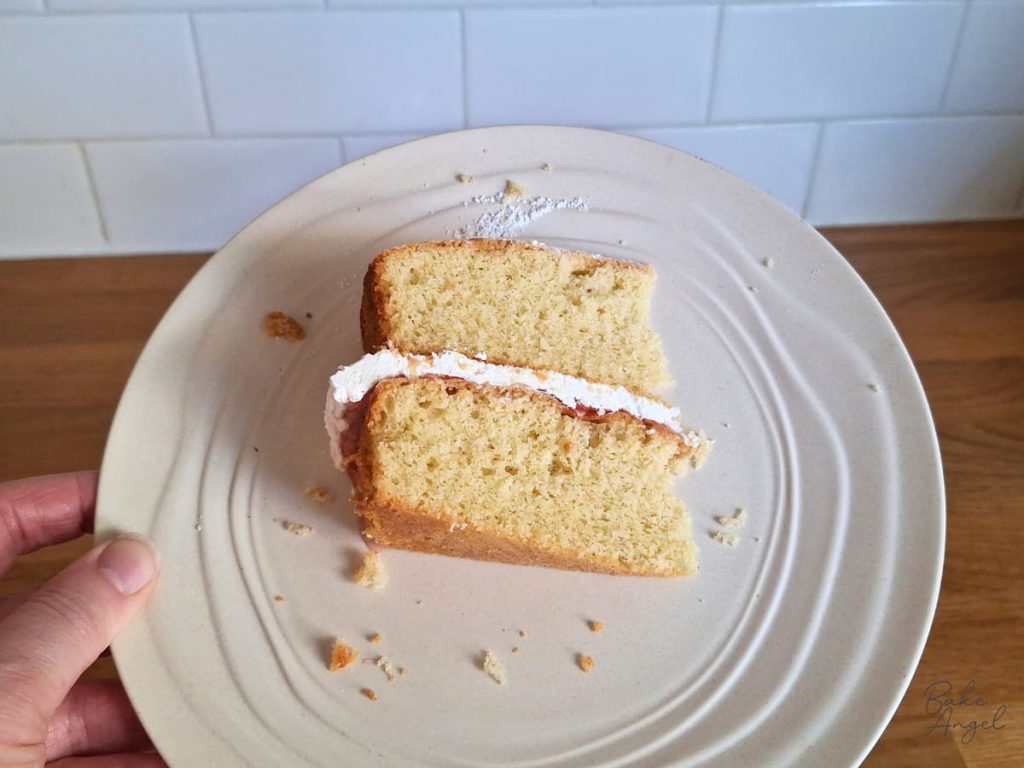
Don’t worry if a little of the buttercream starts to come out of the sides. That’s part of the beauty of a Victoria Sponge! These cakes are supposed to look rustic, homemade and perfectly imperfect.
Finishing Touches
Add a small amount of icing sugar to a sieve and dust it over the top of the cake.
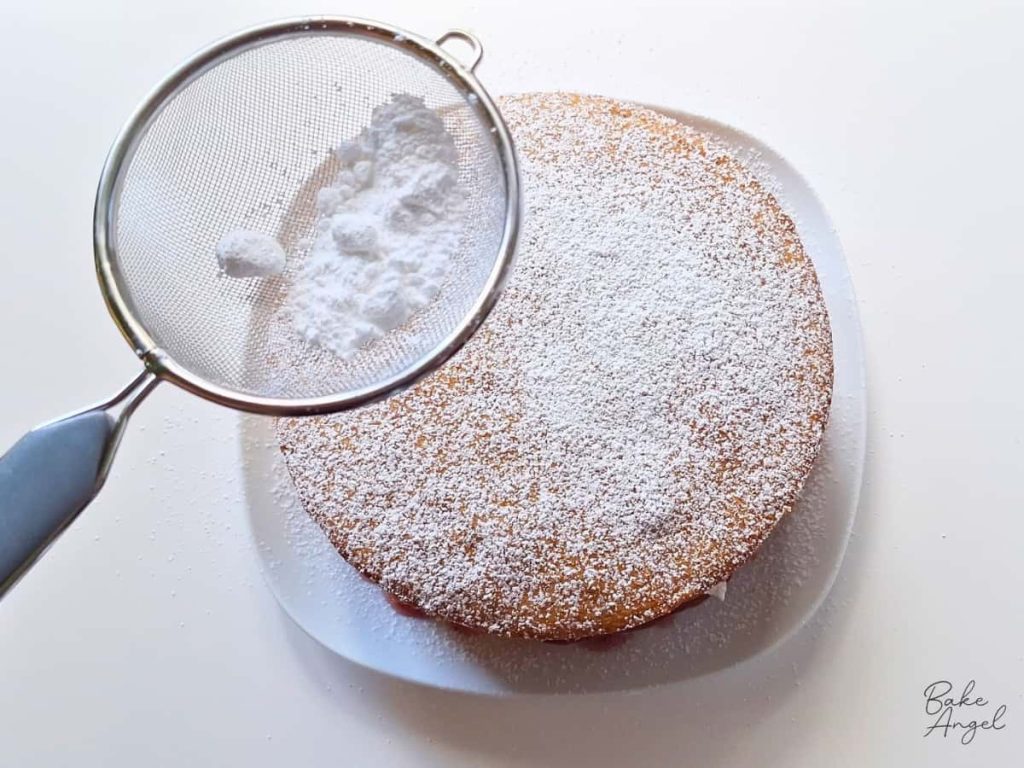
That’s it! You now have a classic British Victoria Sandwich Cake that is dairy-free and gluten-free.
How do I know when the cake is baked?
There are several ways to tell when your cake is ready.
Use a cake tester. Insert a cake tester or toothpick into the centre of the cake. It should come out clean or with a few moist crumbs attached.
Look at the edges. The cake will usually start to pull away slightly from the edges of the cake pan as it finishes baking.
Check the top. The surface should look matte and set. If it is still glossy or looks jiggly in the centre, give it another couple of minutes.
Check the colour. Your Victoria Sponge should be lightly golden when it is ready.
Use your senses. As you become more confident with baking, you’ll start to recognize the smell of a properly baked cake. You can even learn to recognize the sound of a cake as it finishes baking!
Storage Tips
This cake can be stored at room temperature for up to 3 days. Keep it in an airtight container to prevent the sponge from drying out.
If your kitchen is particularly warm, you can store the cake in the refrigerator instead. Allow it to come back to room temperature before serving for the best texture and flavour.
Flavour Variations
Once you’ve mastered the basic Victoria Sponge, it’s easy to change the flavour while keeping the same tried-and-tested cake method.
Chocolate Victoria Sponge
Replace 50g of the gluten-free flour with 50g of cocoa powder. Fill the cake with my Stable Chocolate Buttercream for a delicious chocolate version.
Coffee Victoria Sponge
Add 4 tsp coffee flavouring to the sponge and fill with coffee buttercream for a delicious twist on the traditional cake. If you don’t have coffee flavouring, dissolve 4 tsp instant coffee in a little bit of hot water to form a paste.
You can also try my Coffee and Maple Layer Cake if you’re looking for a richer coffee cake.
Lemon Victoria Sponge
Add the zest and juice of one lemon to the batter along with the flour, then fill the cake with lemon buttercream for a bright and fresh version.
Questions and Troubleshooting
Yes! You can replace the eggs with 5 flax eggs to make this cake vegan as well as dairy-free and gluten-free.
Keep in mind that vegan and gluten-free baking can behave differently from the traditional version, so the finished texture may vary slightly.
Yes. You can bake the entire batter in one deeper cake pan, but you will need to adjust the baking time.
Once the cake has baked and cooled completely, carefully slice it horizontally in half to create two layers, then fill and assemble as directed in the recipe.
Keep an eye on the cake as it bakes, as a deeper cake will take longer than the two separate layers.
First, check that your gluten-free self-raising flour is still within its best-before date and contains the correct amount of raising agent.
It’s also important to weigh your ingredients accurately. Baking is a science, and using too much or too little flour can affect the structure and rise of your cake.
Finally, make sure you haven’t overmixed the batter once the flour has been added.
I don’t recommend freezing the cake once it is assembled, as it will alter the consistency. If you want to bake ahead, you can freeze the cake layers. Wrap each layer in plastic wrap (cling film) then place in a freezer safe zip top bag for up to three months. Allow to defrost at room temperature before unwrapping, then fill with jam and buttercream or whipped cream.
Final Thoughts
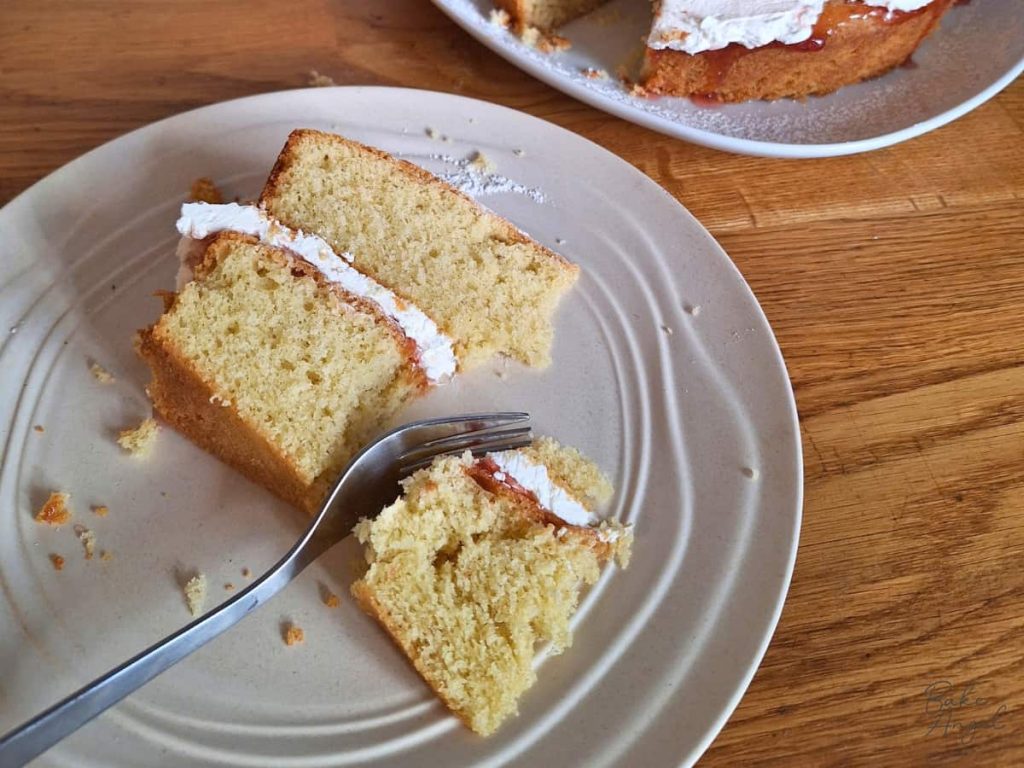
There is something about a Victoria Sponge that just feels like home to me. It’s one of those cakes that doesn’t need fancy decorations or complicated techniques to be special. A soft vanilla sponge, sweet strawberry jam, a generous layer of buttercream and a dusting of icing sugar are all you need.
And because this version is both dairy-free and gluten-free, you can enjoy that classic British nostalgia even when traditional cake isn’t an option.
Whether you’re making it for afternoon tea, a birthday, a coffee morning or simply because you fancy a slice of something comforting, this Victoria Sandwich Cake is a classic worth having in your recipe collection.
If you love cakes, try these family favourites:
- Coffee and Maple Layer Cake – rich, decadent and filled with delicious coffee buttercream.
- Mini Victoria Sponge Cakes – perfect for individual treats and afternoon tea trays.
- Red Velvet Cake – the ultimate showstopper with six layers of cake and silky cream cheese frosting.
- Coconut Orange Sheet Cake – bright, punchy flavours that will wake up your taste buds.
- Chocolate Fudge Cake – always a crowd-pleaser and wonderfully decadent.
Enjoy!

Dairy-Free Gluten-Free Victoria Sponge Cake
Angela’s Top Tip
Weigh your dry ingredients in grams with a scale for best results!
Ingredients
For the cake batter
- 250 grams Gluten Free Self Raising Flour
- 250 grams White Sugar
- 250 grams Plant Based Butter
- 5 Eggs
- 1 tsp Vanilla Bean Paste
For the filling
- Strawberry Jam (Measure with your heart)
- 1 Batch Small Batch Vanilla Buttercream
For finishing
- Icing sugar for dusting
Instructions
For the Cake Layers
- Preheat your oven to 350°F (180°C). Grease and line two 8-inch (20cm) round cake pans with parchment paper.
- Cream the plant-based butter and white sugar together until light and fully combined.
- Crack the eggs into a jug and add the vanilla bean paste. Stir to combine.
- Slowly add the egg mixture to the creamed butter and sugar, mixing as you go. Adding the eggs gradually helps prevent the batter from curdling.
- Add the gluten-free self-raising flour in thirds, gently mixing between each addition until just combined. Take care not to overmix.
- Divide the batter evenly between the two prepared cake pans. Gently tap the pans on the counter to remove any large air bubbles.
- Bake for 25–30 minutes, or until the cakes are lightly golden, feel slightly firm to the touch and spring back when gently pressed.
- Allow the cakes to cool in their pans on a cooling rack for 10 minutes. Carefully turn them out onto the racks and allow them to cool completely.
Make the filling
- Prepare one batch of my Small Batch Vanilla Buttercream while the cakes cool.
- Make sure the buttercream is smooth and spreadable before assembling the cake.
Assemble
- Remove the parchment paper from the cooled cake layers. If needed, level any domed tops.
- Place one cake layer on a serving plate, bottom side down.
- Spread over the strawberry jam, followed by a generous layer of vanilla buttercream.
- Place the second cake layer on top, bottom side down.
- Dust the top with icing sugar before serving.



Leave a Reply