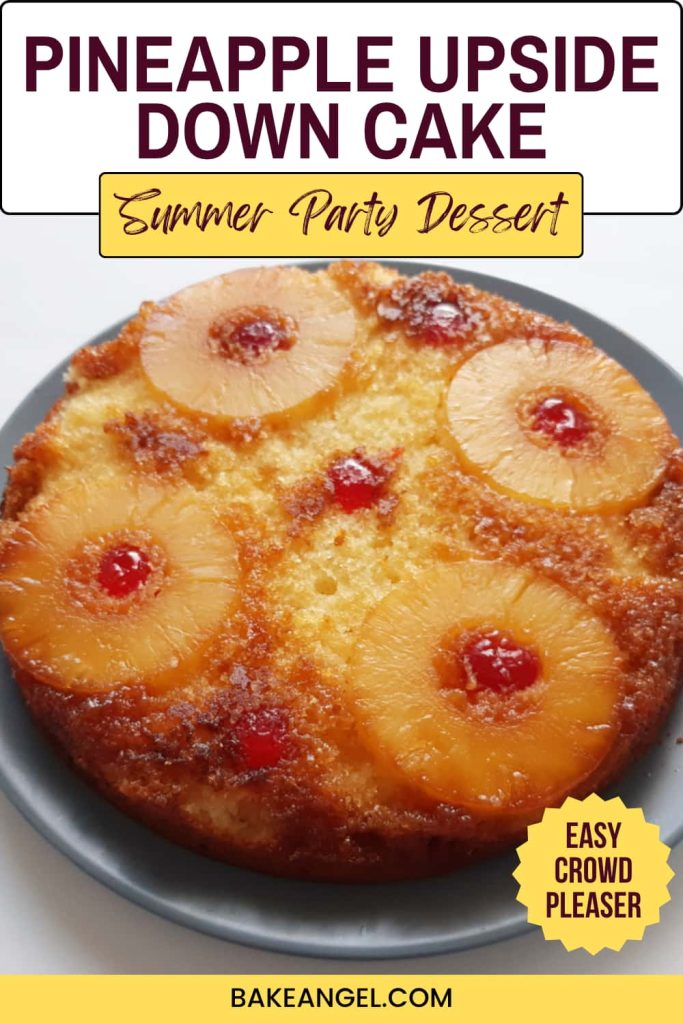
This easy dairy-free pineapple upside-down cake is soft, fluffy, and topped with caramelized pineapple and cherries. Made from scratch with simple ingredients, it’s a classic summer dessert that looks impressive but is incredibly easy to make.
This was the first cake I ever baked when I took Home Economics in school many years ago. And I couldn’t wait to share an updated dairy-free version with you. It is a light and moist cake, thanks to the addition of pineapple juice in the cake batter, and a truly classic recipe.
This dairy-free pineapple upside-down cake is one of my favourite easy cake recipes to make from scratch, especially during the summer months. My husband and our kids are all fans of this dessert and I hope you’ll enjoy it too.
Why You’ll Love This Pineapple Upside Down Cake
- Easy to make from scratch
- Dairy-free with simple swaps
- Light, moist, and fluffy texture
- Classic retro cake with a beautiful topping
- Perfect summer dessert for BBQs and gatherings
The History of Pineapple Upside-Down Cake
This traditional cake is thought to originate from the 1920s in America, with the first printed recipe included in a Seattle charity cookbook in 1924. Traditionally made in a cast-iron skillet with fruit on the bottom and cake batter on top, it has become a classic bake in many countries.
Today, it’s still one of the most loved easy cake recipes, especially during the summer baking season. You’ll often find intricate designs made with the fruit, sometimes down the sides of the cake and on the top. For this recipe, I am keeping it simple with a few pineapple rings and some glace cherries.
Ingredients and substitutions
To keep this pineapple upside-down cake dairy-free, I use plant-based butter. You’ll also find simple substitutions below so you can adapt the recipe to suit your dietary needs.
I recommend weighing ingredients for accuracy, but US cup measurements are also included for convenience.

Dry Ingredients
Self-Raising Flour: This helps create a light and fluffy sponge. It already contains baking powder and salt, so no extra leavening is needed. You can also use a gluten-free self-raising blend if required. No self-raising flour? Check out my detailed guide to make your own.
Sugar: White sugar is used in the cake batter for a clean sweetness. Soft brown sugar is used in the topping to help create a caramelized finish. You can also use golden or coconut sugar if preferred.
Wet Ingredients
Butter: I use unsalted plant-based butter for a dairy-free version. You can also substitute with regular butter or a light oil such as canola or coconut oil.
Eggs: Eggs provide structure, colour, and richness. I use large eggs (around 50g each). For a vegan version, substitute with 100g applesauce or your preferred egg replacer.
Pineapple Juice: A small amount is added to the batter for extra moisture and flavour. You can substitute with another juice or vanilla extract if preferred.
Fruit Topping: Use pineapple rings, slices, or chunks, depending on your design preference. Canned pineapple works best, but fresh pineapple can also be used if patted dry. Glace cherries are optional, but they add classic colour and charm.
How to Make This Cake
This is an easy, all-in-one method where all ingredients are mixed to create a light and fluffy pineapple cake batter.
Start by adding the flour, sugar, butter, eggs, and pineapple juice to a mixing bowl. Use a hand mixer (or stand mixer) and whisk until the batter is smooth, light, and airy. Be careful not to overmix.

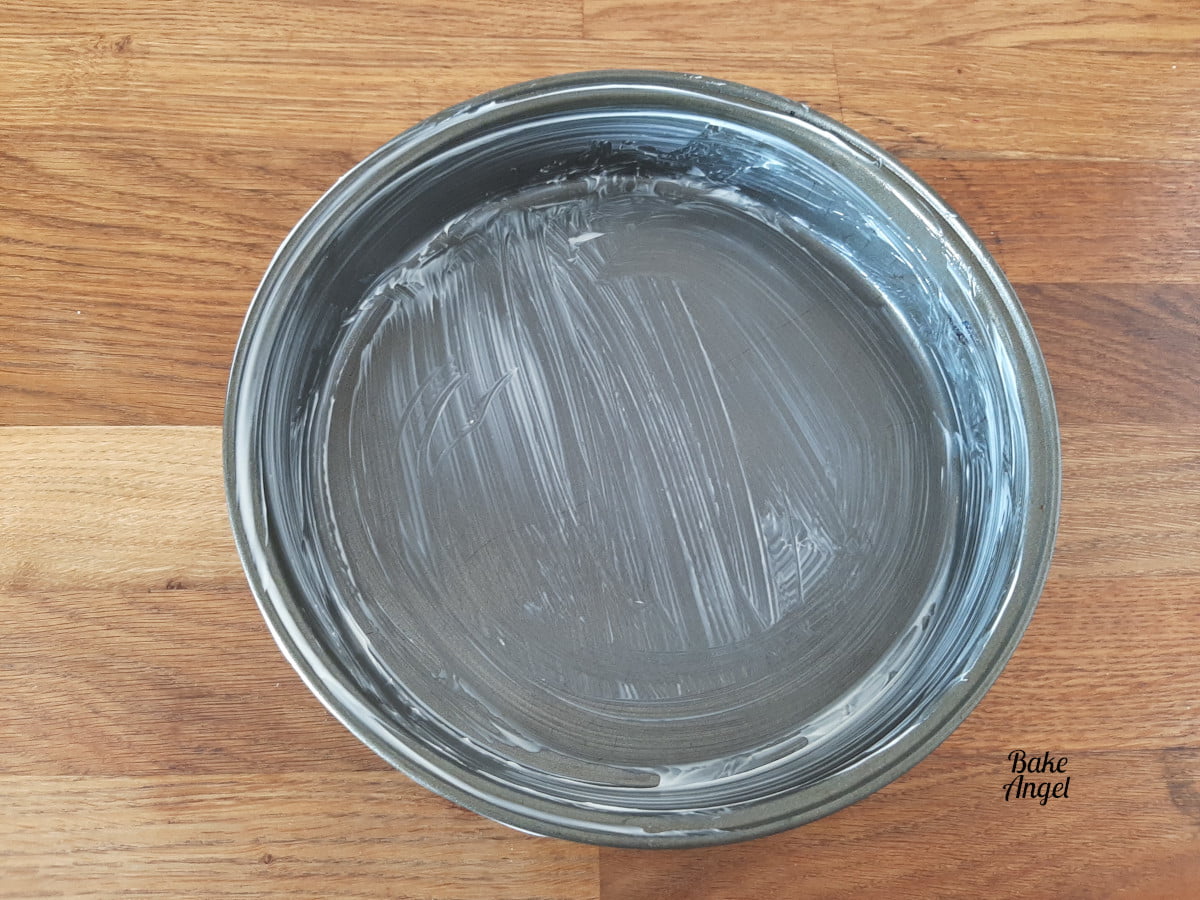
Next, grease a 9-inch round cake pan well to prevent sticking. I prefer to use butter to grease my pans, but you can always use a baking spray instead.
Building the Cake
Sprinkle the brown sugar evenly over the base of the prepared pan and gently press it down.

Arrange the pineapple rings and glace cherries on top in your desired pattern. You can keep it simple or create a more decorative design. Add slices to the side of the pan as well if you wish.

Carefully pour the cake batter over the fruit and spread it evenly, making sure not to disturb the design underneath.

Bake at 350°F (180°C) for 25 minutes, or until the cake is golden and a skewer inserted into the centre comes out clean.
Allow the cake to cool in the pan for 10 minutes before carefully turning it out onto a serving plate. Top Tip: Do not leave it too long in the pan, or the caramel topping may stick and be difficult to release.
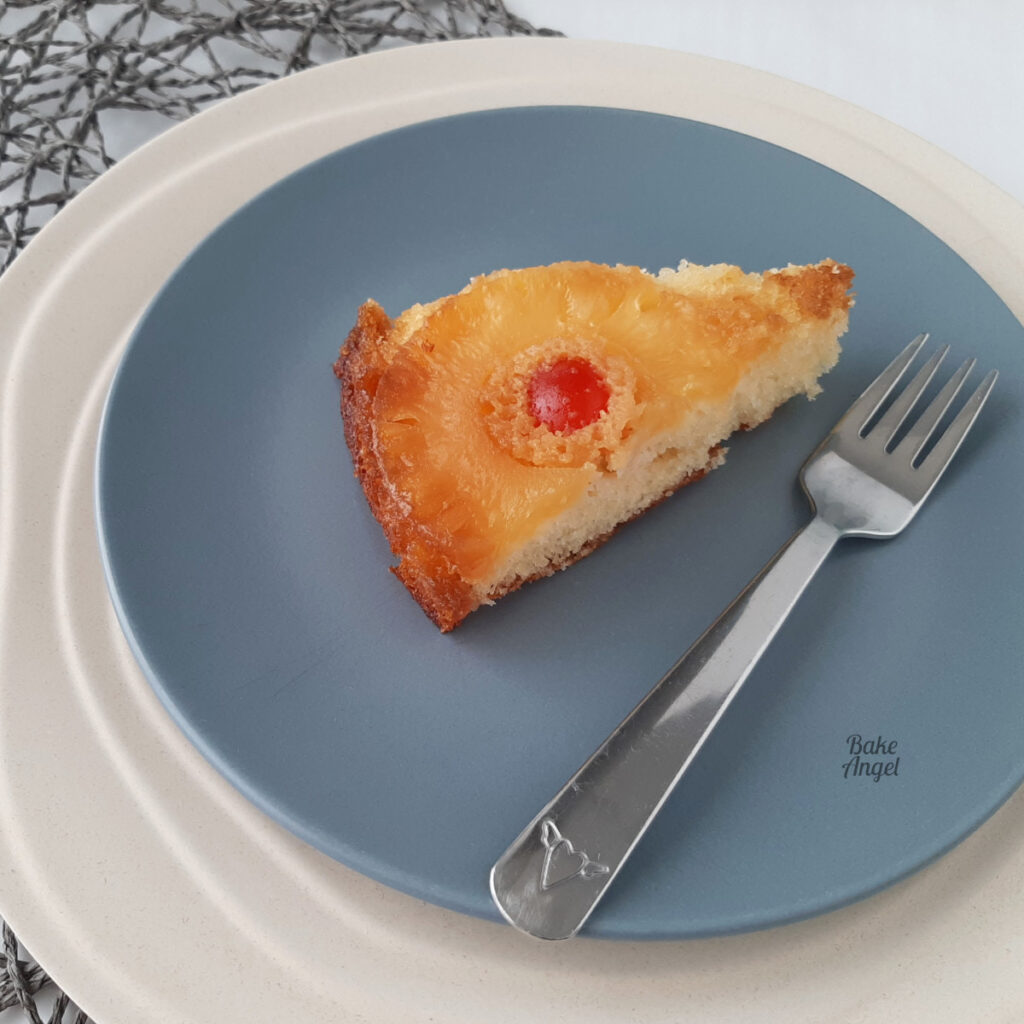
This easy pineapple upside-down cake should be golden brown with a beautifully caramelized topping.
Serve warm or at room temperature with a side of ice cream or whipping cream.

The Result
This dairy-free pineapple upside-down cake is soft, moist, and packed with sweet pineapple flavour. The caramelized topping creates a beautiful finish, making it one of the best pineapple dessert recipes to serve in summer. I am obsessed with the simplicity of this cake and its classic design.

Recipe FAQs
This cake makes 8 generous slices, although you might want to cut it into quarters as it’s seriously that good!
I recommend enjoying this cake on the day of baking for maximum freshness but it will keep for up to 48 hours at room temperature in an airtight container.
Once the cake has completely cooled, wrap individual slices in cling film (plastic wrap) and freeze in an airtight container for up to 3 months. Allow to defrost at room temperature before unwrapping then serve with whipped cream or ice cream.
Absolutely! This recipe is versatile, and you can replace the pineapple with other fruits like apples, pears, or peaches. Just be sure to adjust the amount of sugar in the topping depending on how sweet or tart the fruit is.
Yes! You can substitute the self-raising flour with a gluten-free self-raising flour blend.
Yes! To make this cake fully vegan, you can substitute the eggs with a plant-based option. 100 grams of applesauce, 2 flax eggs (2 tablespoons of ground flax mixed with 6 tablespoons of water), or commercial egg replacers are all great choices.
Yes! Fresh pineapple works well in this pineapple upside-down cake recipe. Slice and pat it dry first to remove excess moisture. You may want to add a little extra sugar, as fresh pineapple is less sweet than canned.
Recommended Recipes
If you love pineapple recipes and easy cake recipes, you might also enjoy:
- Start your day off with some Blueberry Burst Muffins (Dairy-Free)
- Or how about some zesty Lemon Drizzle Muffins (Vegan)
- Showcase your favourite fruit on a Sable Breton Tart (Dairy-Free)
- Pure comfort eating with a slice of Apple Blackberry Pie (Vegan)
If you try this dairy-free pineapple upside-down cake, I’d love to hear what you think! Did you stick with the classic design or create your own? Leave a comment below or tag me so I can see your beautiful bakes.
Happy Baking!


Classic Dairy-Free Pineapple Upside-Down Cake
Angela’s Top Tip
Weigh your dry ingredients in grams with a scale for best results!
Ingredients
For the cake batter:
- 100 grams Self Raising Flour
- 100 grams Plant Based Butter (unsalted)
- 100 grams White Sugar
- 1.5 tbsp Pineapple Juice
- 2 Eggs (large – see note)
For the topping:
- 50 grams Brown Sugar
- Pineapple Rings
- Glace Cherries
Instructions
Prep:
- Preheat oven to 350°F (175°C). Gather all of your equipment and ingredients and allow the eggs and butter to come to room temperature
Make the Cake:
- Add the flour, sugar, butter, eggs, and pineapple juice to a mixing bowl. Mix with a hand mixer until smooth and well combined. Be careful not to overmix.
- Grease a 9-inch round cake pan thoroughly.
- Sprinkle the brown sugar evenly over the base of the pan and gently press it down.
- Arrange the pineapple rings and glace cherries on top in your desired pattern.
- Carefully pour the cake batter on top of the fruit and spread evenly, taking care not to disturb the design.
- Bake for 25 minutes or until golden brown, and a skewer inserted into the centre comes out clean.
Turn Out and Serve:
- Allow the cake to cool in the pan for 10 minutes before turning out onto a serving plate. If needed, gently loosen the edges with a spatula and carefully shake the pan to release.
- Serve warm or at room temperature with whipped cream or ice cream. Enjoy!


How can this be made in a 9×13 glass dish? Ty!
Hi Dana. I recommend doubling the recipe if you are using a 9×13 glass dish. Hope you enjoy this cake! Tag me on IG @itsbakeangel – I’d love to see it!