
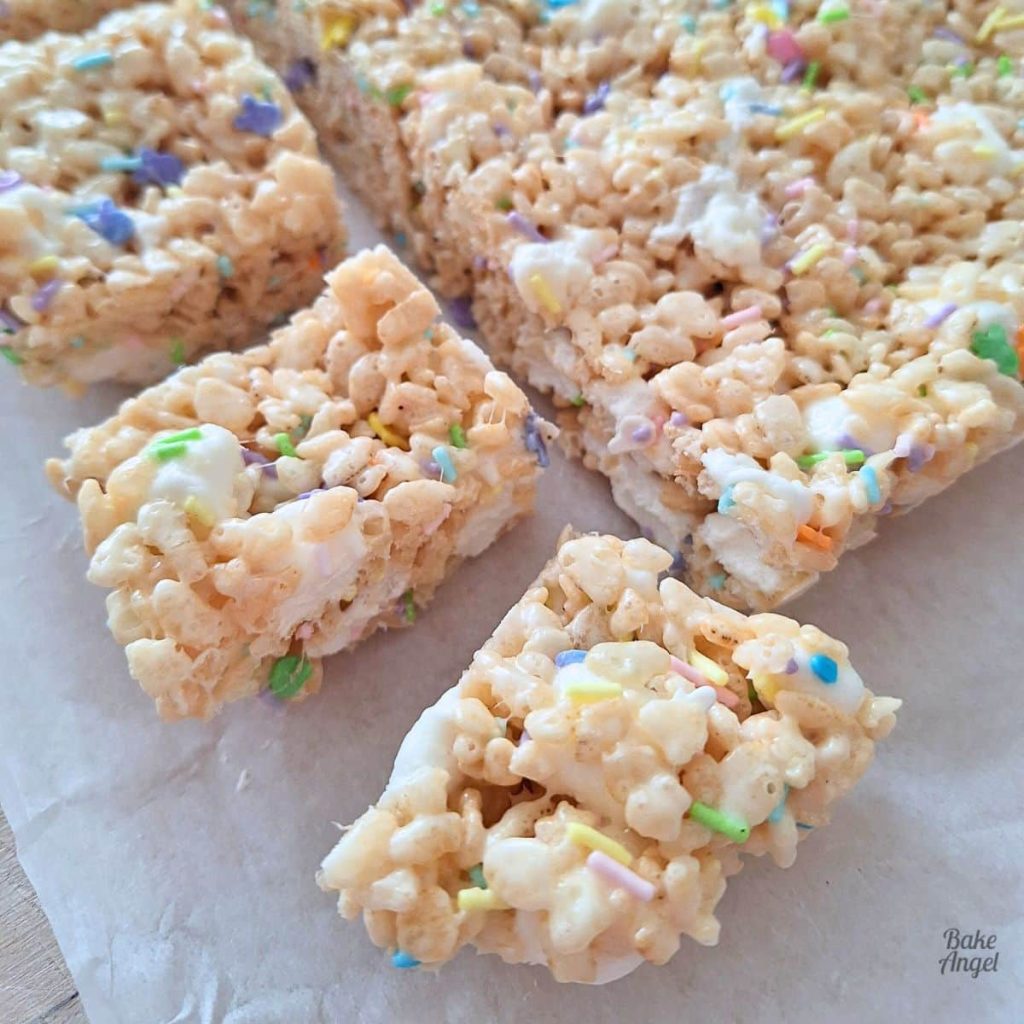
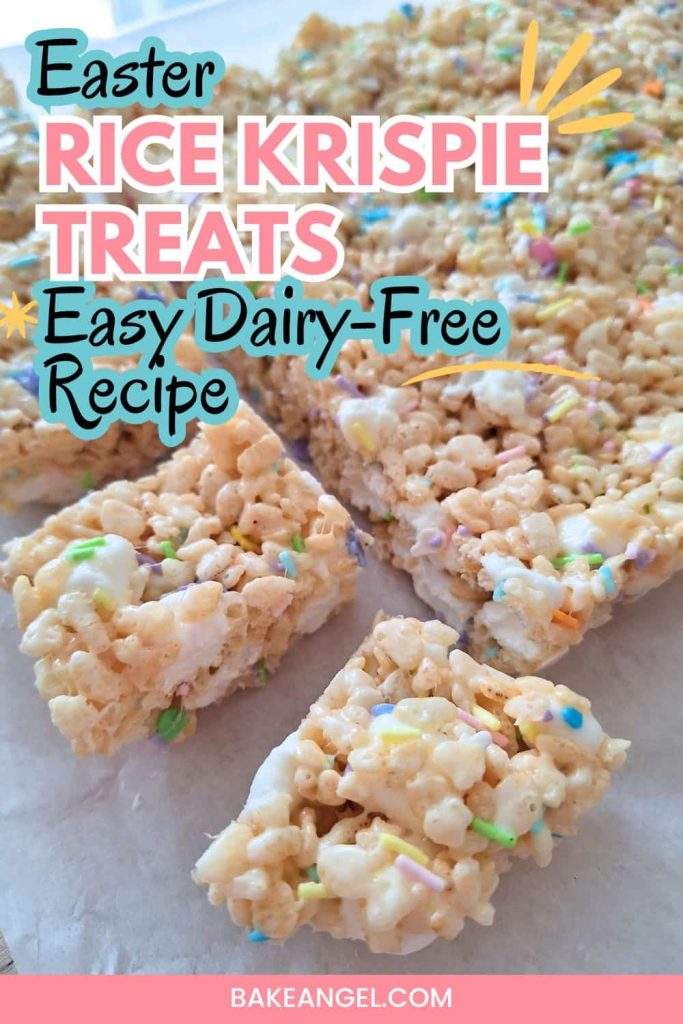
A festive twist on a classic childhood snack, these dairy-free Easter Rice Krispie Treats are ridiculously easy to make and will be devoured in a heartbeat (if you’re anything like my family!). Made with just 4 ingredients, these gooey Rice Krispie squares never disappoint. Make this for your allergy-friendly Easter snack when you want a fun alternative to chocolate eggs.
Why I Made This Recipe
The truth is that, as a busy Mom who’s always testing new allergy-friendly recipes in the kitchen, I love a good no-bake recipe. And with over two decades of baking, I’ve learned that the simplest treats are often the ones that kids love the most. Plus, sometimes I just don’t want to turn the oven on and want to make something quick that still satisfies my kids’ sweet tooth.
And my kids and husband are obsessed with Rice Krispie treats, so this was the perfect easy recipe to make for Easter. This recipe is based on my traditional Rice Krispie Squares with some festive Easter sprinkles. No fancy ingredients, no fuss, and minimal cleanup – it’s a win-win recipe and one that we keep coming back to.
Why You’ll Love This
Rice Krispie Treats are not just for kids – we all love that nostalgia when we dig into a fresh batch. There’s something so satisfying about the gooey marshmallows with the slightly crunchy cereal. You’ll love this recipe as it’s:
- Easy No-Bake Recipe.
- Only 4 Ingredients.
- Dairy-Free and Allergy-Friendly.
- Perfect Make Ahead Easter Treat.
Whether you make this for a lunchbox treat for your kids or a sweet afternoon treat to enjoy with your coffee, this recipe will not disappoint.
Baker’s Tips for Perfect Treats Every Time
I’ve made a lot of Rice Krispie treats over the years. Here are a few tips that help to make the best batch:
- Pre-line your pan before you start making the recipe – everything comes together quickly, and you don’t want the pan of melty goodness hanging around while you prep your pan. Trust me – it sticks when it starts to cool, and you want to avoid that messy cleanup.
- Retain 1/4 of the marshmallows and fold in at the end – this results in extra gooey treats with marshmallows dotted through the bars, instead of being fully melted.
- Stir the butter and marshmallows continuously while melting to avoid sticking to the bottom of the pan and burning.
Ingredients and Substitutions
Everything I make is always dairy-free (thanks to food allergies!), and this recipe is easy to adapt with a few simple hacks for vegan and gluten-free lifestyles.
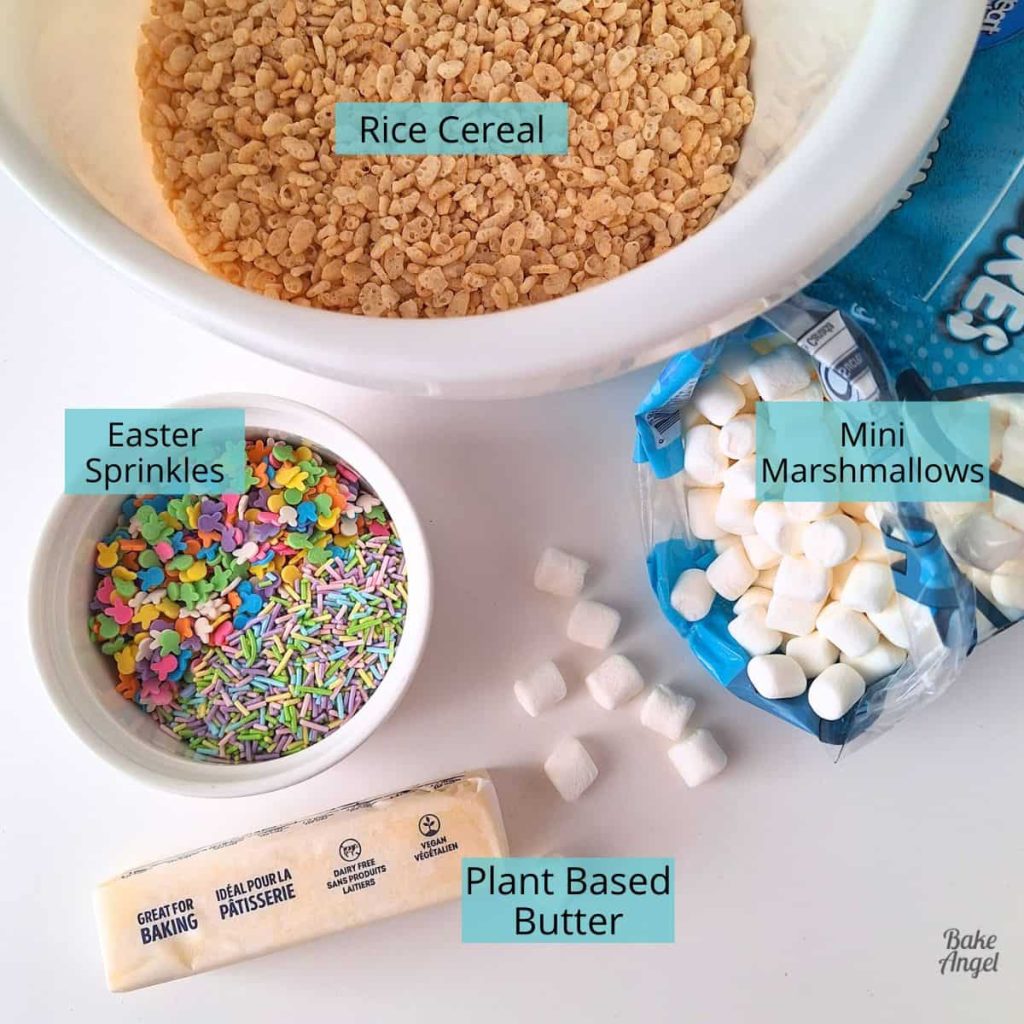
Plant-Based Butter: I always reach for unsalted, but if you want to cut back on the sweetness, sub with salted butter.
Marshmallows: Mini marshmallows work best, but you can use larger ones if needed. Just cut them first, so they melt faster. Use vegan marshmallows if needed – Dandies are highly recommended.
Rice Cereal: Any brand of puffed rice cereal will work. Check the ingredients label if you need a gluten-free option.
Sprinkles: I own far too many sprinkles! Always check the ingredients, as many contain hidden allergens such as dairy and soy.
How To Make Easter Rice Krispie Treats
This recipe is quick to make, so start by prepping your baking pan. Grease then line it with parchment paper. This will make it easier to remove the slab of treats once it has set. Add the rice cereal to a large mixing bowl.
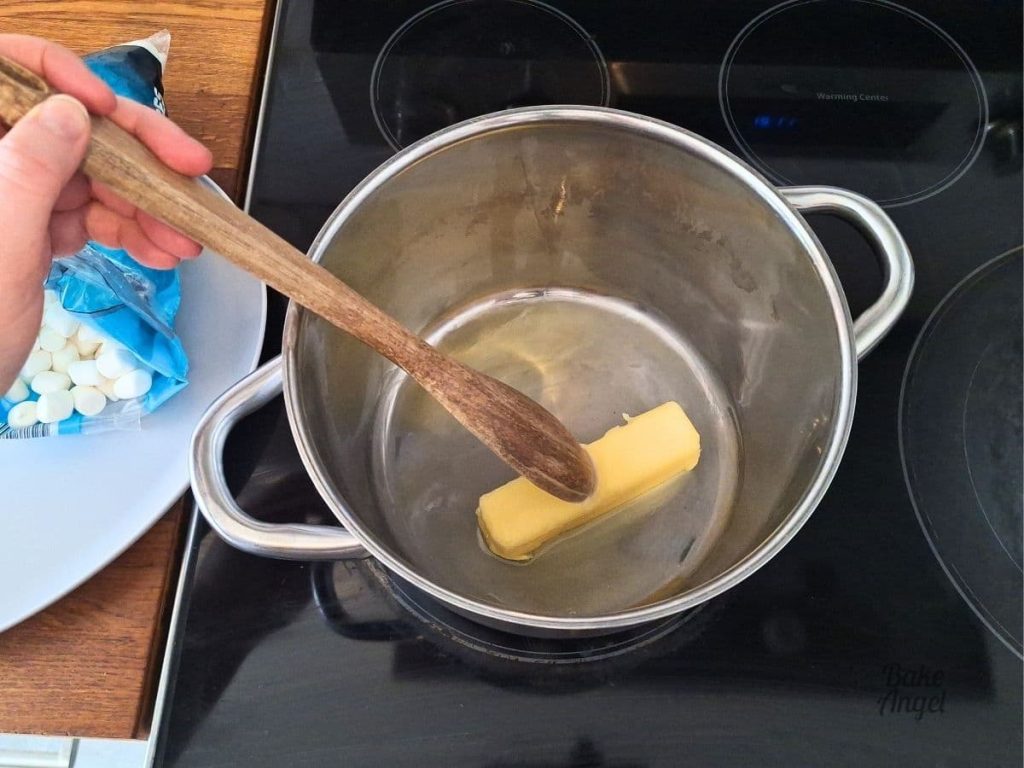
Over medium heat, melt the butter in a large saucepan. I prefer to use a wooden spoon to stir the butter and speed up the process.
Once melted, add 3/4 of the marshmallows. Stir constantly to avoid the marshmallows sticking to the bottom of the saucepan.
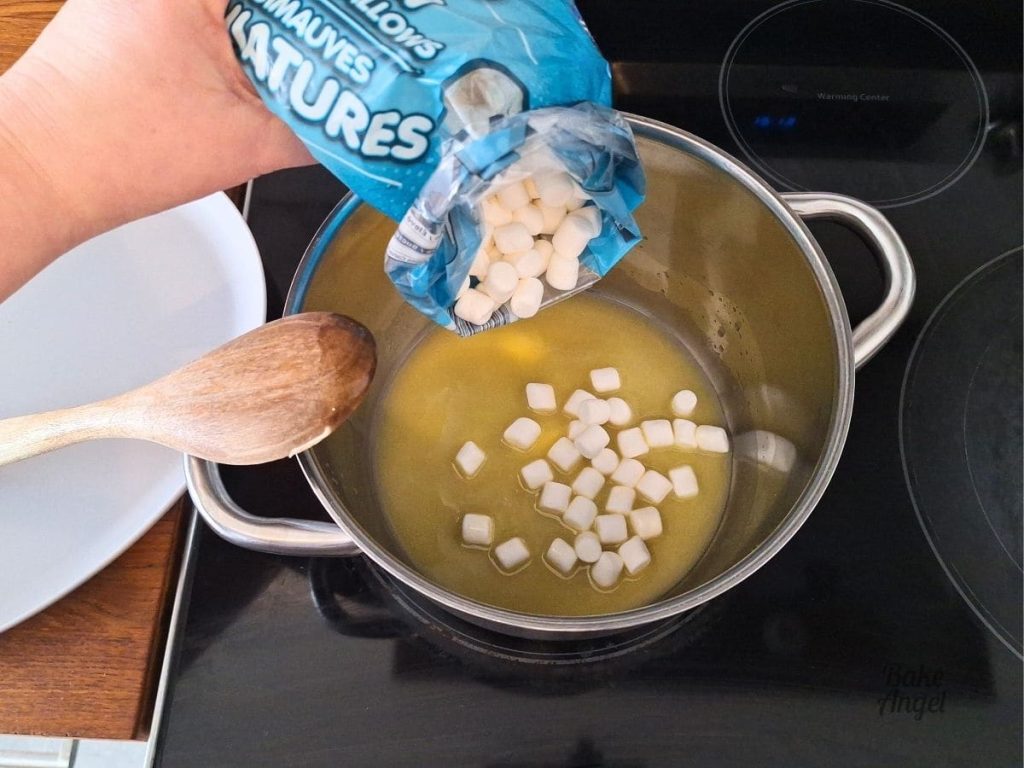
Top Tip: I like to scrape the bottom of the pan every 10 seconds to ensure nothing is sticking. You’d be surprised how quickly it will start to burn if you skip this step.
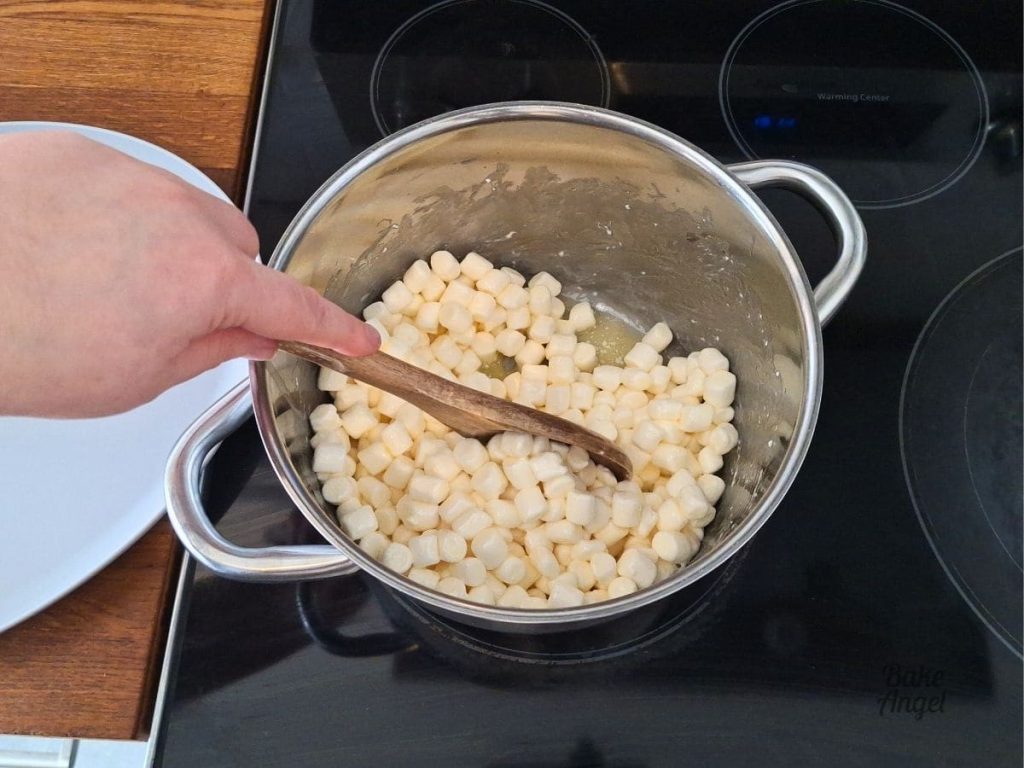
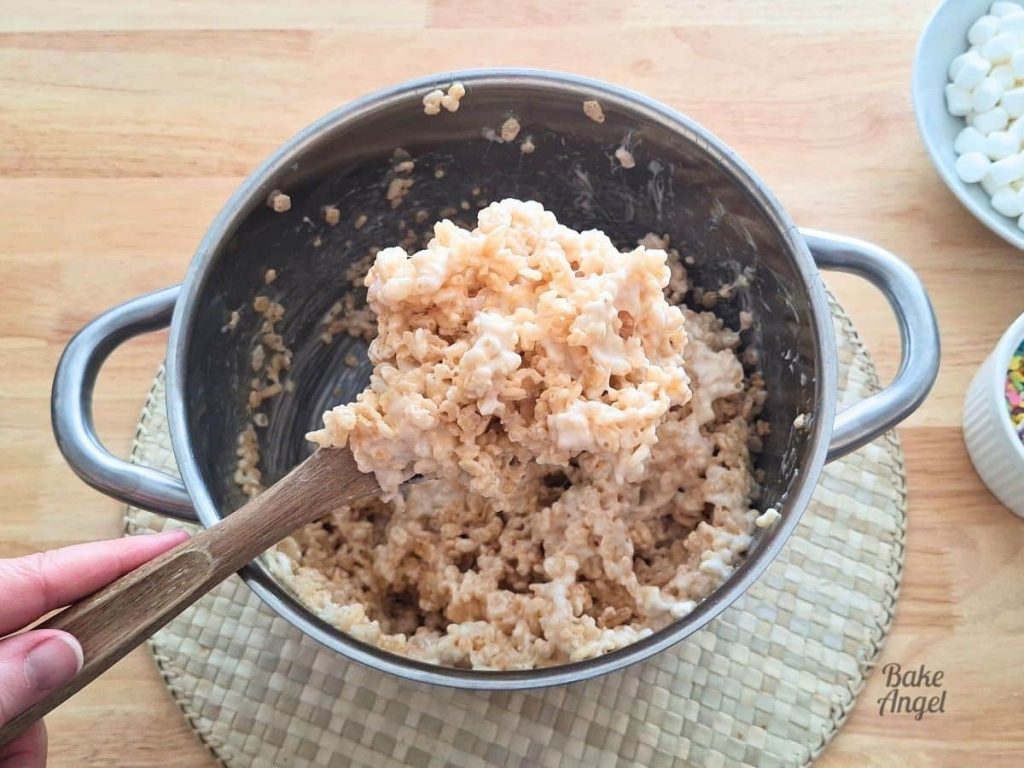
Once everything is melted, remove the pan from the heat. At this stage, it’s a very sticky mess – give it one last stir to make sure everything is fully melted.
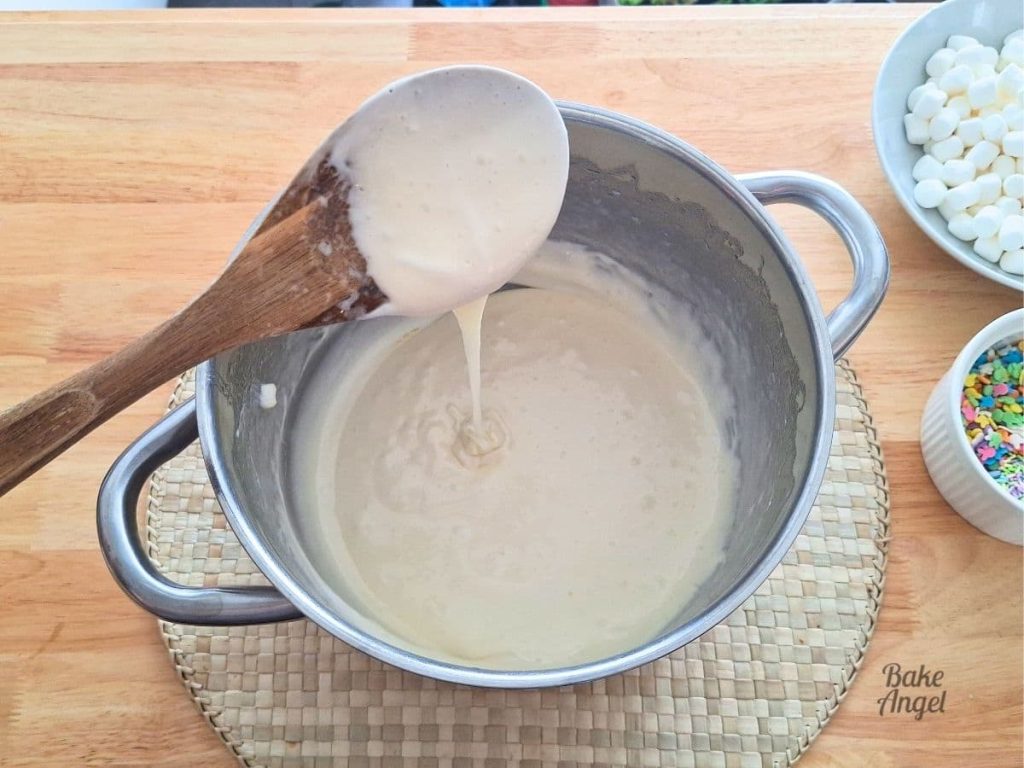
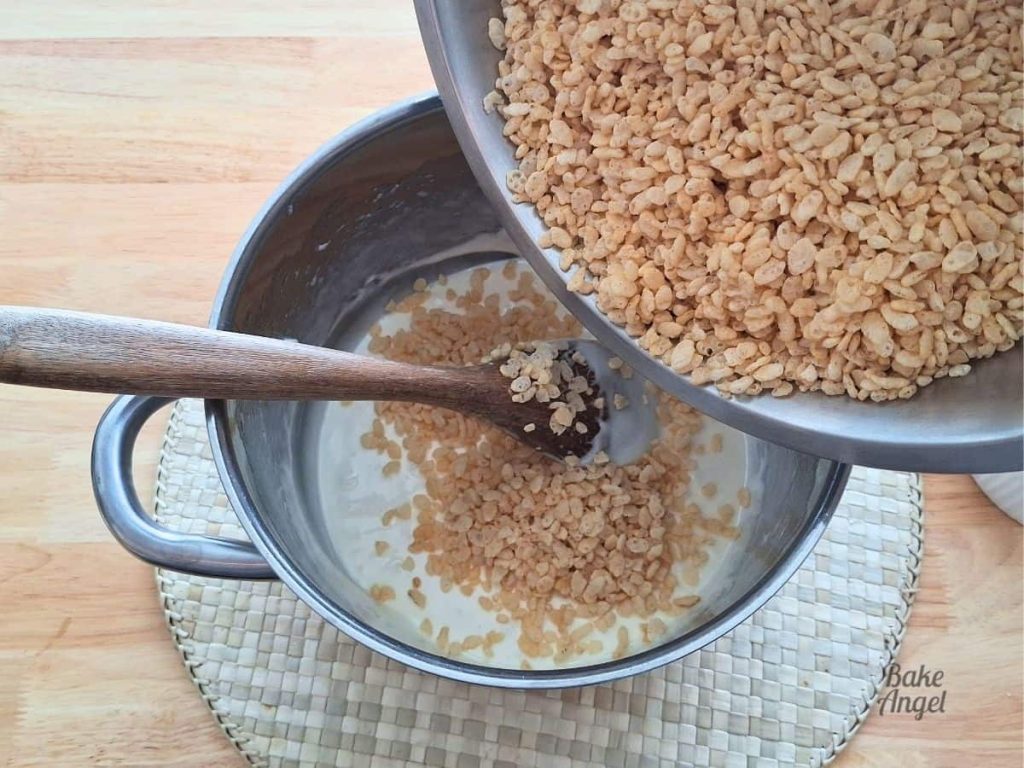
Pour the rice cereal into the saucepan and stir to combine.
At this stage, you’ve essentially made classic Rice Krispie treats. The mixins really make the difference and will turn this into our Easter version.
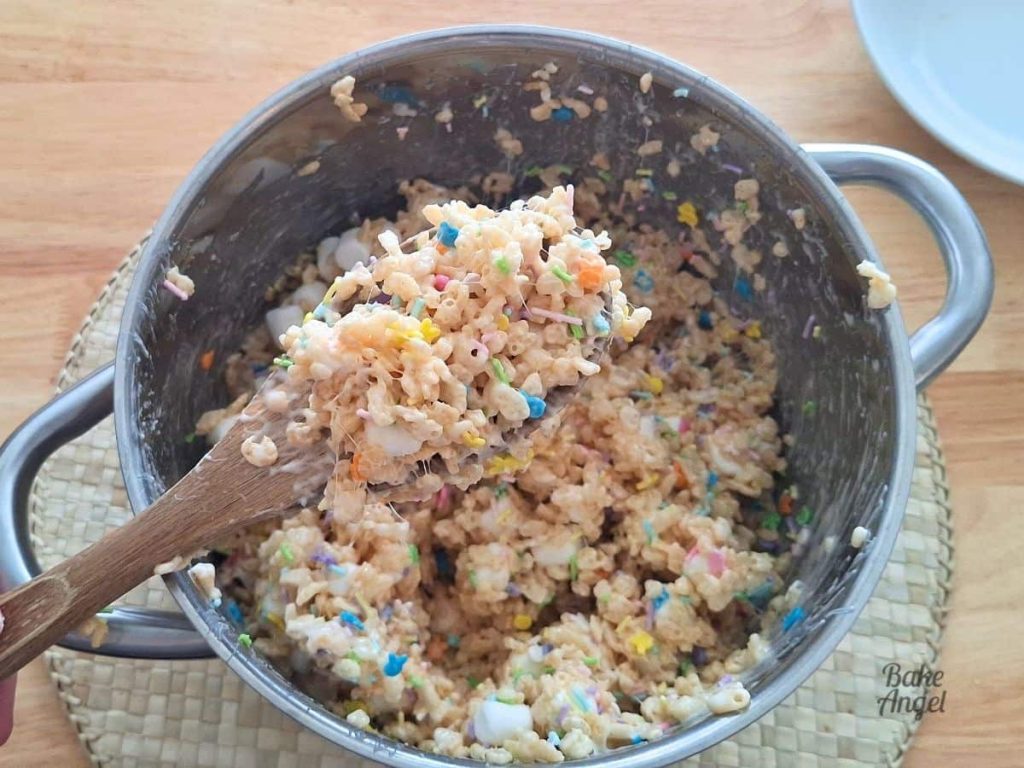
Fold in the sprinkles and remaining marshmallows.
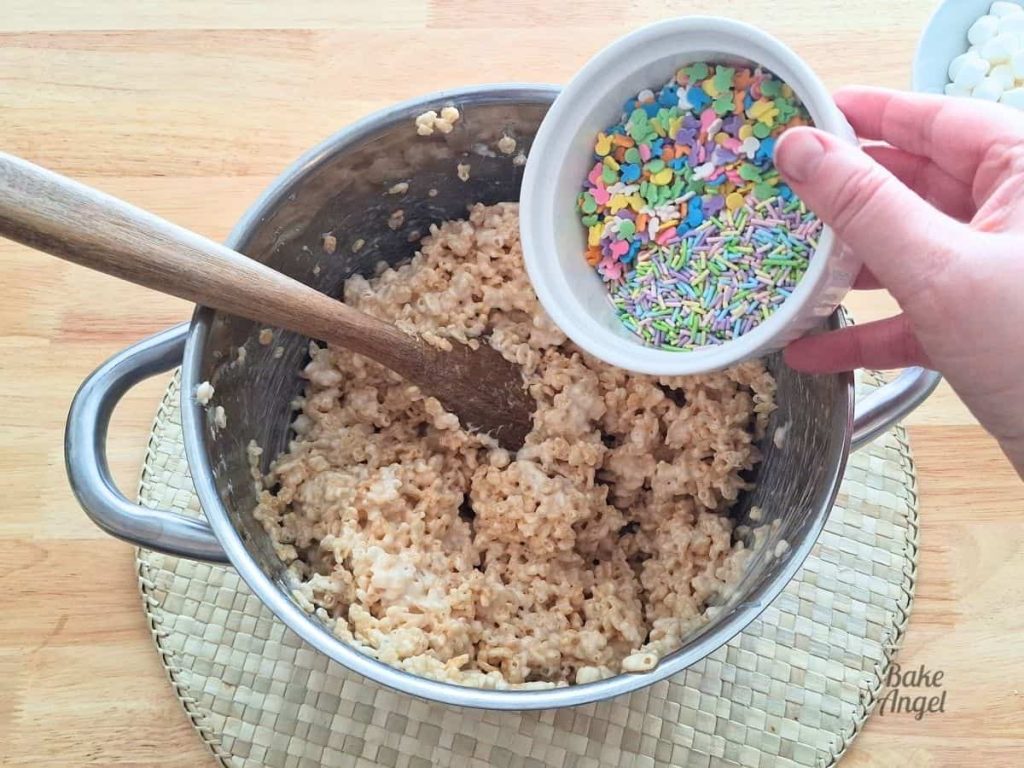
Do this step gently to stop the sprinkles from bleeding their colour. We also want to keep the mini marshmallows’ shape, rather than stirring them in to melt them.
Spread the mixture gently into the lined baking pan. I like to use a spatula for this step to prevent sticking – you can also use a piece of parchment paper and spread it evenly with your hands if you prefer. Just make sure to not press too hard, or it will cause a denser treat.
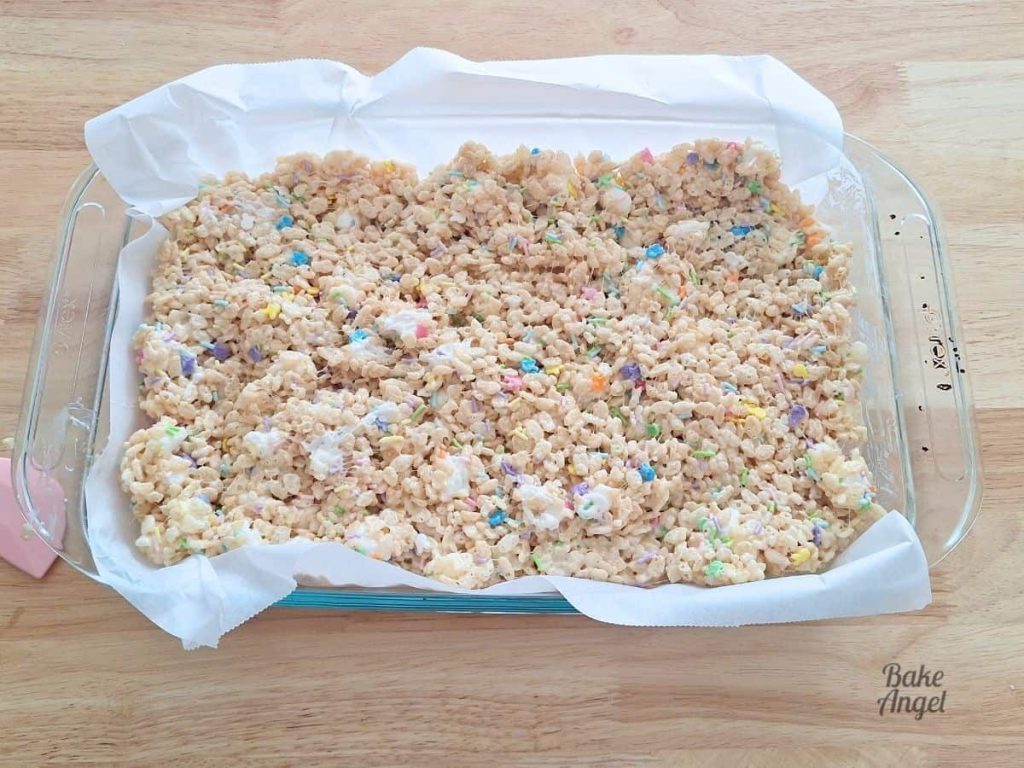
Set aside the pan at room temperature for at least 30 minutes to set – the longer you leave it, the easier it is to cut.
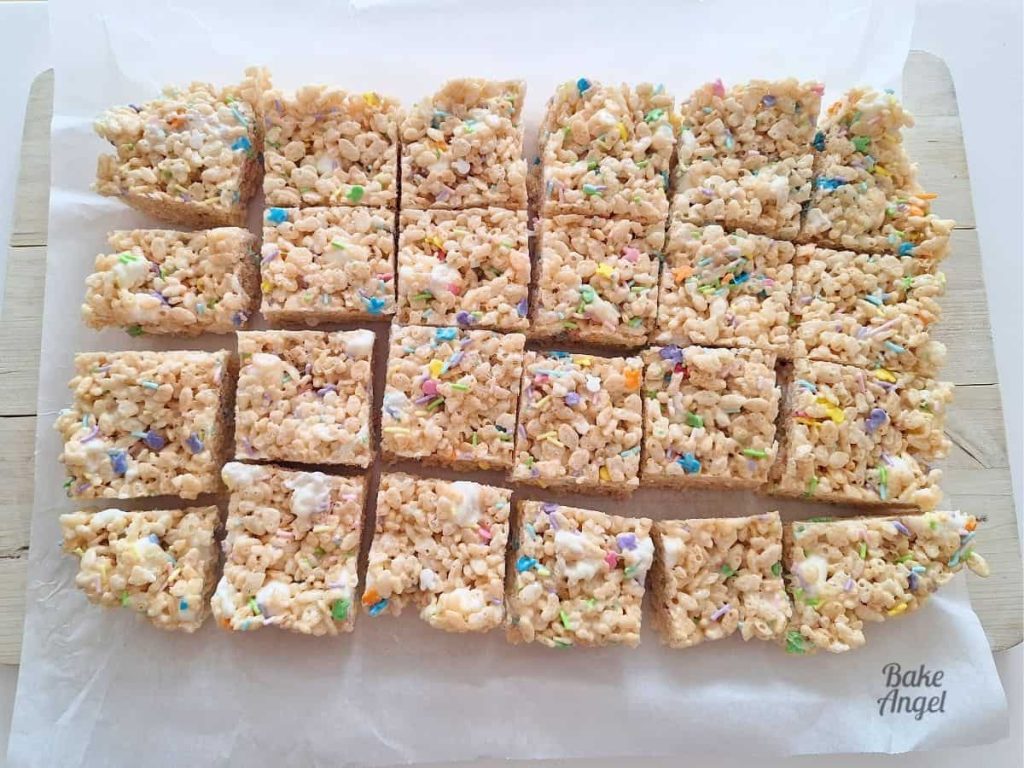
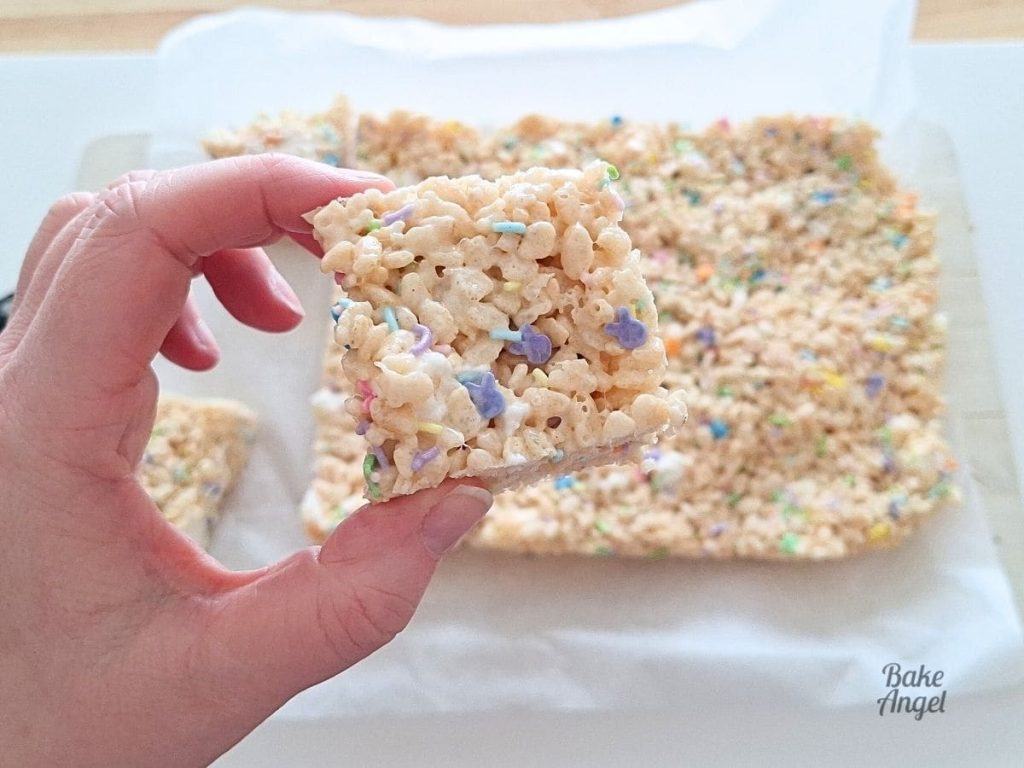
Once the slab has set, lift out the slab, using the parchment paper overhang, and place it onto a cutting board. Slice up into squares. This recipe makes approx 24 pieces, depending on the size you cut them.
Serving Suggestions
Rice Krispie Squares are the perfect addition to a lunchbox or small treat gift box. For Easter, bag the squares individually and tie with a ribbon and gift tag and use them in a scavenger hunt, instead of chocolate eggs.
Want to make them extra fancy? Drizzle some melted white chocolate on top and add mini eggs or jelly beans. These also make adorable party treats, lunchbox snacks, or edible gifts for kids.
Storage Tips
Rice Krispie Treats store surprisingly well and are great for making ahead.
- Room Temperature: Store in an airtight container for up to 7 days. Bagging them individually will also keep them fresh for longer.
- Fridge: Not recommended as they will harden.
- Freezer: wrap the squares individually and store in a container or freezer-safe bag for up to 3 months. Allow to defrost at room temperature before serving.
Common Questions
Packing the mixture gently into the pan will result in softer treats. Press too hard and they’ll be dense. Also, ensure that the marshmallows don’t burn when you are melting them, as this will affect both the taste and texture. Worst case, you can always reheat the squares in the microwave to soften them back up. They’ll still taste great.
Make sure the slab is fully set before cutting, then spray a knife with non-stick cooking spray for a cleaner cut.
Absolutely! Just be sure to keep a close eye on them, stirring every 30 seconds to avoid overheating. Similar to the stovetop method, they can turn very quickly.
Yes! Simply wrap the squares in cling film (plastic wrap), then place them in a Ziploc bag for up to 3 months. Remove a square and let it thaw at room temperature so you’re ready when cravings hit!

More Easter Inspiration
If you’re making a treat table for Easter, these Easter Dairy-Free Rice Krispie Treats pair well with the following family favourites:
- Carrot Cake – the perfect centrepiece for your Easter table.
- Jelly Bean Chocolate Bark – a great allergy-friendly chocolate option.
- No-Bake Easter Bird Nests – a throwback recipe from my childhood.
- Chocolate Buttercream Donuts – kids will love helping decorate these.
Let me know below what you’re most excited for this Easter and if these treats will be part of your celebration.
Have fun!


Easter Rice Krispie Treats
Equipment
- Large Saucepan
- Wooden Spoon
Ingredients
- 110 grams Plant-Based Butter 1 stick or ½ US Cup
- 400 grams Mini Marshmallows 8 ¾ US Cups
- 170 grams Rice Cereal 6 US Cups
- 85 grams Sprinkles ½ US Cup
Instructions
- Grease and line a 9 x 13inch pan or glass dish with parchment paper. Add 170 grams Rice Cereal to a large bowl.
- In a saucepan over medium heat, melt 110 grams Plant-Based Butter. Use a wooden spoon to stir the butter as it melts.
- Add in 300 grams Mini Marshmallows and stir continuously until melted.
- Remove the pan from the heat and add the rice cereal. Gently fold to combine.
- Add 85 grams Sprinkles and 100 grams Mini Marshmallows and fold in. Do not overmix as this can cause the sprinkle colours to bleed and the additional marshmallows to melt fully.
- Spread the mixture into the prepared pan. Top Tip: Use a silicone spatula or a piece of parchment to smooth the top gently.
- Set the pan aside until fully set – this will take at least 30 minutes, depending on the humidity in your kitchen. Do not refrigerate it as it will firm up the marshmallows.
- Once set, lift out the slab of Rice Krispie treats and cut into squares.
Notes
- Yield: This recipe makes roughly 24 2-inch squares.
- Pan Size: You can use other pan sizes if needed. A smaller pan will create thicker treats, while a larger pan will make thinner bars.
- Marshmallows: I used a 400g bag. If you have a larger bag, use them all – no such thing as too many in this recipe! Just ensure to keep 1/4 aside to stir in with the sprinkles.
- Vegan Option: Use vegan mini marshmallows if needed and check the sprinkles ingredients – many use shellac, which isn’t vegan!
- Texture Tip: Do not press the mixture firmly into the pan or the treats may become dense and hard. Gently spread it for softer squares.
- Serving Option: Serve these on your Easter treat table or individually wrap and use as a chocolate egg alternative for your Easter scavenger hunt.
- Storage: Cover with plastic wrap and store at room temperature for up to 7 days. You can also individually wrap or bag the treats to prolong freshness.
- Nutrition: The information provided is an estimate based on the specific ingredients used in this recipe. Values may vary depending on brands and substitutions used.


Leave a Reply