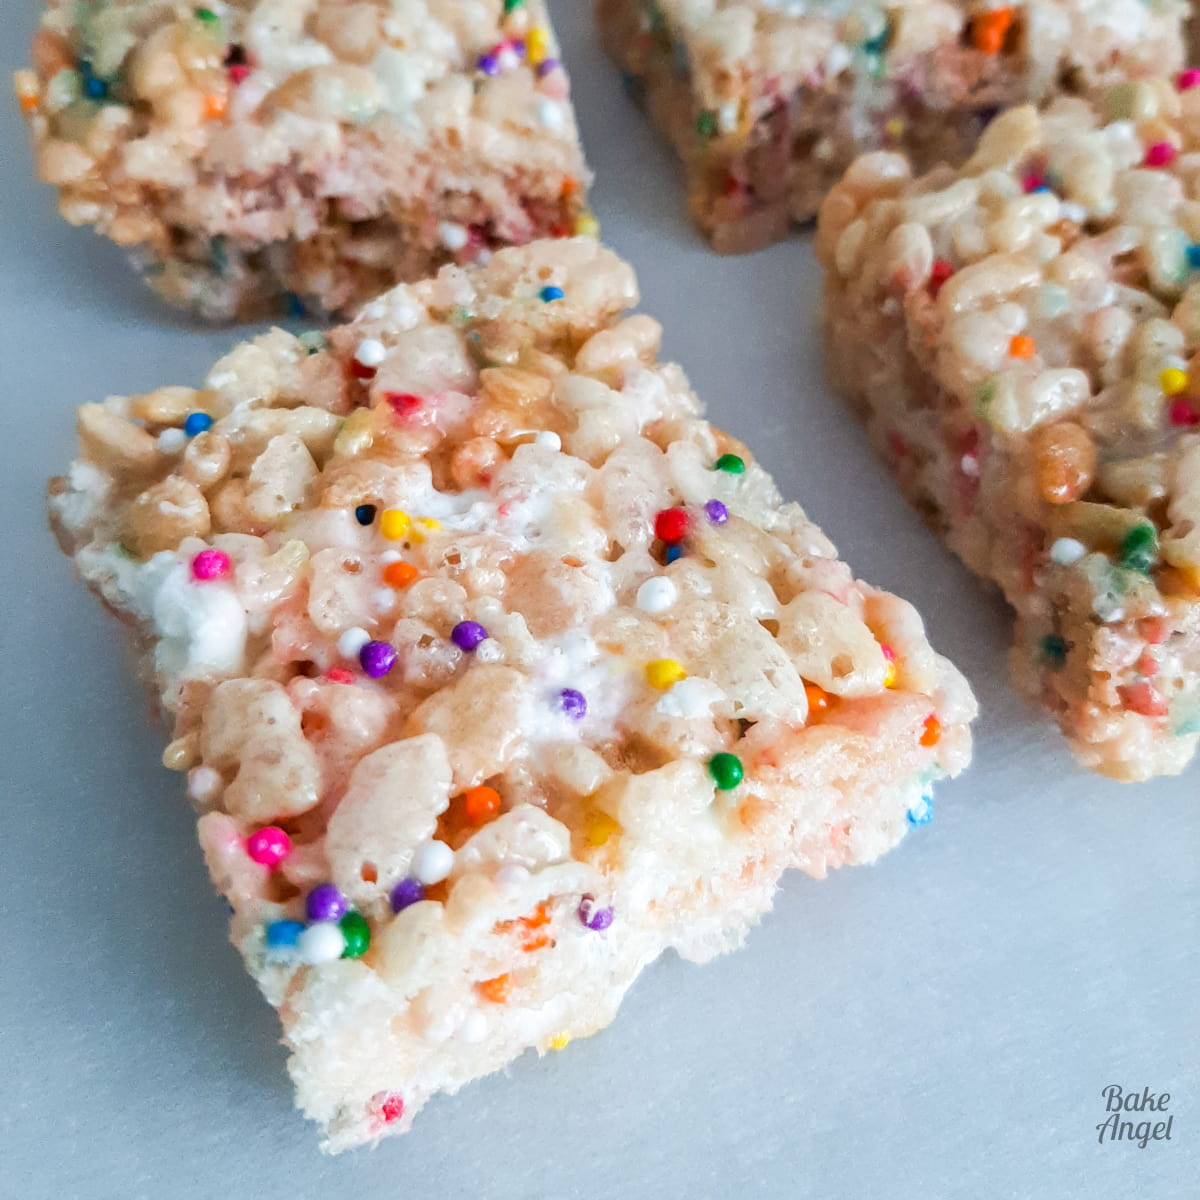
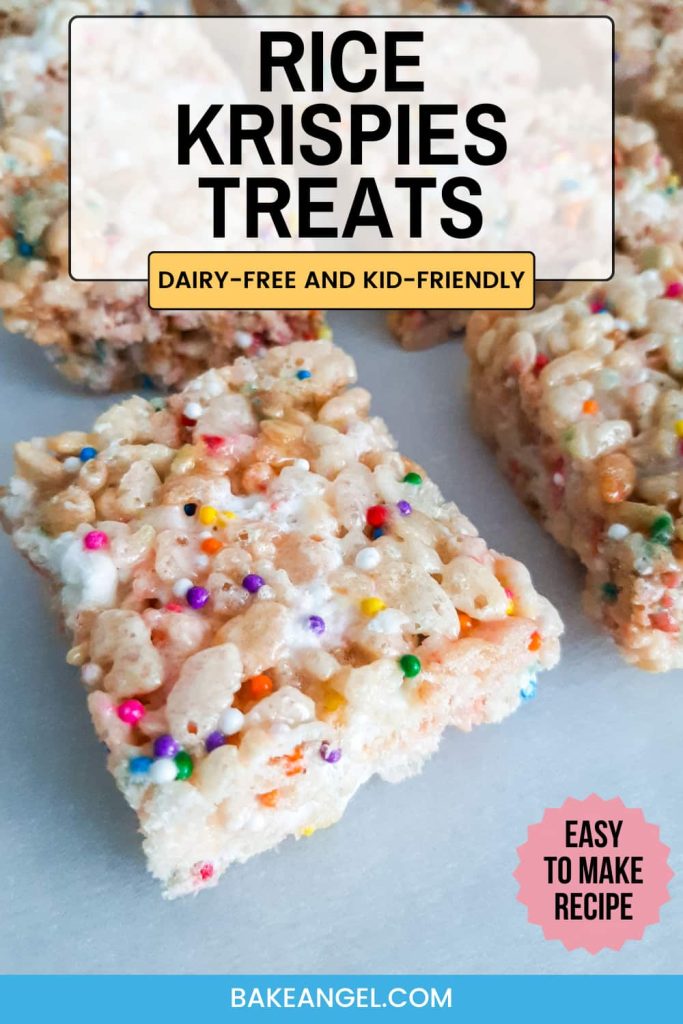
Hands up if you love Rice Krispies treat squares! They’re definitely a favourite in our home, but did you know that they normally have dairy in them? Or that they are ridiculously easy to make at home? Here’s my easy allergy-friendly recipe for dairy-free Rice Krispies treats. Adding sprinkles to them creates a pop of colour, which makes this iconic treat even more delicious.
Why You Need to Make These
Rice Krispies squares are a great snack to make for a road trip or to add to your kids’ lunch boxes for a midday treat. Even adults will love these as they’ll bring back happy childhood memories. And this recipe is allergen-friendly, as it contains no dairy, soy, or nuts, and can be easily veganised or made gluten-free. These dairy-free Rice Krispies treats are ideal for:
- Quick nostalgic snack
- Minimal inexpensive ingredients
- Great for make-ahead treats
They are also perfect as party loot-bag treats – simply individually wrap with a party-themed coordinating gift tag and ribbon. Homemade items are such a special gift at parties, and these have been a big hit at our son’s parties over the years. Pair with our homemade jelly bean bark recipe for extra fun.
Ingredients and Substitutions
This recipe is free from most major allergens, making it the perfect safe snack for any occasion. For flavour suggestions and other questions, check out my FAQ section below.

Butter: I am using plant-based, unsalted butter to add richness to the Rice Krispies treats. No need to pull your butter out of the fridge to bring it to room temperature before making this recipe, as we will be melting the butter. You can use dairy butter if you are not dairy free or vegan.
Marshmallows: I prefer to use mini marshmallows whenever I am making Rice Krispies treats, as they melt more quickly. If you only have large ones, cut them up first. If you are vegan, use plant based marshmallows. I have tried the ‘Dandies’ brand and highly recommend them.
Cereal: I use traditional Rice Krispies, but any store brand will also work. You could even make this treat with different types of cereal. Experiment and let me know what you try in the comments below. We’ve made this recipe with cornflakes as well and they turned out so good! Use gluten-free rice cereal if you are gluten intolerant (Kellogg’s Rice Krispies contain barley malt, which is not gluten-free).
Sprinkles: anything goes when it comes to adding sprinkles to this recipe. I used nonpareils as the ones I buy from our local bulk store just happen to be dairy free. If you follow a no dairy or vegan diet, ensure that you double check the ingredients of your sprinkles, as many contain milk. Some manufacturers often use confectioner’s glaze in them as well which may be derived from beetles (I know, sounds gross) so be aware if you are vegan.
How to Make Dairy Free Rice Krispies Treats
Start by greasing and lining your chosen baking pan or dish with parchment paper. This will make it easier to remove the treats once they have firmed up. I have made this recipe with an 8 x 8 pan and also a 9 x 13 dish. The size of your dish will dictate the depth of your treats. So if you prefer thicker treats, use a smaller pan. Use a larger pan for thinner treats. You can even make this in a round pan and make ‘pie’ slices.

To a large saucepan, add 90 grams (6.5 tbsp) of butter. Melt over a medium-high heat until fully melted.

Add in 3/4 of your marshmallows (approx 300g / 6.5 US cups). I like to keep some marshmallows to one side to add them in at the end so that you have extra pieces of marshmallow in the treat squares, rather than just the yummy gooeyness throughout if you add all of them at once. Trust me, it’s worth doing.

Stir the marshmallows and melted butter with a wooden spoon or spatula until fully combined. The heat from the butter will melt the marshmallows fairly quickly.
Baker’s Tip: Stir constantly while the marshmallows are melting to stop them sticking to the bottom of the pan.

Let’s add the cereal
Turn off the heat and stir in 170 grams (6 US cups) of rice cereal.

Add in the remaining marshmallows and 50 grams (4 tbsp) of sprinkles. Gently fold in. Do not over-mix at this point, as it will cause the sprinkles to bleed. We also want to ensure that the remaining marshmallows retain their shape and do not fully melt.

There we go! Nice and easy.

Spread the mix into the prepared pan or dish and flatten with a piece of parchment paper. It is very sticky at this point, so don’t worry if it seems like it’s a bit of a fight with the mix. It really does want to stick to everything, but that’s what makes it so good!

Set the dish aside and allow it to firm up at room temperature. This usually takes around 30 minutes. The longer you leave it, the firmer it will get. Do not refrigerate the pan at this point – the Rice Krispies treats do not need to be chilled to set. It will firm up at room temperature.

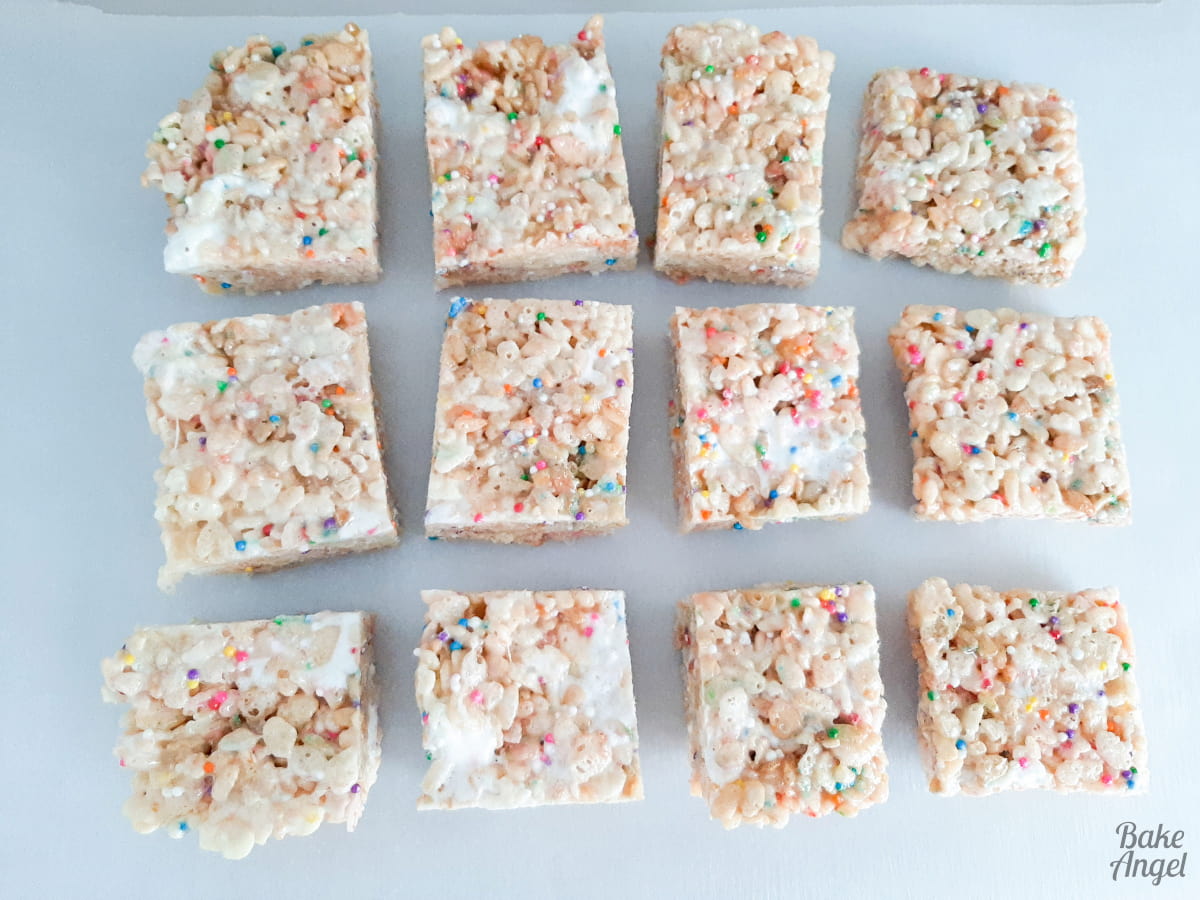
Once firm, lift out the slab onto a cutting board and cut up into squares.

This recipe made 12 2-inch squares. Ready to dig in? Keep scrolling for the printable recipe card and video.
Tips for Perfect Rice Krispies Treats
These dairy-free Rice Krispies treats are easy to make if you follow a few simple tips every time:
- Do not overheat the marshmallows – once they begin melting, keep the mixture moving constantly as the bottom can burn quickly. Scraping the bottom of the saucepan while stirring helps prevent sticking and distributes the heat evenly.
- Press the mixture gently into the pan – there’s no need to force it into the corners. Light pressure keeps the treats soft and chewy instead of dense.
- Use mini marshmallows for the best texture – they melt faster and mix more evenly throughout the cereal.
Fun Variations
Why not jazz up your dairy-free Rice Krispies treats even more by drizzling them with melted chocolate or adding some fun flavours to the mix, such as cotton candy essence or even strawberry! The possibilities are endless. You could even add some marshmallows from Lucky Charms for an even more colourful treat for St Patrick’s Day!

Rice Krispies Treat Questions
That depends on how large/small you cut them and the dish size that you use. We got 12 2-inch squares from this recipe.
Yes, absolutely. Ensure that the sprinkles you use are vegan-friendly (don’t contain shellac or animal-based confectioners’ glaze) and use plant-based marshmallows.
Cover the treats with parchment paper and store them at room temperature. Pop them in an airtight container if you will not be eating them within a few days. They will continue to firm up over time, and you can always warm them slightly in the microwave (no more than 5 seconds at a time) if you prefer softer treats.
You can, but I would advise against it as it will affect the consistency. When stored correctly, these treats will remain fresh for at least 7 days. Because of the high sugar content, they keep well at room temperature.
I love the extra pop of marshmallow gooiness throughout the squares. Adding some of them at the end makes such a difference.
Craving More Dairy-Free Mini Treats?
For more fun party treats and kids’ favourites, check out these recipes:
- Everyone will love these easy-to-make Air Fryer Churro Bites (vegan)
- Create the perfect individual party treats with my Mini Victoria Sponge Cakes (dairy-free)
- A match made in heaven with my Caramel Millionaire Shortbread (vegan)
- Two-Bite Brownies are ideal for chocolate lovers.
Final Thoughts
These easy dairy-free Rice Krispies treats are perfect for kids’ parties, lunchbox snacks, and nostalgic desserts. I hope you love them as much as we do. Let me know what you think of them in the comments below.
Enjoy!


Dairy-Free Rice Krispies Treats
Equipment
- 9 x 13 Cake Pan (you can use a different size – see note)
- Saucepan
- Wooden Spoon (can also use a silicone spatula)
Angela’s Top Tip
Weigh your dry ingredients in grams with a scale for best results!
Ingredients
- 90 grams Plant Based Butter (6.5 tbsp)
- 400 grams Mini Marshmallows (Approx 8.75 US Cups)
- 170 grams Rice Cereal (6 US Cups)
- 50 grams Sprinkles (4 tbsp)
Instructions
- Grease and line a 9 x 13 pan with parchment paper.
- In a large saucepan, melt 90 grams Plant Based Butter. Once melted, add 300 grams Mini Marshmallows and stir constantly until melted.
- Turn off the heat and stir in 170 grams Rice Cereal. Add 50 grams Sprinklesand 100 grams Mini Marshmallows and gently fold to combine. Do not overmix, as this can cause the sprinkles to bleed and the marshmallows to fully melt.
- Spread the mixture evenly into the prepared pan.
- Allow the Rice Krispies treats to firm up completely at room temperature. This may take 30 minutes to a couple of hours, depending on the humidity in your kitchen.
- Lift the slab out of the pan and cut into squares.
Video
Notes
- Pan Size: If you do not have a 9 x 13 pan, you can use any size. A smaller pan will create thicker treats, while a larger pan will make thinner treats.
- Marshmallows: I used a 400g bag of mini marshmallows. If your bag is larger, feel free to use all of them – extra marshmallows make these treats even better!
- Vegan Option: To make this recipe vegan, use vegan mini marshmallows and ensure your sprinkles are vegan-friendly (many contain shellac, which is not vegan).
- Gluten-Free: Use gluten-free cereal if you are gluten intolerant.
- Storage: Cover with parchment paper and keep at room temperature in an airtight container. These treats will stay fresh for at least 1 week. No need to refrigerate.
- Nutrition: Information is an estimate based on 12 servings (1 square per serving) and the specific ingredients used in this recipe. Values may vary depending on brands and ingredient substitutions.


Leave a Reply