
There’s something special about homemade s’mores, especially when the weather turns cooler and it’s time to gather around the bonfire. But what if you want to make them from scratch, using ingredients you can choose to suit your family’s dietary needs?
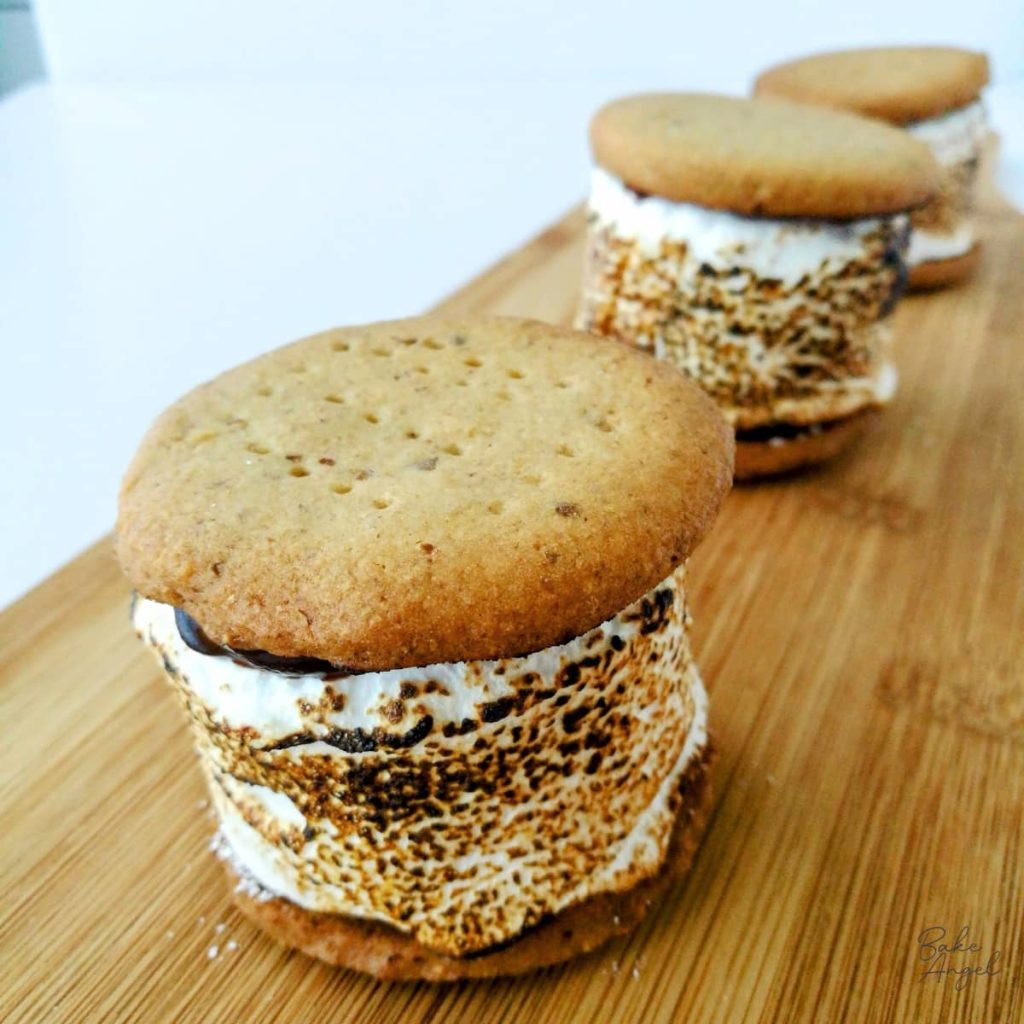
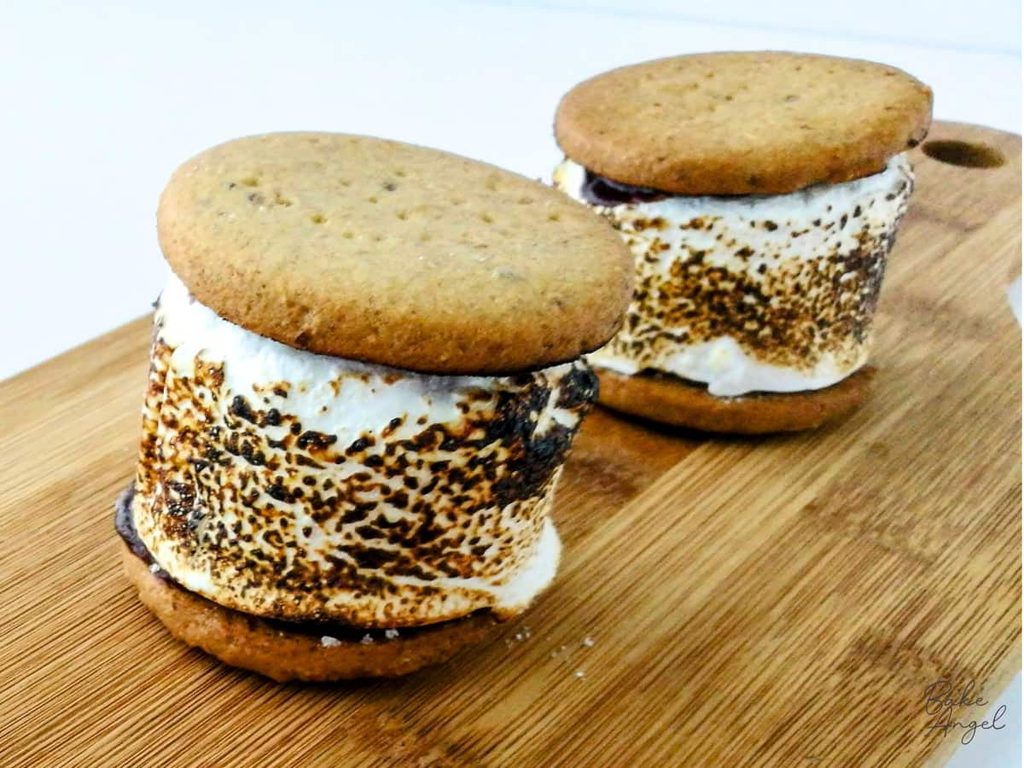
My version brings together three homemade favourites: crunchy digestive biscuits, fluffy marshmallows, and rich chocolate ganache. These homemade s’mores put a delicious twist on the classic campfire treat, with a distinctly British biscuit in place of traditional graham crackers.
The best part? All three components are dairy-free and nut-free, with an easy gluten-free option for the digestive biscuits. You can prepare everything yourself ahead of time, assemble your s’mores in minutes and finish them with a beautifully toasted marshmallow using a kitchen blowtorch.
Whether you’re planning an autumn bonfire, a family gathering or simply fancy an indulgent baking project, these from-scratch s’mores are a fun way to bring everyone together.
Why I made These Homemade S’mores
If you’ve watched my s’mores assembly video on Youtube, you’ll know that my choice of biscuit sparked a little debate! Several viewers were surprised to see digestive biscuits instead of traditional graham crackers, with chocolate ganache in place of a chocolate bar.
But that’s exactly what makes this version different. As a Welsh baker living in Canada, I love bringing familiar British ingredients into recipes that are traditionally made a little differently. Digestive biscuits work beautifully here, adding a crisp, lightly sweet base for the soft marshmallow and rich chocolate ganache.
This recipe was inspired by a challenge in a 2022 episode of The Great British Bake Off, where I adapted their recipe to fit our food allergies and create my own version of the classic treat. I’ve already shared each component separately here on Bake Angel, so it felt like the perfect time to show you how to assemble them into something extra special.
There’s also another reason why I love this recipe. Finding suitable shop-bought treats can be difficult when you’re baking for a family with food allergies or dietary requirements. Making the individual components gives you more control over the ingredients and allows you to choose products that suit your household.
I know from experience that allergy-friendly baking can feel overwhelming, particularly when you’re trying to recreate familiar treats. Sometimes, the simplest solution is to make the individual components yourself and bring them together into something everyone can enjoy, provided the ingredients are suitable for their needs.
And these s’mores are definitely worth the effort.
Why You’ll Love this Recipe
- Made from scratch: the easiest way to fit your allergy requirements when store-bought options don’t work.
- Perfect for Fall and Winter: these are lovely for bonfires, firepits, Halloween gatherings, Thanksgiving get-togethers or a cosy evening at home.
- A fun twist on classic s’mores: Digestives give this version a British touch, while the ganache makes them feel extra indulgent
- Easy to make ahead: make the biscuits, marshmallows, and ganache separately, then assemble the s’mores when you’re ready.
- A little kitchen fun: Using a mini blowtorch to toast the marshmallows makes this fun to prepare.
What are S’mores?
S’mores are a popular North American treat traditionally made with graham crackers, bar chocolate and toasted marshmallows. The marshmallows are usually toasted on an open fire, then sandwiched together with the chocolate and graham crackers, creating a sweet, gooey filling. It’s messy, it’s sweet and completely irresistible.
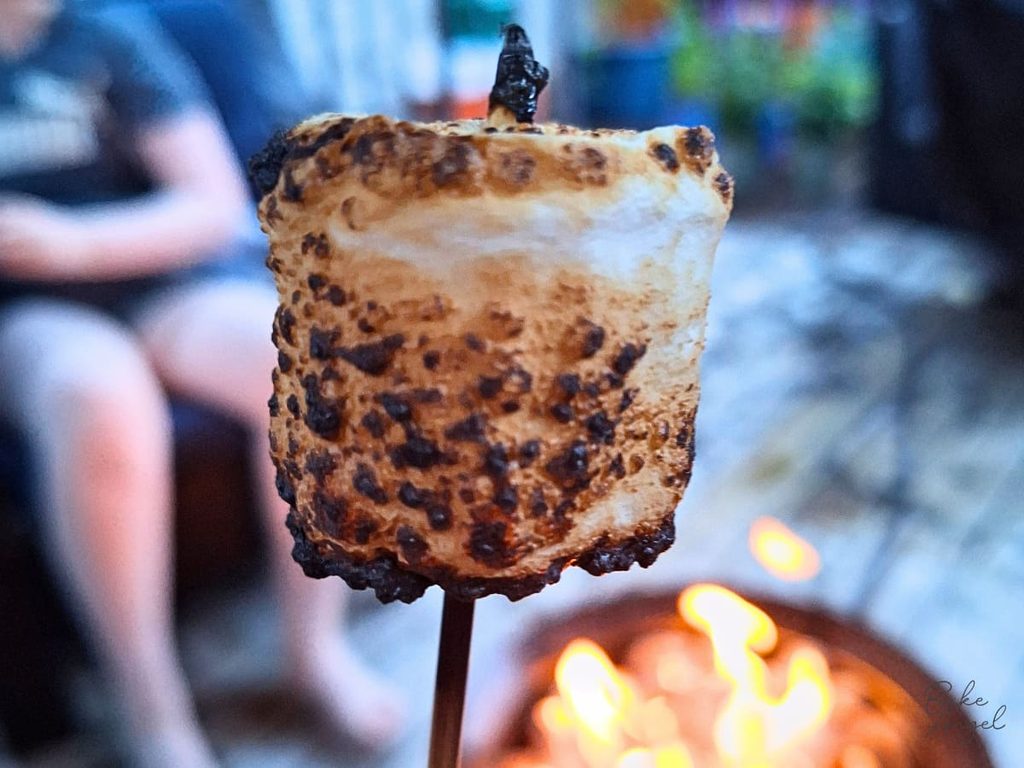
The name is commonly understood to come from the phrase “some more”, which makes sense if you’ve tasted one!
This version isn’t the traditional combination, but that’s part of the fun of baking from scratch. You can adapt familiar treats to suit your kitchen, your ingredients, and your family’s preferences.
Ingredients You’ll Need
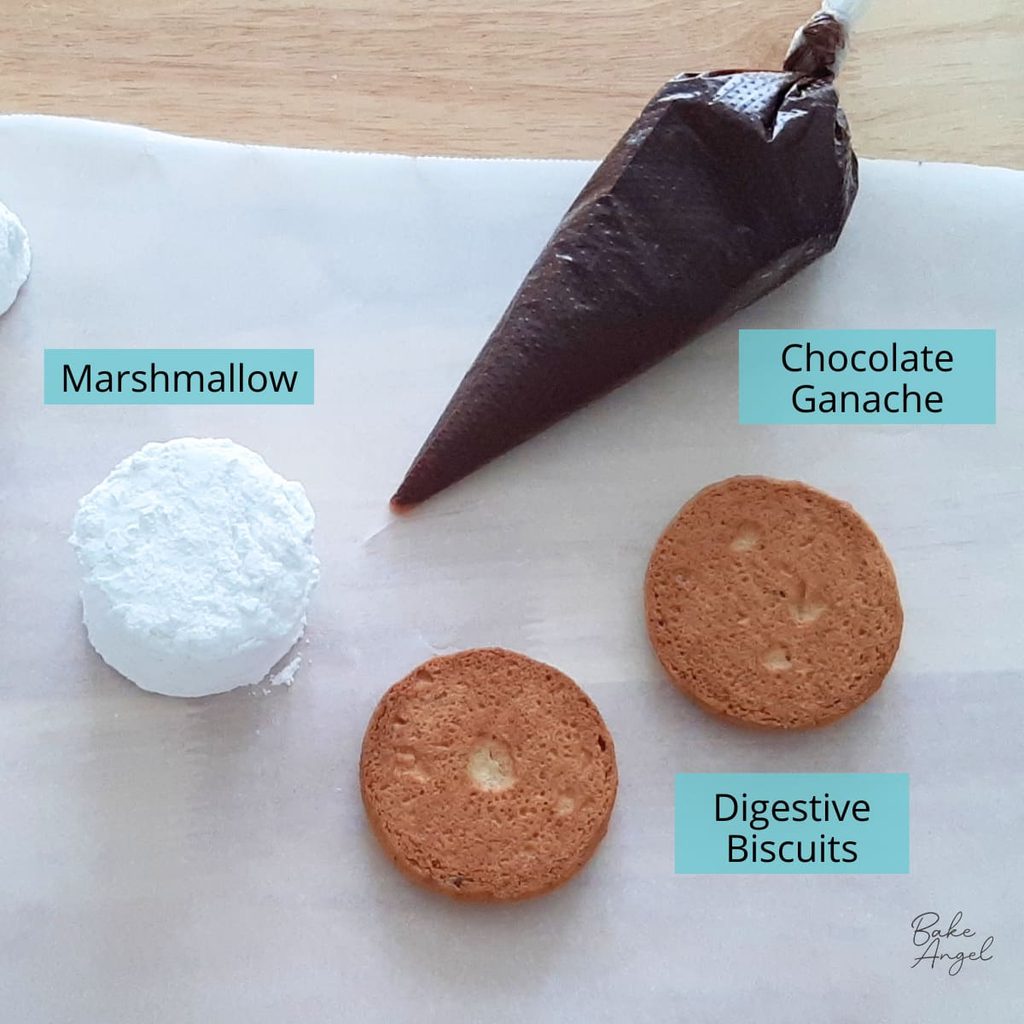
This recipe brings together three of my existing recipes. Rather than repeating all the ingredients and instructions here, I’ve linked each component below so you can follow the full recipes individually and adapt them as needed.
Homemade Dairy-Free Digestive Biscuits
You’ll need two digestives for each s’more. My Dairy-Free Digestive Biscuits recipe makes 16 crisp, lightly sweet biscuits that are perfect for sandwiching around a generous marshmallow.
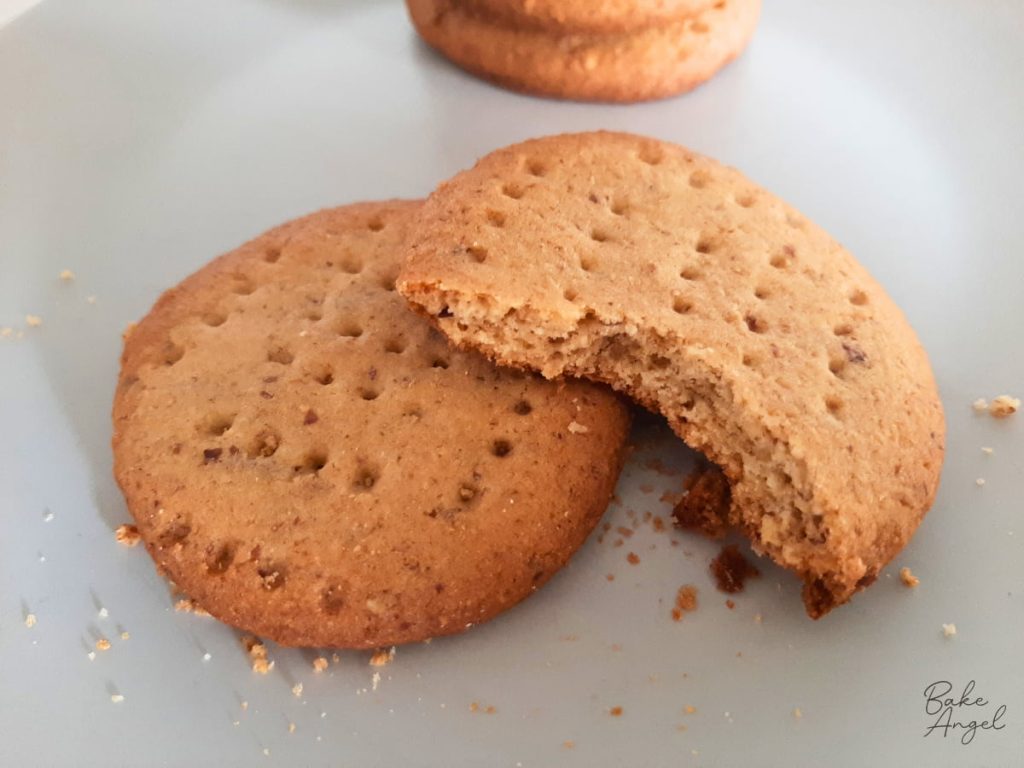
These are dairy-free and vegan with an easy gluten-free substitution.
Allow the biscuits to cool completely before assembling your s’mores, to help them retain their texture when adding the ganache and marshmallow.
Homemade Dairy-Free Marshmallows
You’ll need one marshmallow for each s’more.
My homemade marshmallow recipe produces soft, fluffy marshmallows that make a wonderfully generous filling. They are dairy-free, nut-free, and gluten-free.
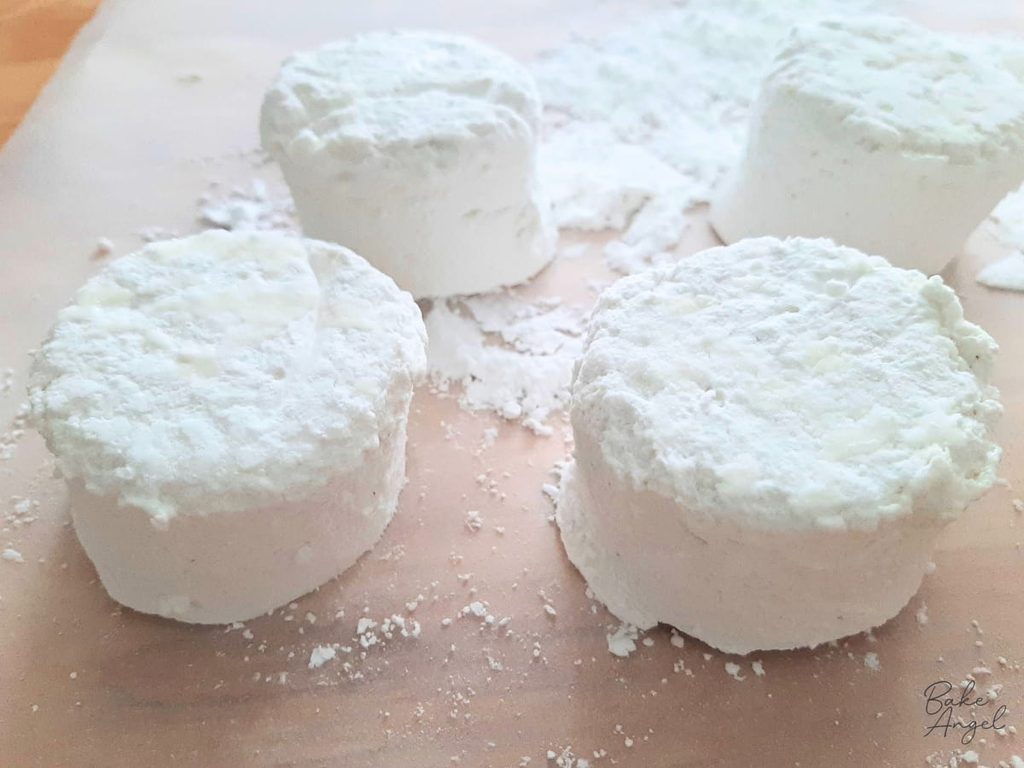
I cut mine with a round cutter, and they turned out enormous! You can adjust the size to suit your biscuits, but I love how substantial the finished s’mores look.
Dairy-Free Chocolate Ganache
You’ll need enough ganache to pipe a small spiral onto each of your biscuits.
My dairy-free, vegan ganache recipe is made with just two ingredients: vegan chocolate chips and vegan whipped cream. With limited vegan chocolate bars available in my area, this is a great option that is easy to make and gives a deliciously indulgent filling.
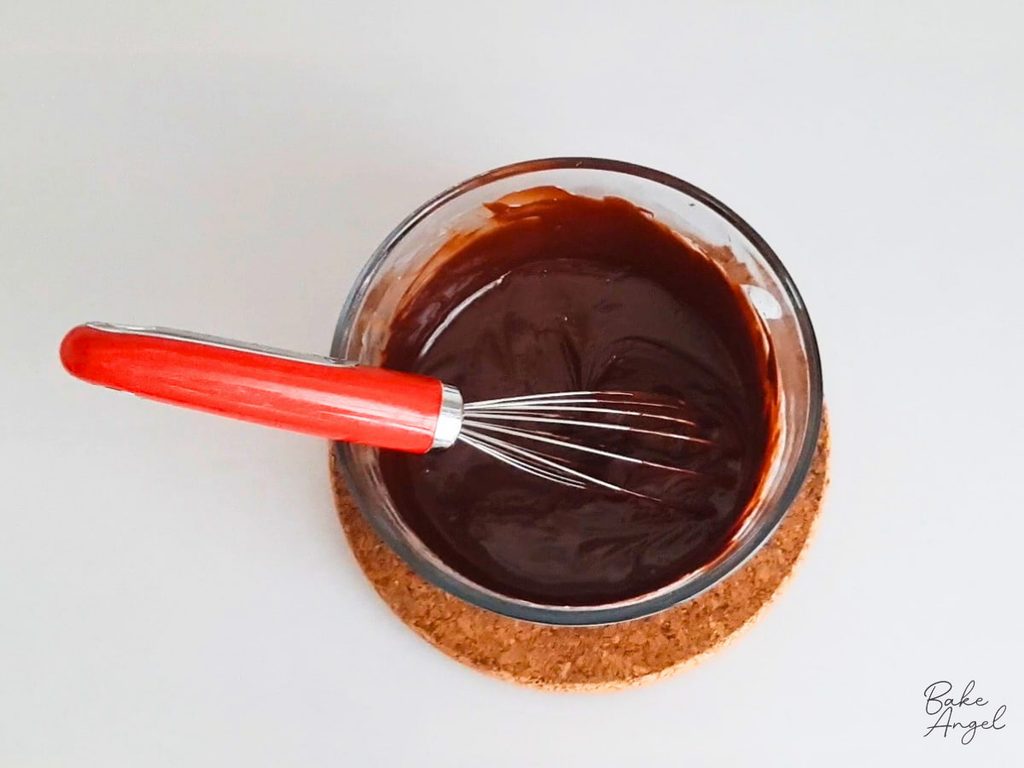
The ganache adds a rich chocolate flavour and helps hold the marshmallow between the biscuits. For this recipe, transfer the ganache to a tipless piping bag. You won’t need a piping nozzle, so there’s no need for fancy tools.
Dietary notes: The digestive biscuits, marshmallows and chocolate ganache are dairy-free and nut-free as written, provided you use suitable ingredients. The digestive biscuit recipe also includes a gluten-free option. The marshmallows contain egg whites and gelatin, so the complete s’mores recipe is not egg-free, vegan or vegetarian. Always check ingredient labels and take appropriate precautions to prevent cross-contact when baking for someone with food allergies.
How to Make Homemade S’mores
Once your three components are ready, assembly is quick and straightforward. You’ll need your digestive biscuits, marshmallows, chocolate ganache, a tipless piping bag, and a kitchen blowtorch for toasting.
Step 1: Prepare the Chocolate Ganache
Make sure the ganache is at a pipable consistency. If it’s too warm or runny, it may slide around when you assemble your s’mores.
Transfer your prepared chocolate ganache into a tipless piping bag.
Snip a small opening at the end of the bag. You don’t need a piping nozzle for this recipe because you are simply piping a spiral onto the biscuits.
Step 2: Pipe the Ganache onto the Biscuits
Pipe a small spiral of ganache on the flat underside of each biscuit.
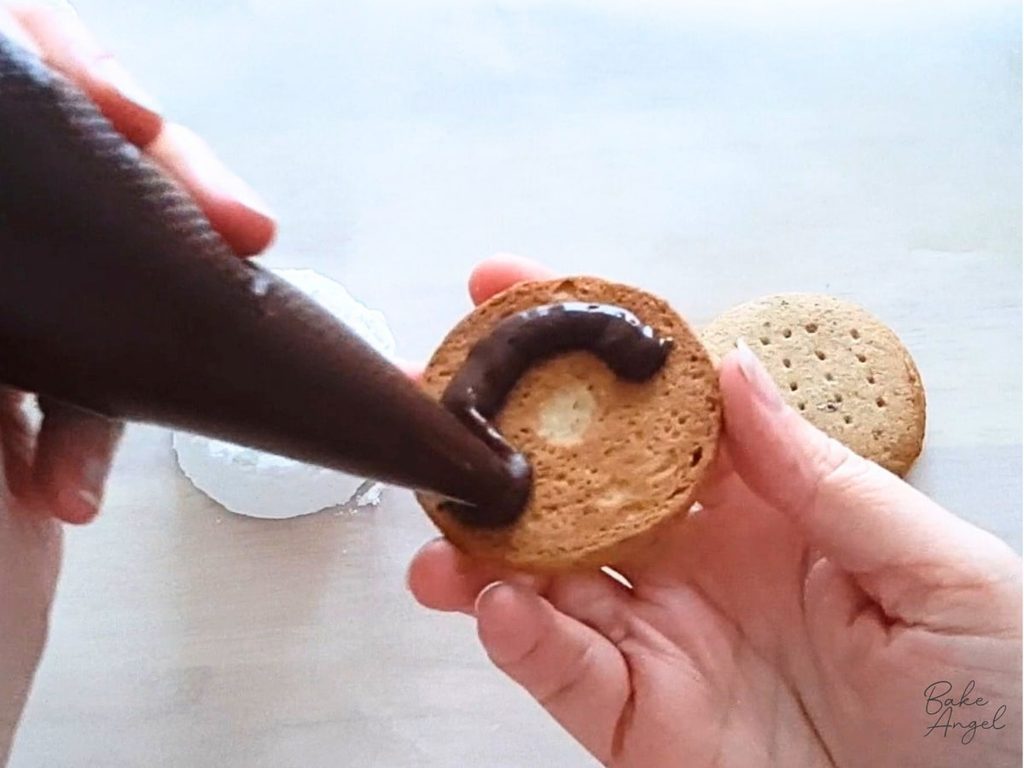
I like to add to both biscuits for each s’more so that there’s chocolate in every bite.
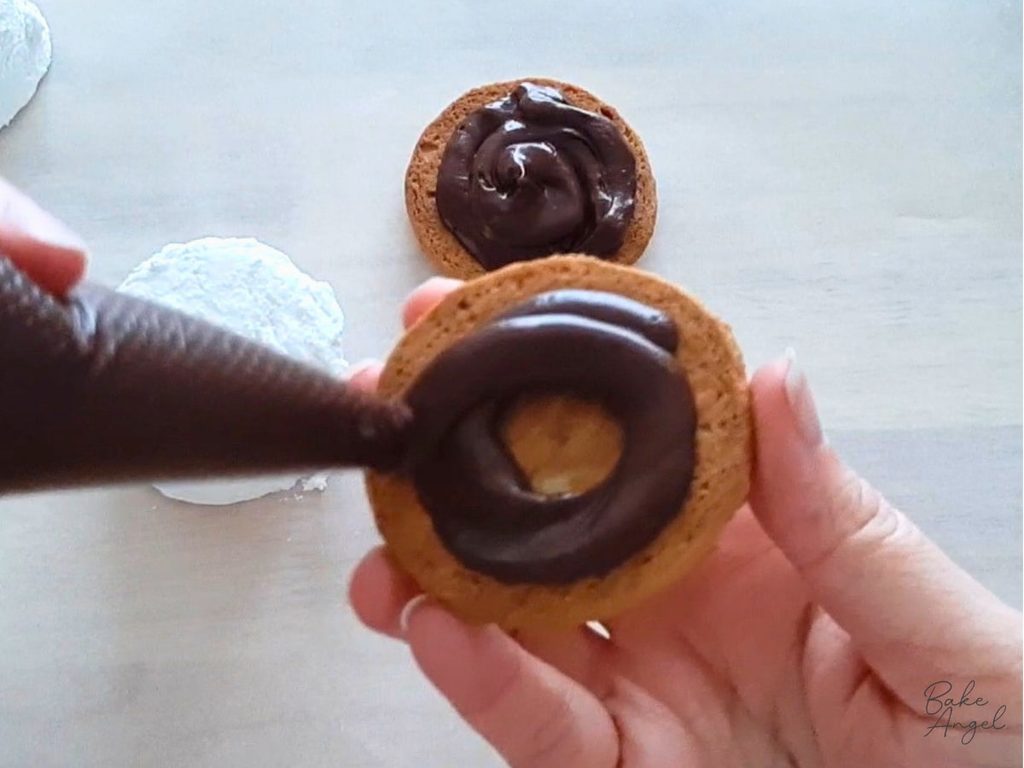
You don’t need to cover the entire surface, but try to keep the amount fairly even on both biscuits. I was a little generous with my first one, and the filling started sliding around, so a little restraint will make assembly easier!
Step 3: Add the Marshmallow
Place one marshmallow onto the ganache on one of the biscuits.
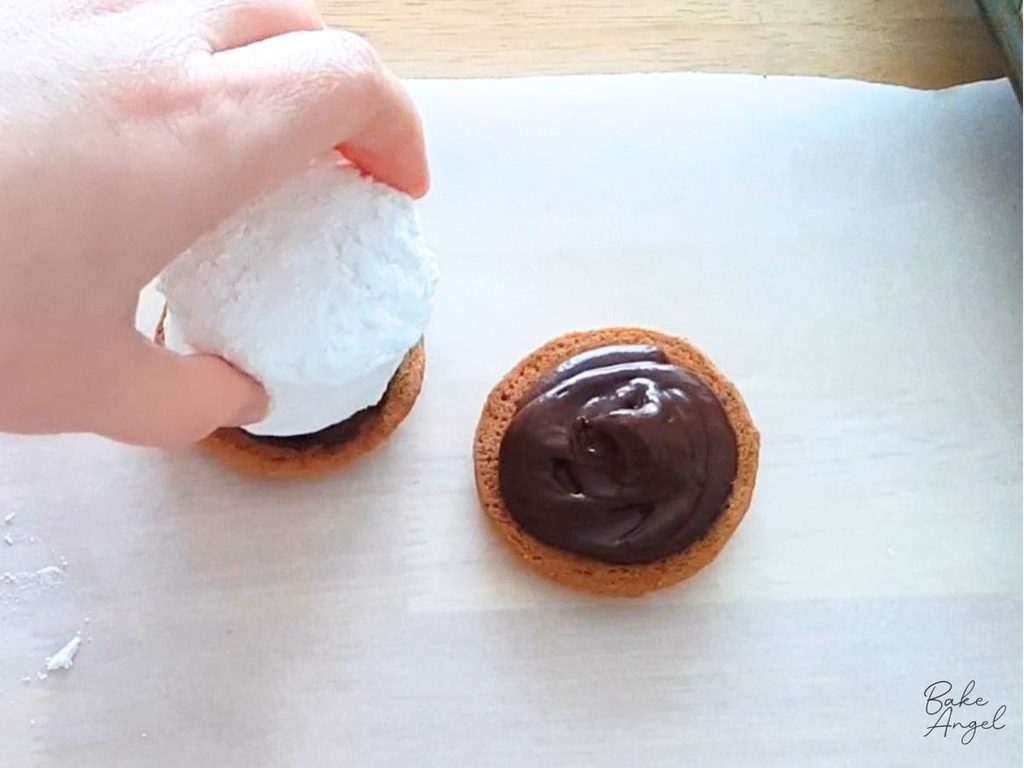
Give it a gentle press to help it stick, then place the second biscuit on top, ganache side down.
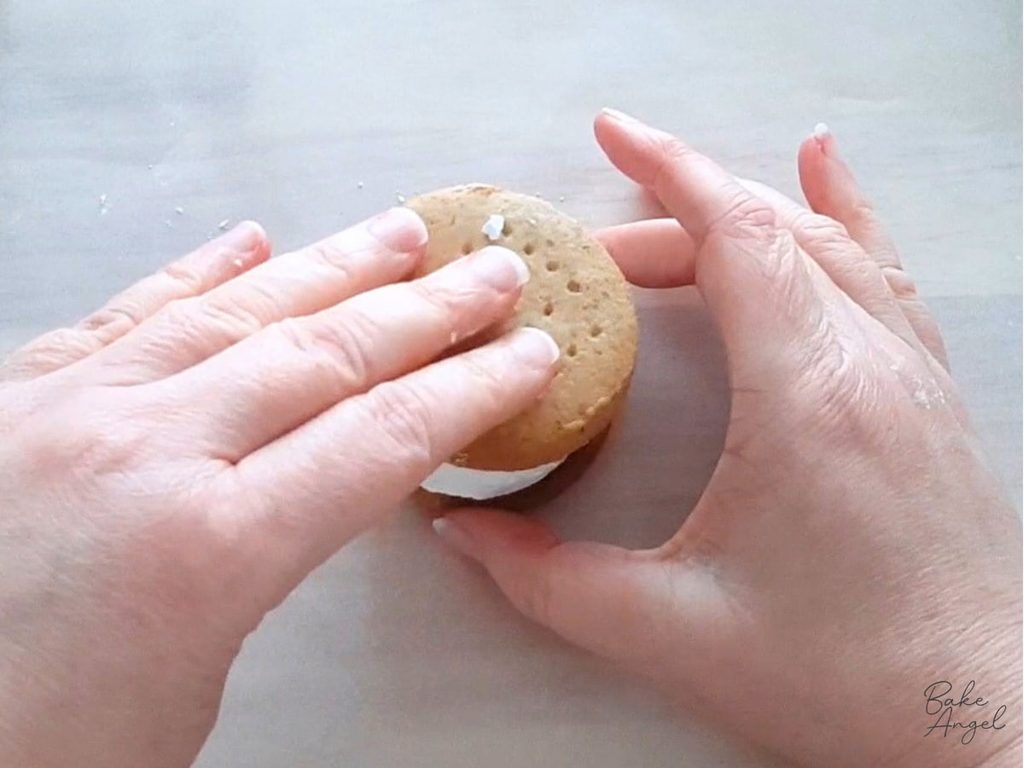
Press the sandwich together gently so everything holds in place without squeezing too much filling out of the sides.
Repeat with the remaining biscuits, ganache and marshmallows.
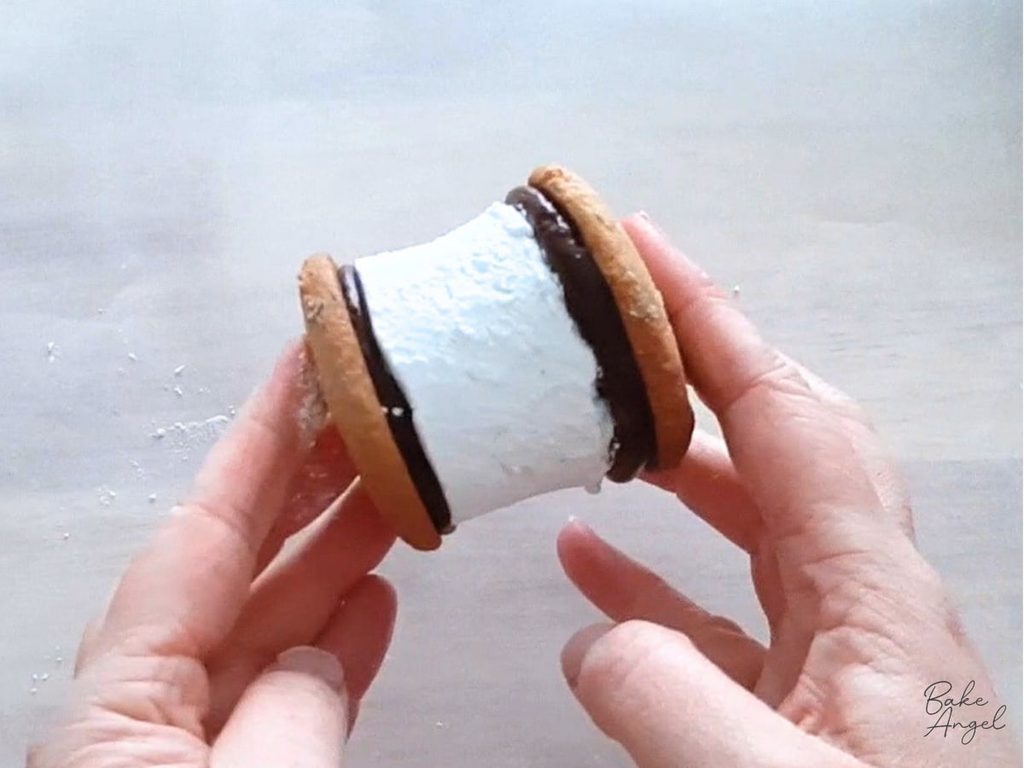
And that’s it! Your s’mores are assembled and ready for toasting.
Step 4: Toast the assembled s’mores.
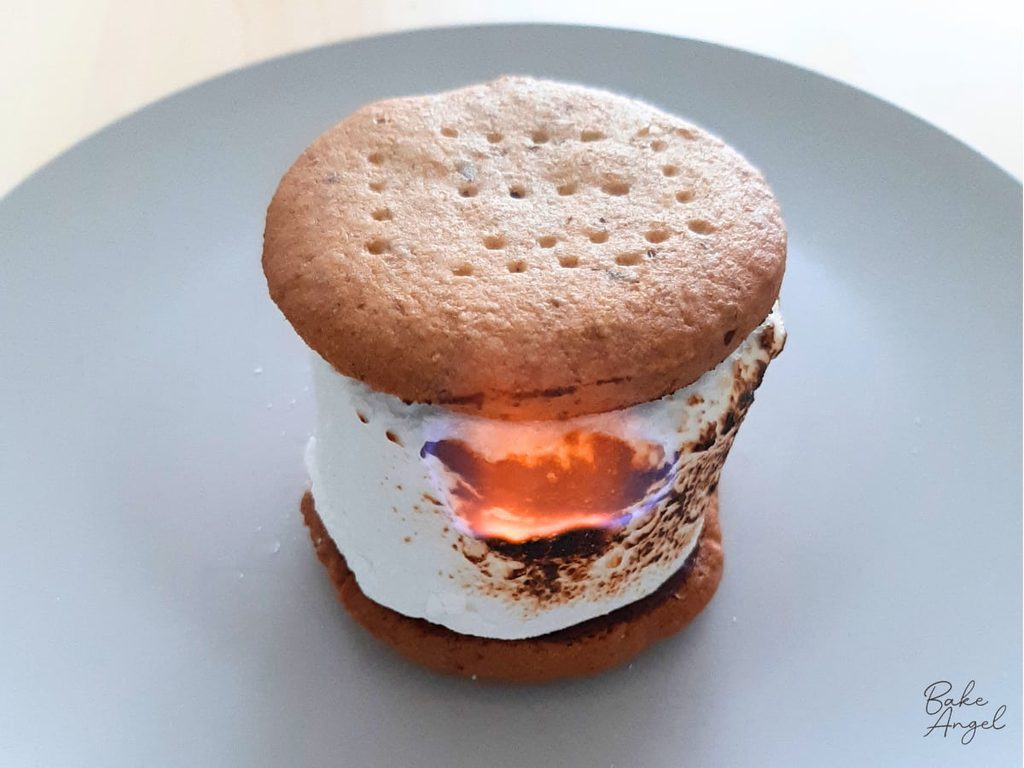
This is my favourite part! You can enjoy the s’mores without toasting them, but warming the marshmallow gives you that familiar toasted finish and softens the filling.
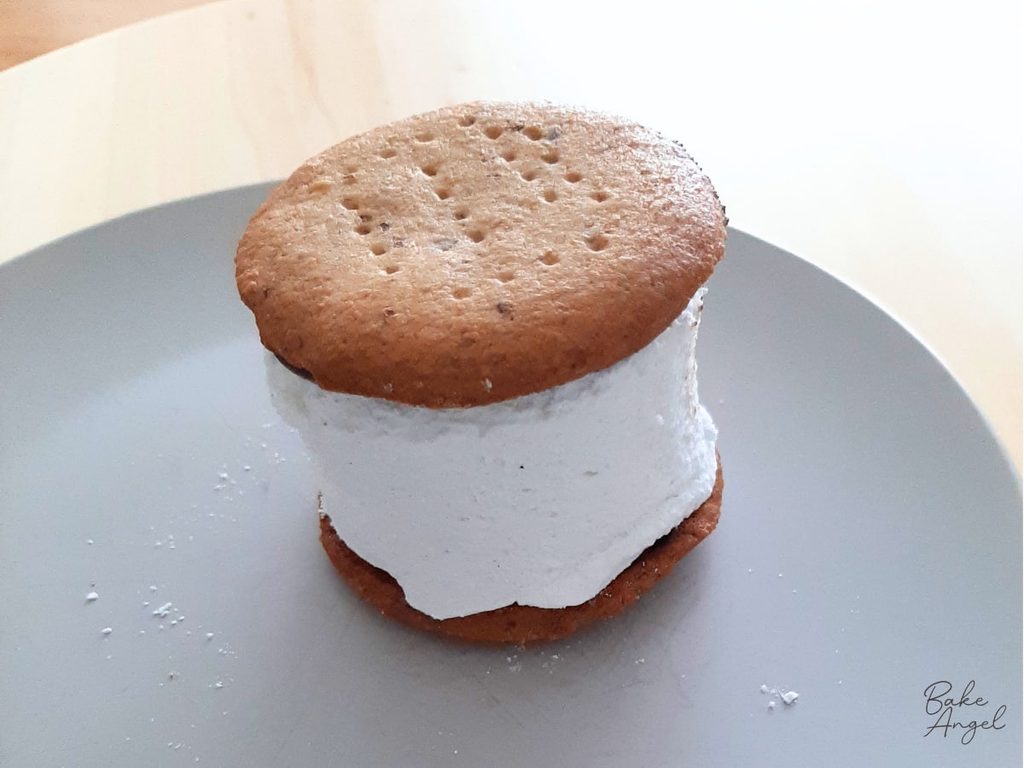
I used a mini kitchen blowtorch to toast my assembled s’mores. It was actually my first time using a blowtorch on a dessert, so this was a fun little experiment.
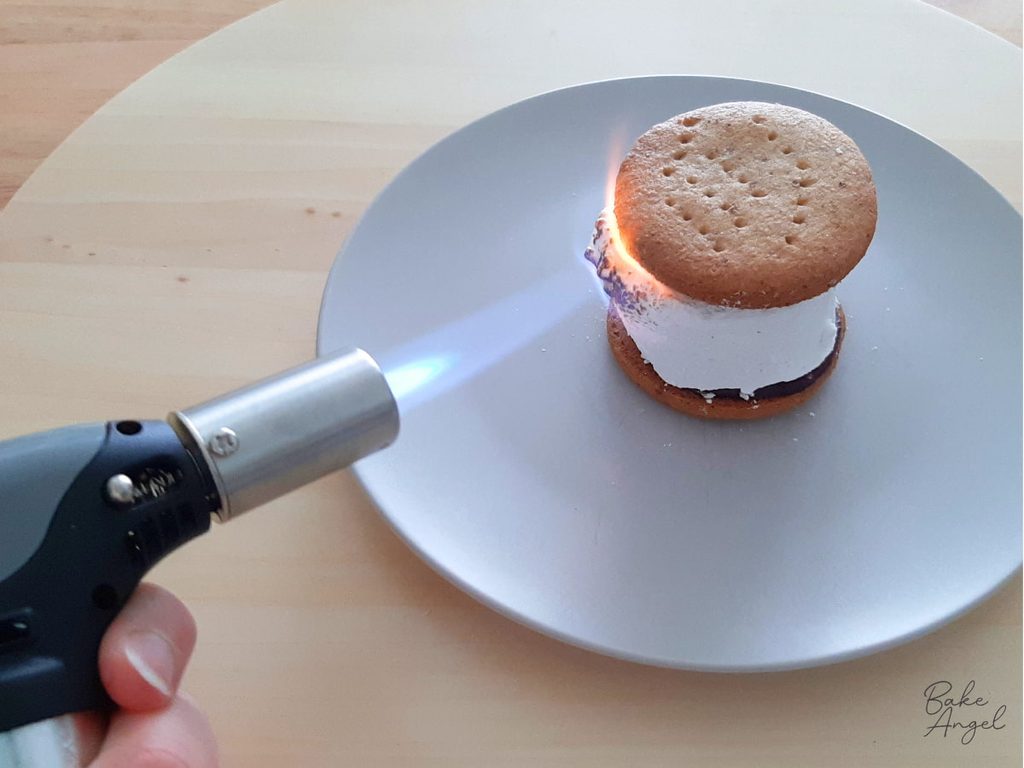
For easier handling, I placed each s’more on a heatproof plate and positioned the plate on my wooden IKEA lazy Susan. This allowed me to rotate the plate while working, rather than trying to hold the s’more in my hand.
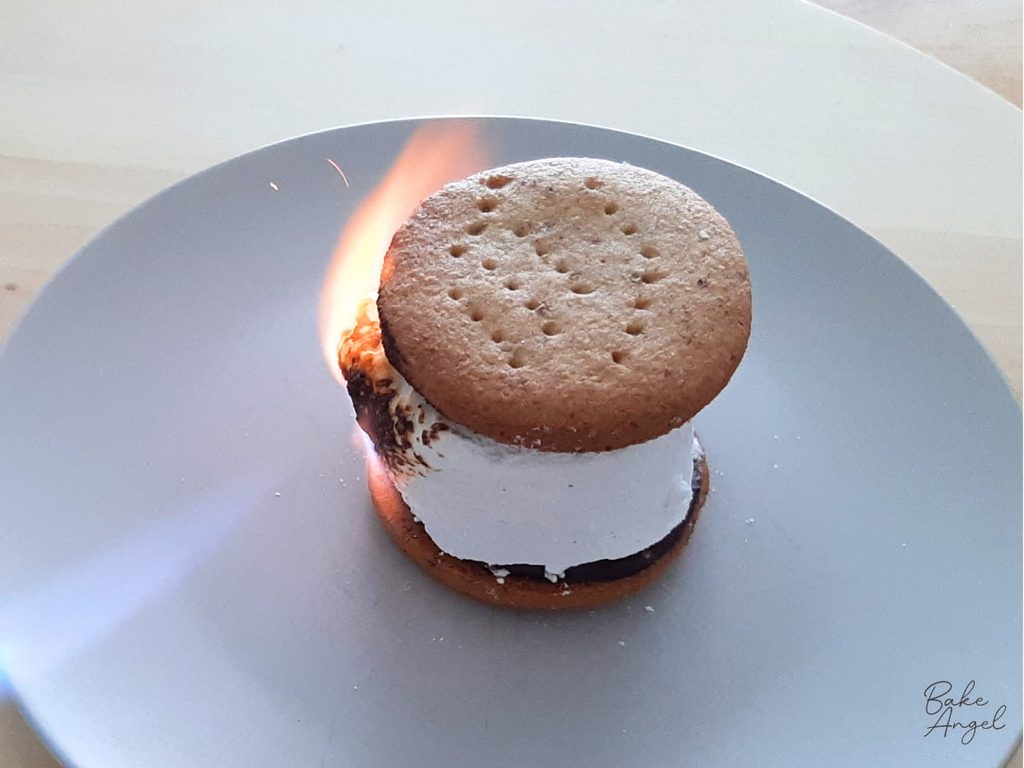
A safety note: Use your blowtorch according to the manufacturer’s instructions and work on a stable, heatproof surface, such as an ovenproof plate. Keep the flame well away from anything flammable, including the wooden lazy Susan, and make sure the flame doesn’t reach the rotating surface.
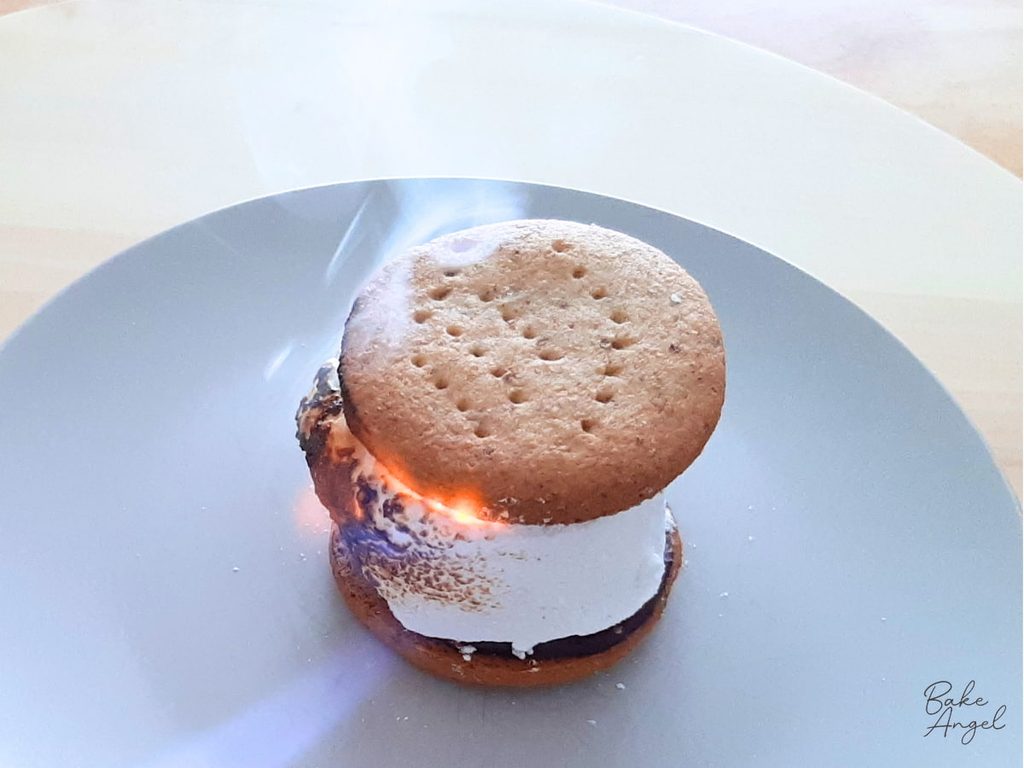
Toast the marshmallow carefully until it reaches your preferred level of browning. Allow the finished s’mores to cool slightly before eating, as the filling can become very hot.
Step 5: Serve and Enjoy
Once toasted, your homemade s’mores are ready to enjoy.
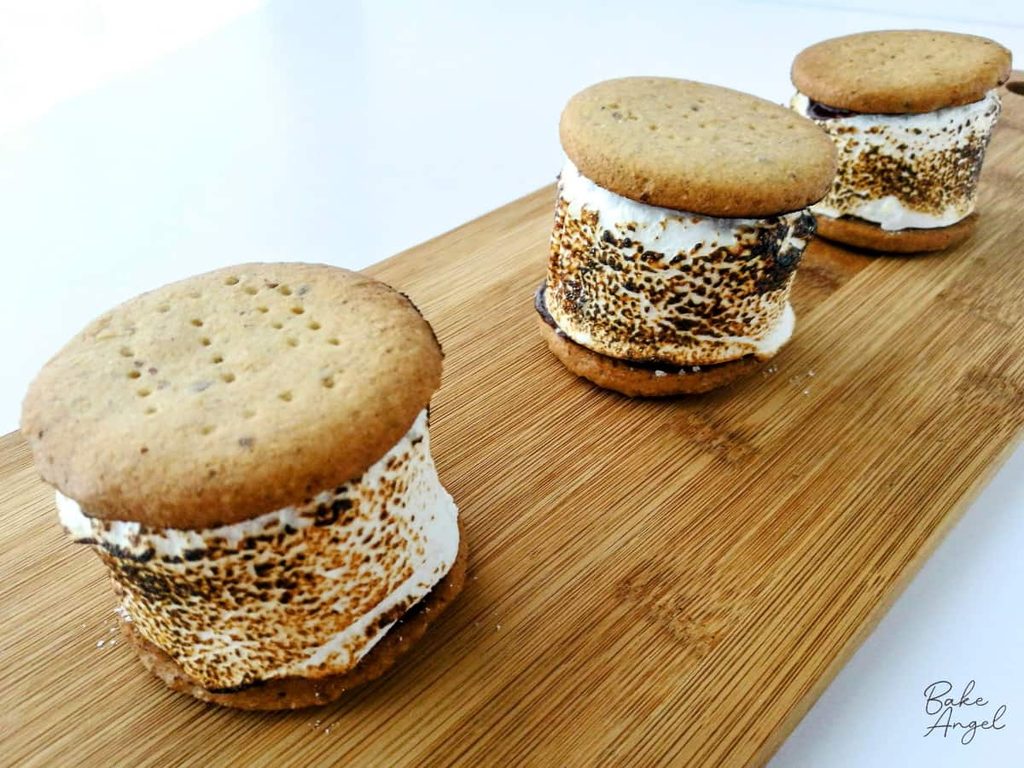
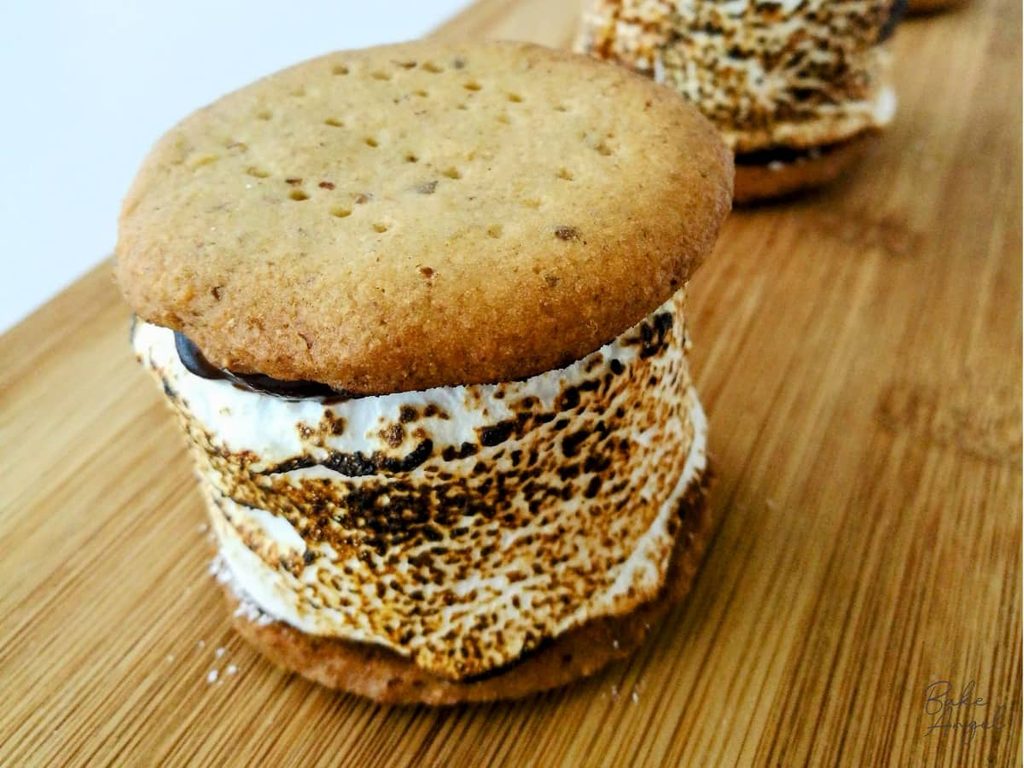
You’ll have crunchy digestive biscuits surrounding a soft but toasted marshmallow, and rich chocolate ganache. Serve them while the filling is still warm for the best contrast of textures.
These are generously sized treats, especially if you use large homemade marshmallows, so have plenty of napkins handy!
Tips for the Best Homemade S’mores
Use completely cooled digestive biscuits. Warm biscuits can soften too quickly when the ganache is added. Let them cool fully before assembly.
Choose the right ganache consistency. The ganache should be soft enough to pipe but thick enough to stay on the biscuits. If it is too runny, let it cool a little longer.
Don’t overfill the biscuits. It’s tempting to add lots of ganache, but too much can make the filling slide around. A small spiral on each biscuit is a good starting point.
Adjust the marshmallow size. My homemade marshmallows were very large, which made for generous s’mores. If yours are smaller, you may want to use more than one piece, depending on their shape and thickness.
Use a rotating plate for easier toasting. A suitable rotating surface can help you reach different sides of the marshmallow without handling the hot sandwich. Ensure the plate is stable and heatproof and that the flame stays well away from the wooden lazy Susan.
Common S’mores Questions
Yes, you can enjoy them without toasting the marshmallows. You could also toast the marshmallows on a long skewer over a bonfire in the more traditional method, and then assemble afterwards. Follow fire-safety guidelines, supervise children closely, and take care when handling the s’mores, as the filling can be hot.
Absolutely. You can use store-bought components if they meet your dietary requirements. Making all three from scratch gives you more control over the ingredients, particularly when suitable ready-made options are difficult to find.
This usually happens when the ganache is too warm or runny, or when too much is added. Let it cool until it is thick enough to pipe, use a small spiral on each biscuit and press the sandwich together gently.
No. A tipless piping bag makes it easier to pipe an even spiral, but you can carefully spoon a small amount of ganache onto each biscuit instead.
Storage
The components for the s’mores can be made ahead and stored according to their individual recipes. I recommend assembling the s’mores shortly before toasting them for serving.
Store any leftovers in an airtight container for 1-2 days. You can slowly warm them up in the microwave before serving again, although they are best consumed on the day of assembling and toasting.
Final Thoughts
These homemade s’mores are a fun way to bring three of my favourite from-scratch recipes together. The digestive biscuits might be a little different from traditional graham crackers, but they work beautifully with the fluffy marshmallows and rich chocolate ganache.
I love recipes that help families enjoy familiar treats while making choices that suit their needs. Making the components yourself gives you more control over the ingredients, and it can turn a simple dessert into a fun baking project to share.
Whether you’re planning an autumn bonfire, gathering with friends or simply fancy something indulgent, I hope you’ll give these homemade s’mores a try.
And now I’m curious: are you team graham cracker or team digestive biscuit? Let me know in the comments below.
Happy S’mores Making!

Homemade S’mores with Digestive Biscuits
Angela’s Top Tip
Weigh your dry ingredients in grams with a scale for best results!
Ingredients
Instructions
- Prepare the homemade digestive biscuits, marshmallows and dairy-free chocolate ganache using the linked recipes.
- Transfer the ganache to a tipless piping bag and snip a small opening in the end.
- Pipe a small spiral of ganache onto the underside of each digestive biscuit, using two biscuits per s’more.
- Place one marshmallow on top of the ganache on one biscuit. Add the second biscuit, ganache-side down, to form a sandwich.
- Place the assembled s’more on a stable, heatproof plate. Carefully toast the marshmallow with a kitchen blowtorch, following the manufacturer’s instructions and keeping the flame away from anything flammable.
- Allow the filling to cool slightly before serving. Enjoy while the marshmallow is warm and soft.
Video
Notes
- Timing Note: The recipe timing assumes that your 3 ingredients are already made and ready to use.
- Use homemade digestive biscuits, marshmallows and dairy-free chocolate ganache for a completely from-scratch treat.
- You can make the digestive biscuits gluten-free using the variation in the linked recipe.
- Don’t overfill with ganache, as it can slide out when you sandwich the biscuits together.
- Toast carefully with a kitchen blowtorch, keeping the flame away from wooden surfaces and other flammable materials. Follow the manufacturer’s instructions.
- Best enjoyed straight away while the marshmallow is warm and soft.




Leave a Reply