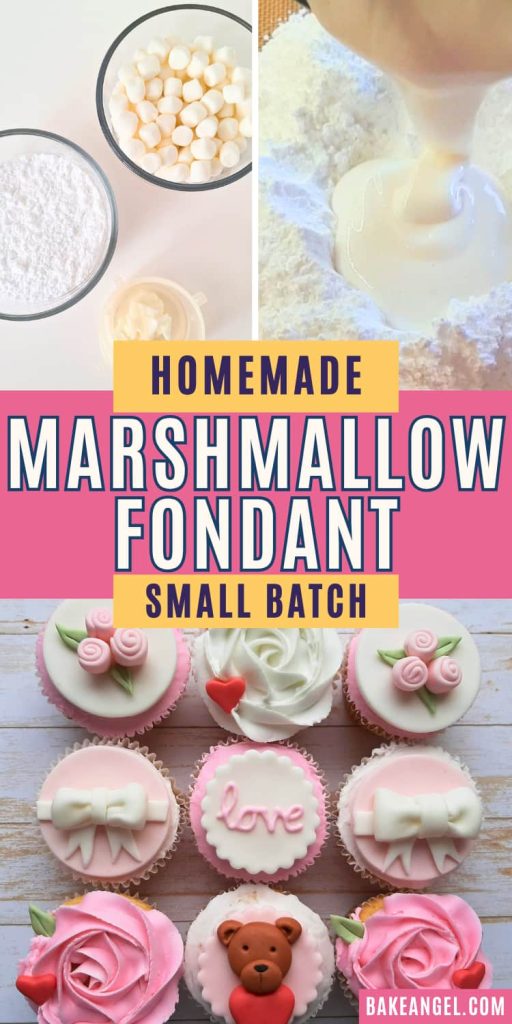
Try this easy small batch marshmallow fondant recipe with just 4 ingredients! Perfect for decorating cupcakes, cookies and small cakes, this homemade fondant is quick, budget-friendly, ideal for beginners and small baking projects, and tastes better than store-bought.

What is Marshmallow Fondant?
In short, marshmallow fondant is a simple homemade icing made with melted marshmallows and powdered sugar that’s perfect for decorating cakes and cookies. It’s often used by home bakers because it’s easy and inexpensive to make, tastes better than traditional fondant, and uses just a few simple ingredients.
As someone who started in the cake decorating world working predominantly with fondant, I adore using fondant decorations on my cupcakes and cookies and even covering them with fondant instead of royal icing. It has such a nice flavour profile against a sugar cookie and is easy to make.
I’ve been decorating cakes and teaching home bakers for 19+ years, and I’m passionate about allergy-friendly recipes that are easy to make at home. The beauty of making your own fondant is that you can control the ingredients and make it fit your dietary requirements, allowing you to experiment and create stunning designs without a huge commitment.
Why You Need to Try This Fondant
I know what you’re thinking… why would I use fondant to decorate my baked goods? Fondant has a fairly bad reputation for being expensive to buy and overly sweet in flavour. Many people don’t like the taste and/or texture of it, but here’s why I am confident this small batch marshmallow fondant recipe will change your mind:
- Inexpensive ingredients for this small batch recipe
- Simple and fun to make
- No more wasting expensive fondant
- No huge batches you don’t need
- Actually tastes good (no more peeling it off 😅)
If you enjoy the flavour of marshmallows, you are going to love this fondant. Use this fondant on sugar cookies, cupcakes and my small layered vanilla cake.
Ingredients and Substitutions
This is a dairy-free, egg-free, nut-free recipe with an easy swap to veganise the fondant. Typically, fondant is also gluten-free, but always double-check the ingredient labels of your icing sugar and marshmallows to ensure there is no gluten added, and that it meets your dietary needs. Read on for my fondant suggestions and recipe tips.
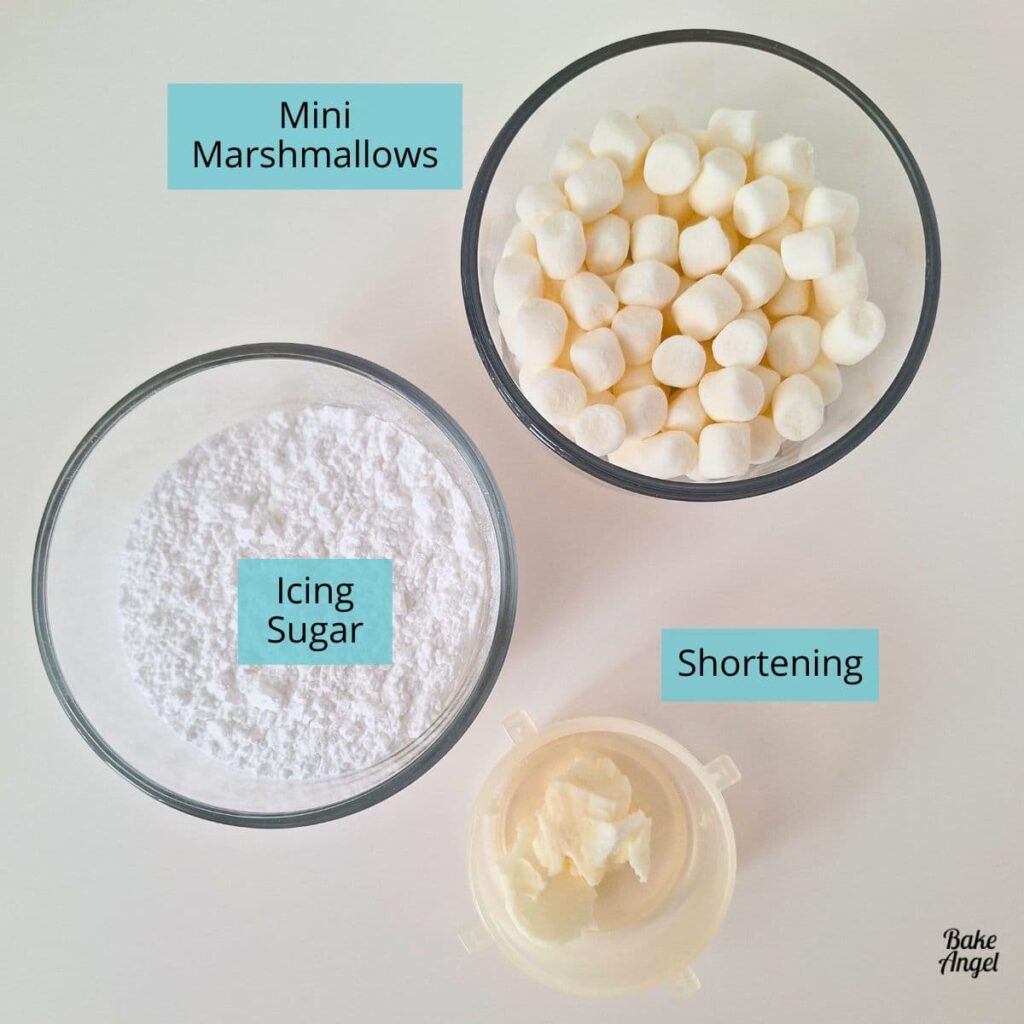
Mini Marshmallows: I used traditional marshmallows, but you can substitute with vegan marshmallows if required. If you don’t have mini marshmallows, cut up larger marshmallows, as this will help them melt faster.
Icing Sugar: to sift or not to sift? It’s entirely up to you. If your icing sugar is particularly lumpy, I do recommend sifting it.
Shortening: I use vegetable shortening for this recipe.
Water: (not pictured) used to bind the ingredients together and help the marshmallows melt.
How to Make Marshmallow Fondant
The process of making a small batch of marshmallow fondant typically takes about 10 minutes, from melting the marshmallows to kneading the fondant into a smooth, workable consistency.
Add the mini marshmallows and water to a microwave-safe bowl and heat for 30-second intervals until melted, stirring at each interval. Melting usually takes 1-2 minutes.

Use some of the shortening to grease your work surface and add a small amount to your hands. This will help to prevent the marshmallows from sticking to your hands (and trust me, this can get really messy!)
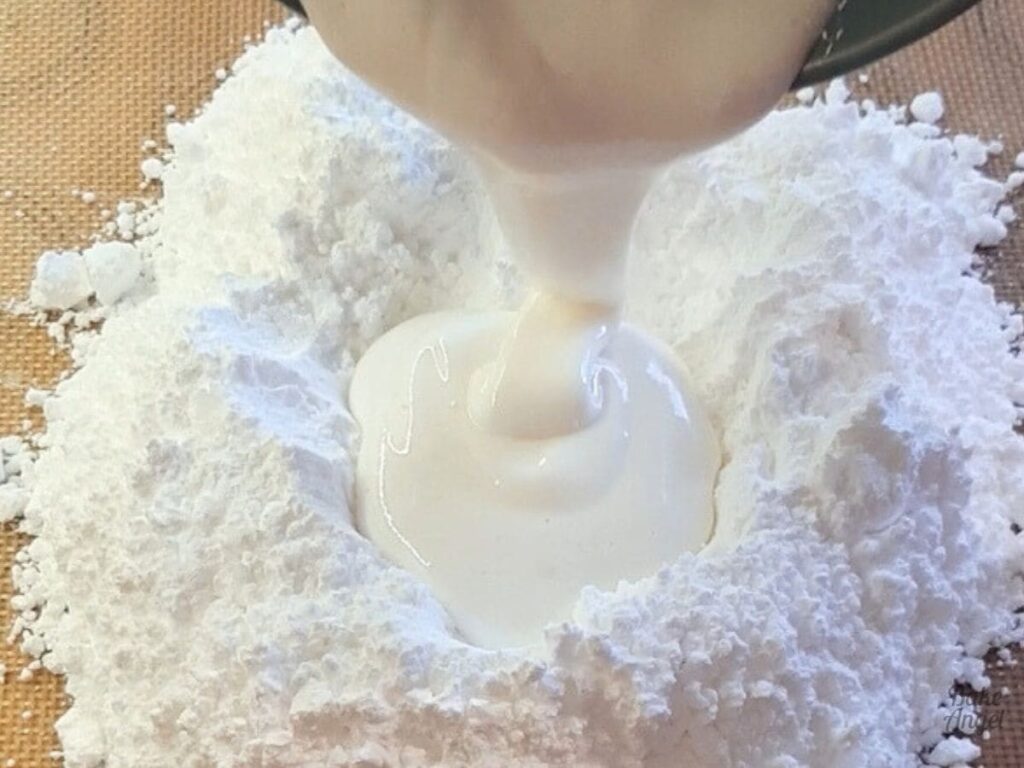
Add the icing sugar to your surface, making a well in the centre, then carefully pour the melted marshmallows into the middle. Top Tip: I recommend using a wooden spoon or spatula to remove the melted marshmallows from the bowl, as it will be hot and sticky.
Carefully start working the icing sugar into the melted marshmallows. While it will feel very warm to start with, it will cool down quickly as it becomes incorporated.
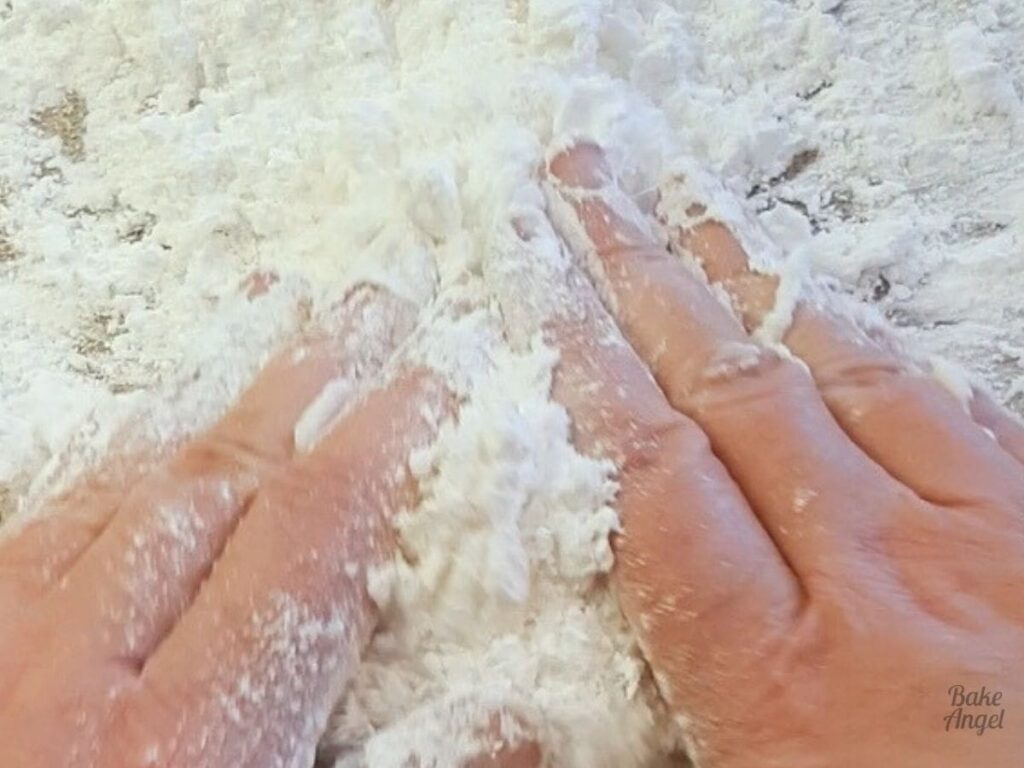
Add more shortening to your hands as needed and continue to knead until the fondant becomes pliable and smooth and loses its stickiness.
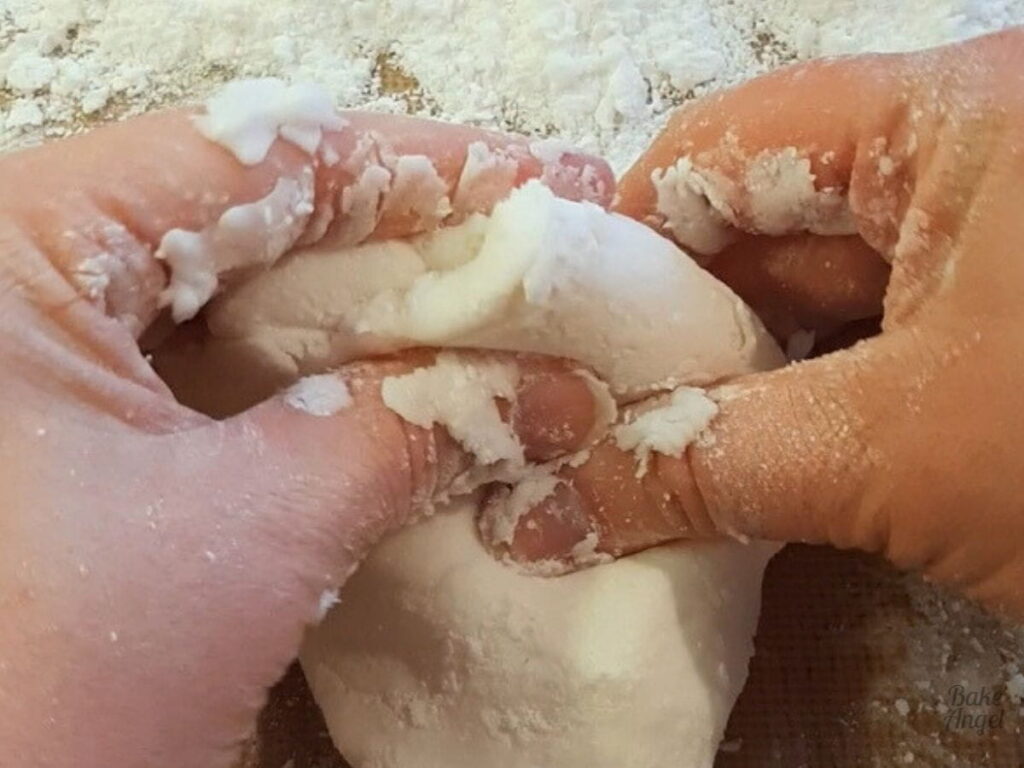
The fondant should feel smooth and soft once ready, kind of similar to Play-Doh.

Baker’s Tip: If you run out of icing sugar and the fondant still feels sticky, add more (this often happens when the air in your kitchen is particularly humid). Conversely, if the fondant feels dry, add a bit more shortening or water to bring it together.
And that’s how easy it is to make homemade marshmallow fondant in just minutes!

Storage Tips
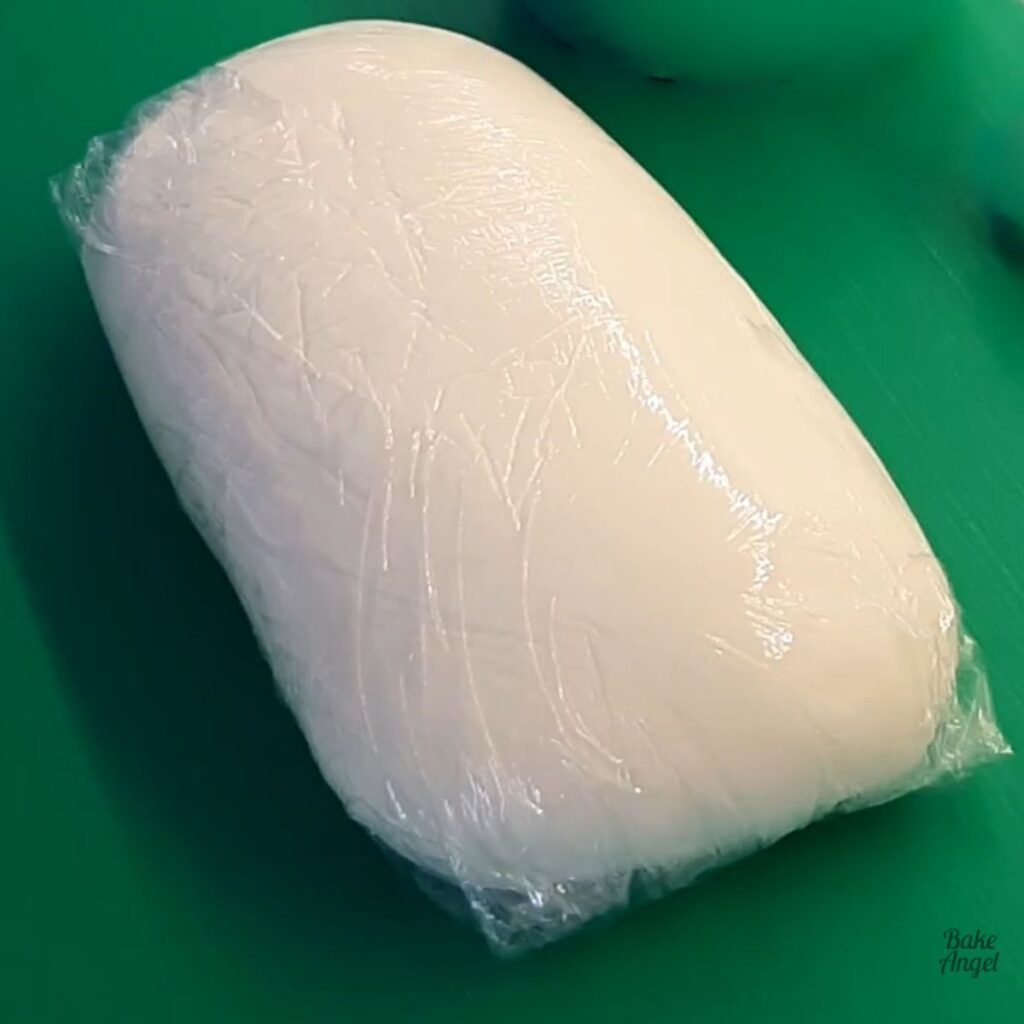
While this is a small-batch recipe, you may not use all the marshmallow fondant in one session. To avoid the fondant drying out, wrap it tightly in plastic wrap and place it in an airtight container. Store it at room temperature for up to three months.
For longer storage, you can refrigerate or freeze it. Just make sure to bring it to room temperature and knead it until soft before using.
Marshmallow Fondant FAQs
Marshmallow fondant is easier to make at home and tastes better due to the marshmallows. Traditional store-bought fondant, which is made from sugar, water, gelatin, and glycerin, can have a more neutral or even slightly unpleasant taste and requires more ingredients and steps to prepare.
Marshmallow fondant is dairy-free, egg-free, nut-free and generally gluten-free, but it’s important to check the ingredients of the marshmallows and icing sugar to ensure they are gluten-free. As marshmallows contain gelatin, the fondant is not vegan, but you can use vegan marshmallows to veganise this recipe.
Yes! You can colour marshmallow fondant using gel food colouring. It’s best to add a few drops of colouring after the fondant is made. Simply knead the colour into the fondant until evenly distributed.
Yes, add a few drops of flavouring, such as vanilla, almond, or lemon, to the melted marshmallows before mixing in the powdered sugar. This will give your fondant a custom flavour. My personal favourites are vanilla bean paste or adding powdered cotton candy flavouring.
If your fondant is too sticky, it might need more powdered sugar. Humidity is also a factor that can affect the consistency of your fondant. To correct this, knead in small amounts of powdered sugar until the fondant is smooth and no longer sticky. Dusting your hands and work surface with powdered sugar can also help.
Cracking usually happens when the fondant is too dry. You can knead in a small amount of vegetable shortening or water to make it more pliable. Be careful to add a little bit at a time to avoid making it too sticky.
Yes, marshmallow fondant is great for covering cakes, cupcakes and cookies and making simple decorations. For more detailed work, you can add a little tylose powder or gum paste to give it more structure and make it easier to mold. This recipe is perfect for those times when you only need a small amount of fondant to complement your work.
This recipe makes just enough for a few cupcakes or cookies, so you don’t waste ingredients and can try fondant without committing to making a large batch.
Fondant Tutorials
There are so many fun uses for this small batch of marshmallow fondant, from covering cupcakes and cookies to making delicate flowers and colourful cutouts to decorate your baked goods. If you’re new to fondant, check out a few of my beginner tutorials before you start.
This adorable polar bear sugar cookie is a great place to start. Using a few fondant decorating tools, you can achieve this cookie in less than 15 minutes.

And here’s another example of a cookie decorated with fondant.
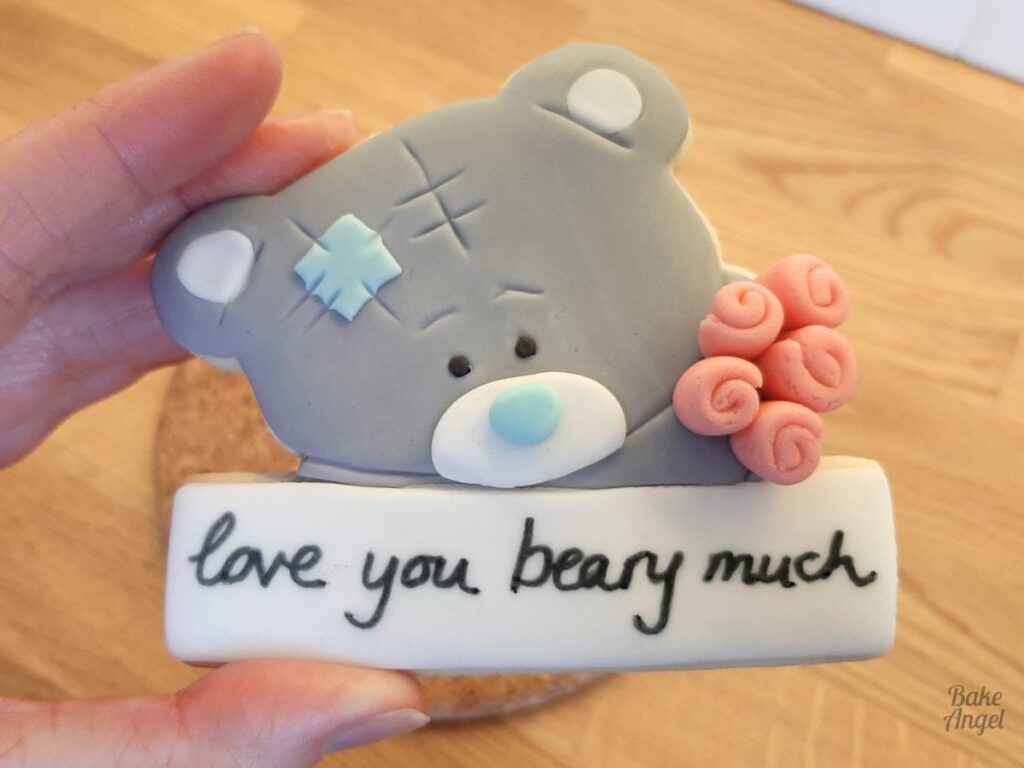
Check out my fondant video tutorials playlist for the step-by-step process for this cookie, plus more inspiration and tips on how to roll out, colour and apply fondant to cakes and cookies.
If you have any questions about how to make marshmallow fondant or run into any issues, feel free to comment below! Happy baking and decorating!


Small Batch Marshmallow Fondant
Equipment
- Microwavable Bowl
- Plastic Wrap (aka cling film)
Angela’s Top Tip
Weigh your dry ingredients in grams with a scale for best results!
Ingredients
- 56 grams Mini Marshmallows (1 US Cup)
- 1 tsp Water (may need more depending on humidity)
- 112 grams Icing Sugar (just under 1 US Cup)
- 1 tbsp Shortening
Instructions
- Add 56 grams Mini Marshmallows and 1 tsp Water to a microwavable bowl and heat for 30-second intervals until melted, stirring at each interval. Melting usually takes 1-2 minutes.
- Use some of the 1 tbsp Shortening to grease your work surface and add a small amount to your hands. This will help to prevent the marshmallows from sticking to your hands (and trust me, this can get really messy!)
- Add 112 grams Icing Sugar to your surface, making a well in the centre then carefully pour the melted marshmallows in the middle. Top Tip: I recommend using a wooden spoon or spatula to remove the melted marshmallows from the bowl as it will be hot and sticky.
- Carefully start working the icing sugar into the melted marshmallows. It will cool down very quickly. While it will feel very warm to start with, it will cool down quickly as it becomes incorporated. Add more shortening to your hands as needed and continue to knead until it becomes pliable and loses its stickiness.
- Note: If you run out of icing sugar and the fondant still feels sticky, add more (this often happens if the air is particularly humid in your kitchen). Conversely, if the fondant feels dry add a bit more shortening or water to bring it together.
Video
Notes
- Yield: This recipe makes approx 160 grams of marshmallow fondant, which is enough to make small decorations, ice the top of a small cake, or a batch of cupcakes or cookies.
- Storage: wrap the fondant in plastic wrap then place in an airtight container at room temperature for up to 3 months. For longer storage, store in the fridge or freeze for up to 6 months. Bring back to room temperature then knead on a dusted surface before using.
- Gluten Free: Marshmallow fondant is generally gluten-free, but it’s important to check the ingredients of the marshmallows and powdered sugar to ensure they are gluten-free.
- Vegan Option: as traditional marshmallows contain gelatin, this is not a vegan recipe. Substitute the mini marshmallows for vegan ones if required.
- Flavouring: add a couple drops of flavouring to the melted marshmallows before kneading in the icing sugar.
- Colouring: I recommend adding drops of gel food colouring to the fondant once it has been made. Knead in the colouring until you achieve a solid colour.
- Tutorials: check out my fondant tutorial videos for ways to use marshmallow fondant, .
- Related Recipes: use this fondant to decorate vanilla cupcakes or some no-spread no-chill sugar cookies.


Thanks for all the tips. This fondant sounds fantastic.
You’re welcome Kushi. I hope you’ll try it!
Love this stuff. It’s actually really easy to make and even tastes so much better than any of the store bought stuff.
Me too – it’s so good!
I love how the addition of marshmallow made this fondant so much more flavorful and made me want to use it! It didn’t only look good, it tasted good too!
THe marshmallows really are the gamechanger for this fondant!
I have always wanted to try working with fondant, but was too scared of making it! Your recipe looks so easy, I think that I am going to give it a go tonight, thank you so much for sharing 🙂
You’re going to love it Cathleen! Have fun making it.
I used your fondant recipe to decorate some sugar cookies and it turned out so well! It was easy to make and actually quite easy to work with too. Thanks for the recipe and helpful tips!
You’re so welcome. Glad to hear that you found the fondant easy to work with as well.
Can you make this on stoverop? I don’t have a microwave.
Hi Kim. Yes, you can melt the marshmallows in a pan over a medium heat. I recommend stirring them frequently as once they start to melt, it can burn very quickly. It’ll only take a few minutes to melt them. I hope that helps. Have fun making it!
Can I use something instead of shortening?
You could try using coconut oil instead, although I have never tried it in fondant. Worth a shot though if you don’t want to use shortening.
Works beautifully, just like in the video
Will mold bows for my gingerbread man cookies!
That’s such a fun way to use the fondant! Happy Holidays!
Hi Angela, what does the shortening do to the fondant? I haven’t seen it in other recipes I’ve been looking at. Thank you!
Great question Bobi. The shortening helps to combine everything together, keeps the fondant more pliable and adds a nice sheen to it. I even use it to revitalize dry fondant. I hope that helps. Have fun making it!
Perfect for small decorations ,saves on buying large amounts of different colours which may be wasted if not used again for while ,this recipe is so easy, ideal for my Christmas cake.
Thanks Jane – I’m so glad you find this recipe useful. Have a wonderful Christmas!
Found this on Pinterest and it is amazing! Easy to make and so tasty as well. Thank you.
I’m so happy that you love this recipe. Have fun using it!