
This easy no-pectin strawberry jam is made with just two ingredients – fresh strawberries and pure maple syrup – with no refined sugar required. It’s a simple, small-batch recipe designed for fridge or freezer storage, perfect when you want homemade strawberry jam without the extra steps of traditional canning. Sweet, fresh, and packed with real strawberry flavour, this is the kind of homemade jam that tastes so much better than store-bought that you may never go back.

Why I Made This Recipe
Strawberry picking on Canada Day has been one of our favourite family summer traditions since my kids were babies. Every year, we come home with baskets of fresh Ontario berries and spend the afternoon turning them into jam – sticky fingers, red-stained countertops, and all.
While we usually make a larger batch that we preserve to last the year, I wanted a quicker option for days when you just have a couple of cups of strawberries and don’t want to go through the full canning process. This version is intentionally small batch, naturally sweetened with maple syrup, and perfect for keeping in the fridge or freezer.

Why You Need This Recipe
If you’ve never made homemade jam before, this is the perfect place to start:
- No pectin required
- No refined sugar
- Just 2 simple ingredients
- Ready in about 25 minutes
- Small batch – no special equipment
- Tastes better than anything from the store
Homemade jam allows you to control exactly what goes in it, and once you taste fresh strawberry jam made at home, store-bought doesn’t compare.
Ingredients and Substitutions
Because this is a true 2-ingredient strawberry jam, quality matters.
I always weigh my ingredients for accuracy, but US cup measurements are included in the recipe card.
Strawberries: Fresh, in-season strawberries will give you the best flavour. If strawberries aren’t in season, frozen berries work beautifully – just thaw completely and drain excess liquid before using.
Maple Syrup: Use pure Canadian maple syrup for best results. Light or medium-grade maple syrup works best and gives natural sweetness without refined sugar.

Why Maple Syrup?
Instead of refined white sugar, this recipe uses pure maple syrup to sweeten the strawberries. It adds a subtle depth of flavour and keeps the ingredient list beautifully simple. If you’re looking for a strawberry jam recipe without refined sugar, this is a wonderful, naturally sweetened small-batch option.
Maple syrup behaves differently than granulated sugar in jam, which is why this recipe was developed specifically for fridge or freezer storage.
How to Make 2 Ingredient Strawberry Jam
This truly is one of the simplest jam recipes you’ll ever make.
Add 600 grams (3.5 US Cups) of sliced strawberries and 240 ml (1 US Cup) of maple syrup to a large saucepan. Bring to a rolling boil over medium-high heat.

Allow the mixture to boil for about 15 minutes, stirring occasionally. If you prefer a thicker jam, continue boiling slightly longer. Because this recipe relies on natural reduction rather than adding pectin, boiling time determines the thickness.

Once the jam reaches a rolling boil that can’t be stirred down, remove the saucepan from the heat. Skim off any foam from the surface using a spoon.
Top Tip: You can add a teaspoon of margarine or butter during boiling to reduce foam if preferred.

Smooth or Chunky?
My kids prefer a nice, smooth, easily spreadable jam as they love jam sandwiches. For smooth jam, carefully use an immersion blender while the jam is still hot. For a chunkier texture, simply leave it as it is.

Ladle into clean mason jars. This recipe yields approximately 750ml total (about three 8-ounce jars). You will most likely have a little bit extra left over. My kids usually fight over the leftovers and gobble it up right away – the jam is so good when it’s still warm.

We call this Canadian liquid gold, and it tastes even better when you’ve hand-picked the berries.
How to Store Strawberry Jam
Because this recipe contains no pectin and is not processed for canning, it is not shelf-stable.
- Store in the refrigerator for up to 3 weeks.
- Freeze for 3–6 months.
- Allow jam to cool completely before sealing jars tightly.
- Leave a little headspace if freezing to allow for expansion.
Reusable mason jar lids work perfectly for this small batch jam.
Want to Make It Shelf Stable?
This recipe is designed for refrigerator or freezer storage and has not been developed for water bath canning. If you’re looking for a traditional, shelf-stable strawberry jam recipe with full preserving instructions, you can find my complete canning guide here → shelf-stable strawberry jam.
Common Jam Questions
Yes – thaw the strawberries completely and drain excess liquid before cooking.
Yes. The jam thickens naturally as it reduces while boiling. For thicker jam, cook slightly longer.
This recipe was specifically developed for maple syrup. Changing the sweetener will alter the texture and flavour.
No. This specific recipe has not been tested for water bath canning. Use my shelf-stable version instead.
Because it’s made with fresh fruit and no unnecessary additives. The flavour is fresher, brighter, and more intense than store-bought jam.
Serving Suggestions
This no-pectin, no-refined-sugar strawberry jam is incredibly versatile:
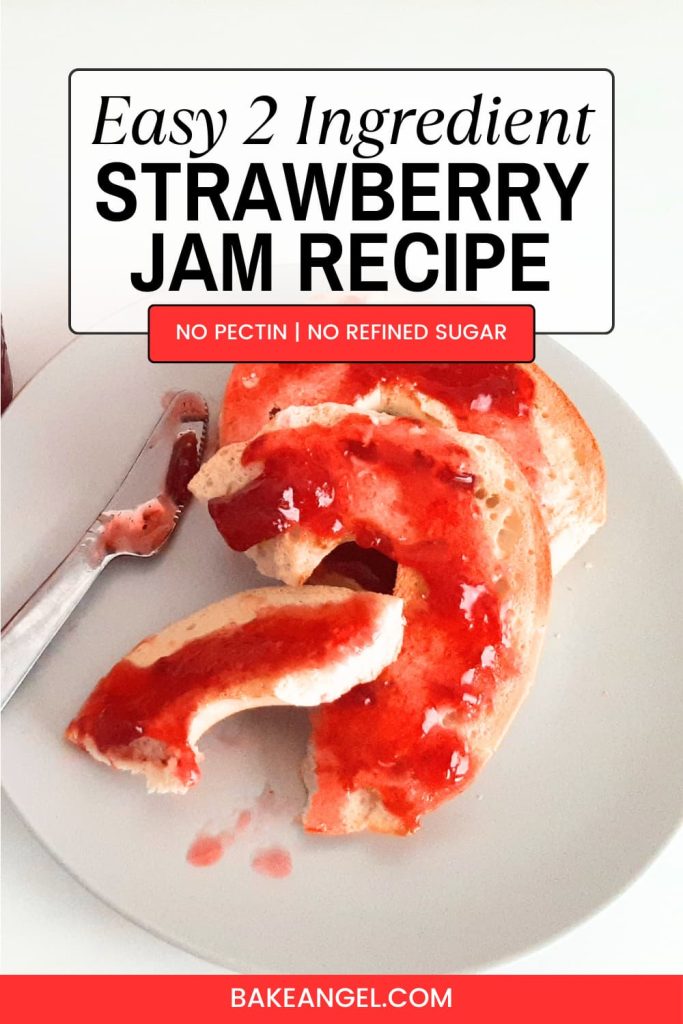
- Spread on toast, bagels, or English muffins
- Swirl into yogurt or oatmeal
- Use as a cake filling
- Spoon over pancakes or waffles
- Stir in to frosting for a natural strawberry flavour
- Make jam sandwiches (my kids’ favourite way to eat it!)
It also makes a beautiful homemade food gift during strawberry season. We’ve even given it as teacher gifts – just add a cute ribbon and handwritten note to the jar.

Recipes that Use this Jam
Not only is this jam great to spread on your favourite bagel or toast for breakfast or even in jam sandwiches, but it also works beautifully in :
- Best Vegan Vanilla Layer Cake – add between each layer
- Jam Split Welsh Cakes (Dairy Free) – the perfect filling
- No Bake Deconstructed Cheesecake (Vegan) – add layers of jam for colour and sweetness
- Strawberry Cream Cheese Frosting recipe (Vegan) – swirl in jam for delicate colour and flavour
Final Thoughts
Making homemade strawberry jam is far easier than most people think – especially when you don’t need pectin or refined sugar. This simple 2-ingredient strawberry jam lets the fresh berry flavour shine while keeping the process approachable and stress-free.
Once you taste homemade jam made with real strawberries and pure maple syrup, you may never reach for a store-bought jar again. Let me know if you plan on making some.

2 ingredient no pectin Strawberry Jam
Equipment
- Large Saucepan
- Large Metal Spoon
- 3 Mason Jar Lids (freezer safe)
Ingredients
- 600 grams Strawberries (Sliced – 3.5 US Cups)
- 240 ml Maple Syrup (1 US Cup)
Instructions
- Add 600 grams Strawberries and 240 ml Maple Syrup to a large saucepan over medium-high heat.
- Bring to a boil, stirring occasionally as the strawberries release their juices.
- Once boiling, cook for about 15 minutes. The mixture will reach a rolling boil that cannot be stirred down.
- For a thicker consistency, continue boiling for a few extra minutes, keeping a close eye to prevent scorching.
- Remove from the heat and blend with an immersion blender to your preferred texture (smooth or slightly chunky).
- Carefully ladle the hot jam into mason jars. Allow to cool with lids loosely fitted.
- Once fully cooled, tighten the lids and refrigerate or freeze.
Video
Notes
- Yield: This recipe makes approximately 750 ml of jam, enough to fill 3 small mason jars.
- Storage: This is not shelf-stable jam as it has not been processed using traditional canning methods. Store in the refrigerator for up to 3 weeks or freeze for 3–6 months. Thaw overnight in the fridge before using.
- Texture Tip: Jam thickens naturally as it cools. If it looks slightly loose while hot, allow it to rest before deciding to cook it longer.
- Scaling: This recipe can be doubled or halved as needed. Use a larger saucepan if increasing the batch size.
- For Shelf Stable Jam: If you are looking for a properly canned version, refer to my full shelf-stable canning recipe for long-term pantry storage.
- Dietary Info: Naturally vegan and made without refined sugar.


I am wondering if you could just do the usual 10 min water bath and it would be shelf stable. Super easy no canning equipment needed. Just put a couple wash cloths on the bottom of a pan large enough to cover the top of the jars with water and room to boil. Make sure jar is not cooled when it goes into the boiling water use wide mouth tongs to take in and pull out. Let cool naturally on a towel until you hear the ping of the sealing process or the lid does not give when pushed down and pops back at you. The that one is not going to be shelf stable. I will try it but too busy finishing a certification program right now.
Hi Barb. Yes, you can definitely make this recipe shelf stable. The only reason we don’t is that it makes a relatively small amount of jam and our kids get through it so quickly. We always make up much larger batches of jam every Summer, when the fresh berries are available and use a water bath for that recipe. I’ll share a post about it when Summer rolls around. It is essentially using the same method that you mentioned. Thanks for commenting. I’d love to know what you think of this jam once you try it.
We made this last week and it was wonderful. So much better than store bought jam as well.
So happy to hear that you enjoyed this jam.